
Note: This article acts as a bookmark for the full details that I have posted on Instructables. Link available at the end.
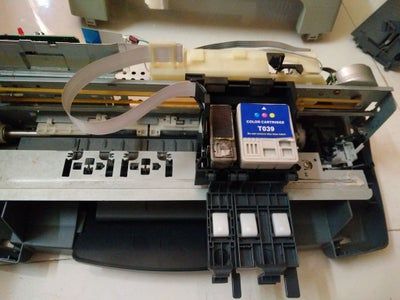
Breaking open Electronics is always a fun thing to do for me. This printer was pretty easy to dismantle and these are the few thing I took for this project -
- Stepper motors x2
- The convey belt and linear motion mechanism.
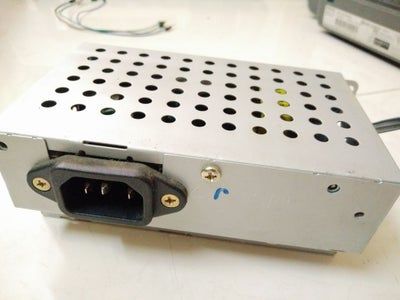
- The power supply (PSU) in the printer.
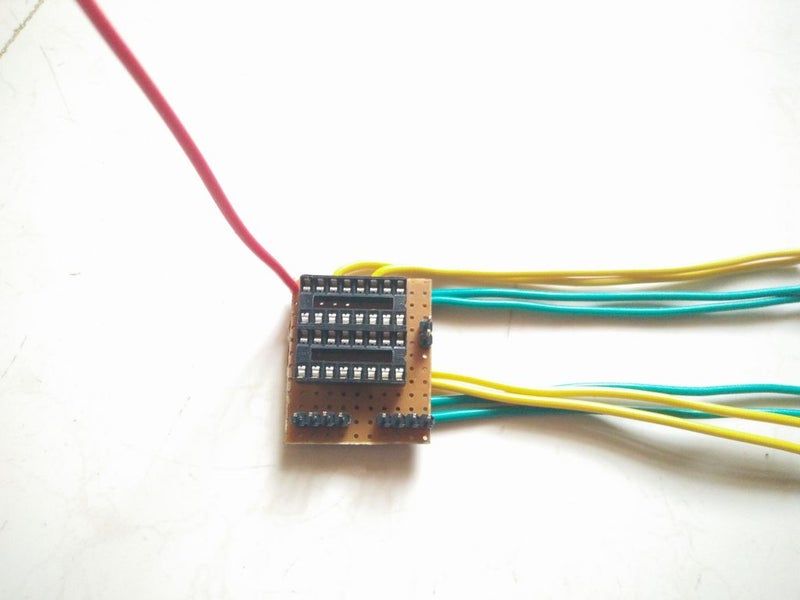
Schematic
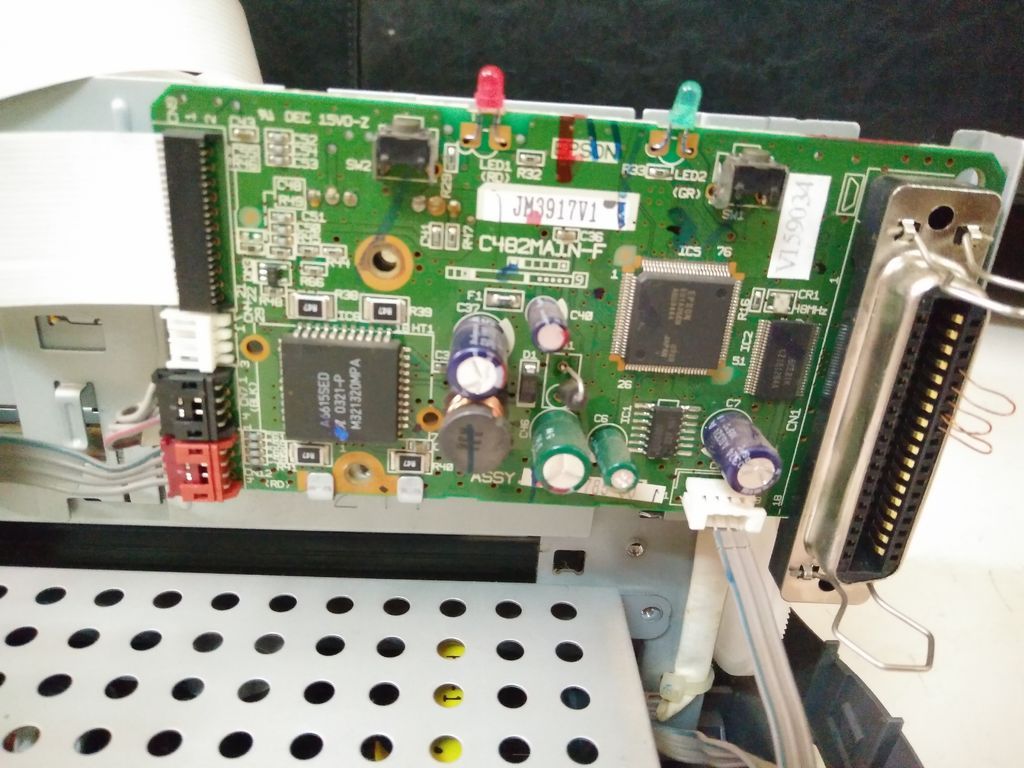
The Motor Drivers on the printer's motherboard was not usable, or more correctly I don't know how to use it. And made my own Driver with H-Bridge IC L293d.

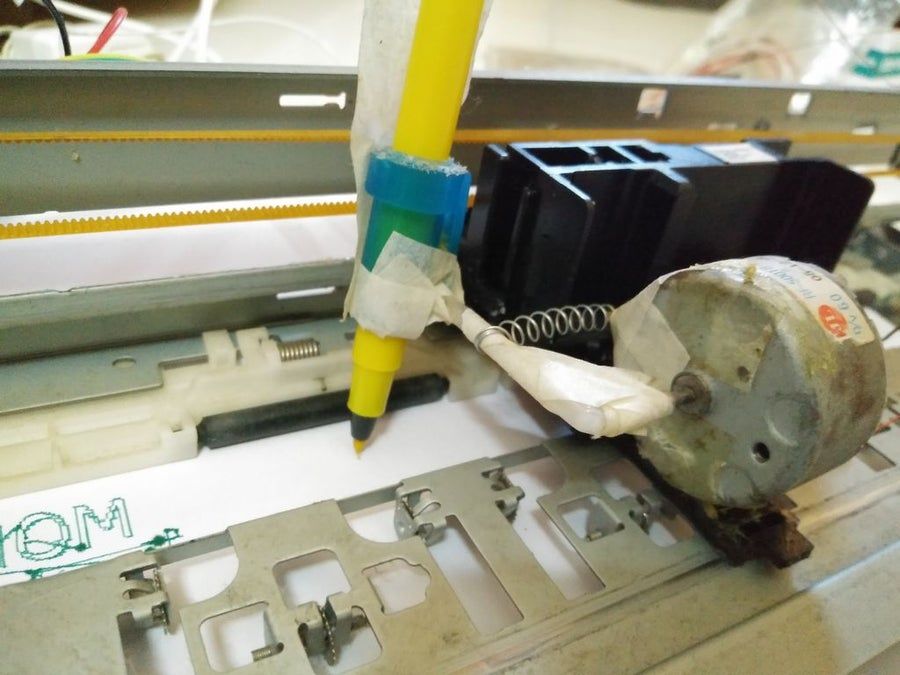
Pen mechanism
This contraption was made by patching together a regular DC motor and pen refill and its spring. And a lot of tape. If tape does not fix your issue, then you are not using enough tape 😅.
Pssing current to this motor will push the pen/tool tip towards the print surface. And removing this current, the sprint will pull back the tip.
Some Calculations
Since the stepper motor details are not know, some steps to calculate the steps/mm value -
- Write down steps/revolution of the stepper. It is usually written on the motor, but in my case it wasn't. So I had to practically find it out. (attach piece of paper to the stepper shaft and count the steps for the paper to make one rotation)
- Next we need find mm/revolution. This is simple just use Stepper_oneRevolution in examples and see how much linear shift it will result in the Axial direction.you can simply glue a pen and measure the displacement. This will account for the gears and mechanical setup of the printer.
- now all we have to do is steps/mm = (steps/revolution) / (mm/revolution)
Software
All softwares used here are Open-source.
- Inkscape - for creation of vectors from Images. And to convert them to G-Codes in order for the machine to understand.
- Universal G-Code Sender - for sending the plotting G-Code Data serially to the arduino. Since the arduino does not have enough memory to load the entire image, the data is sent in small chunks.
More info on how to use these and step-by step details on the main Article that I have written.
Code
As you can see the main and loop are empty, this is because all the heavy lifting is done by the GRBL library. GRBL is an open source, embedded, high performance g-code-parser and CNC milling controller written in optimized C that will run on a straight Arduino.
Results
Main Article
As I mentioned at the start, this post is just a bookmark for the actual one -
