
This article is a step-by-step detailing on how I built my paludarium, that you can follow to make one for yourself. The complete setup including tanks were built from scratch and this article also talks about hardware, electronics and 3D printing.
Making main Tank
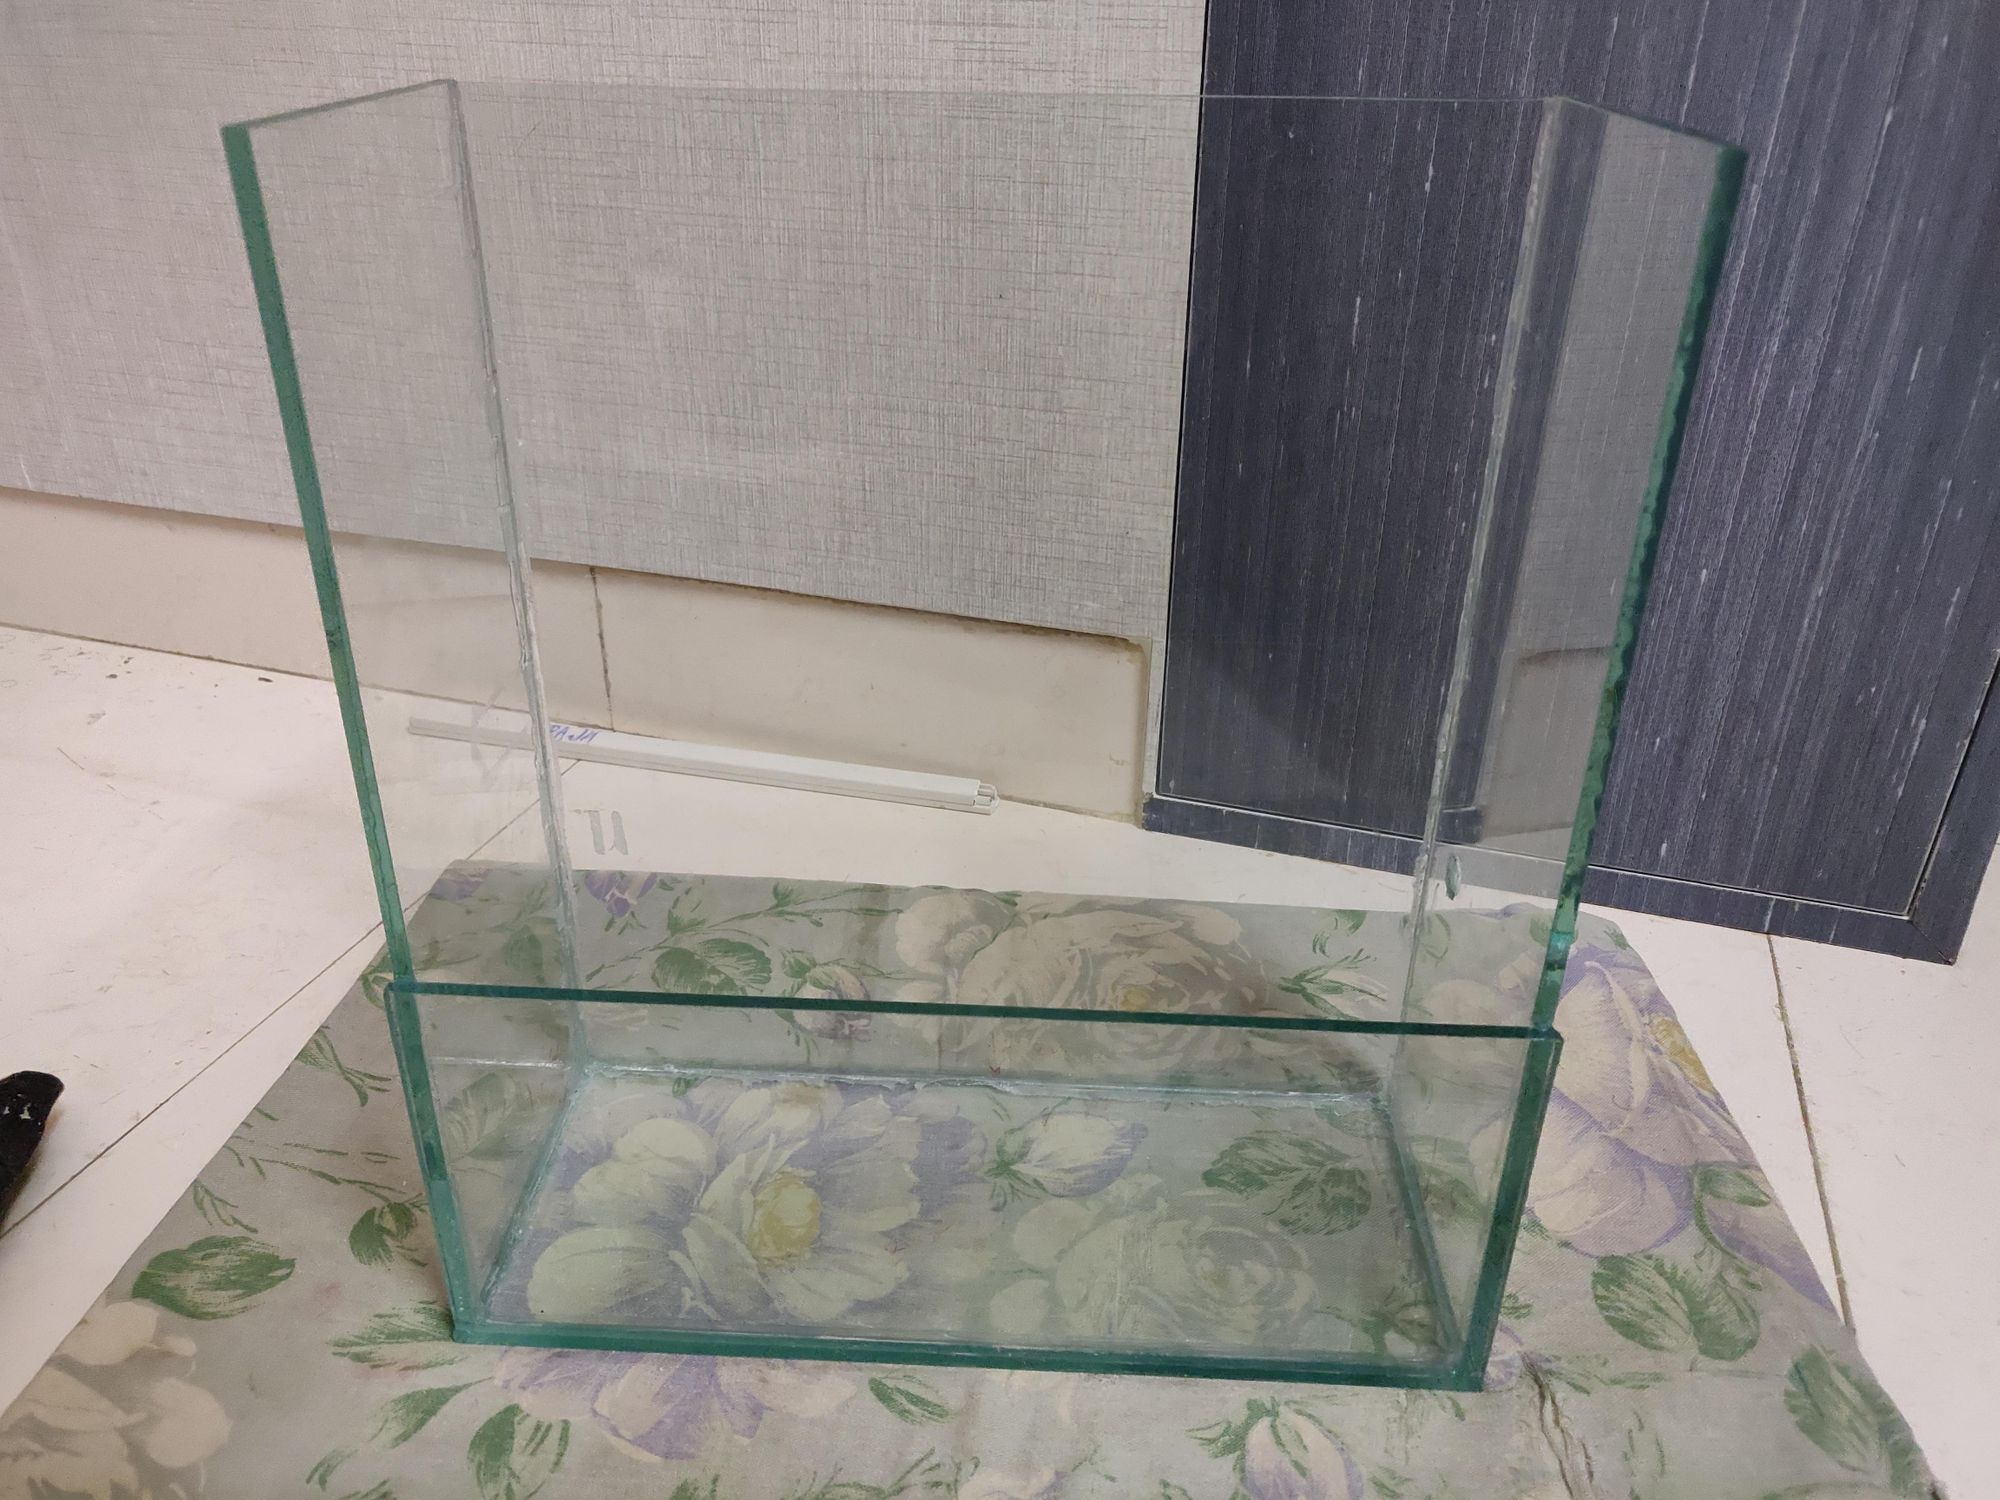
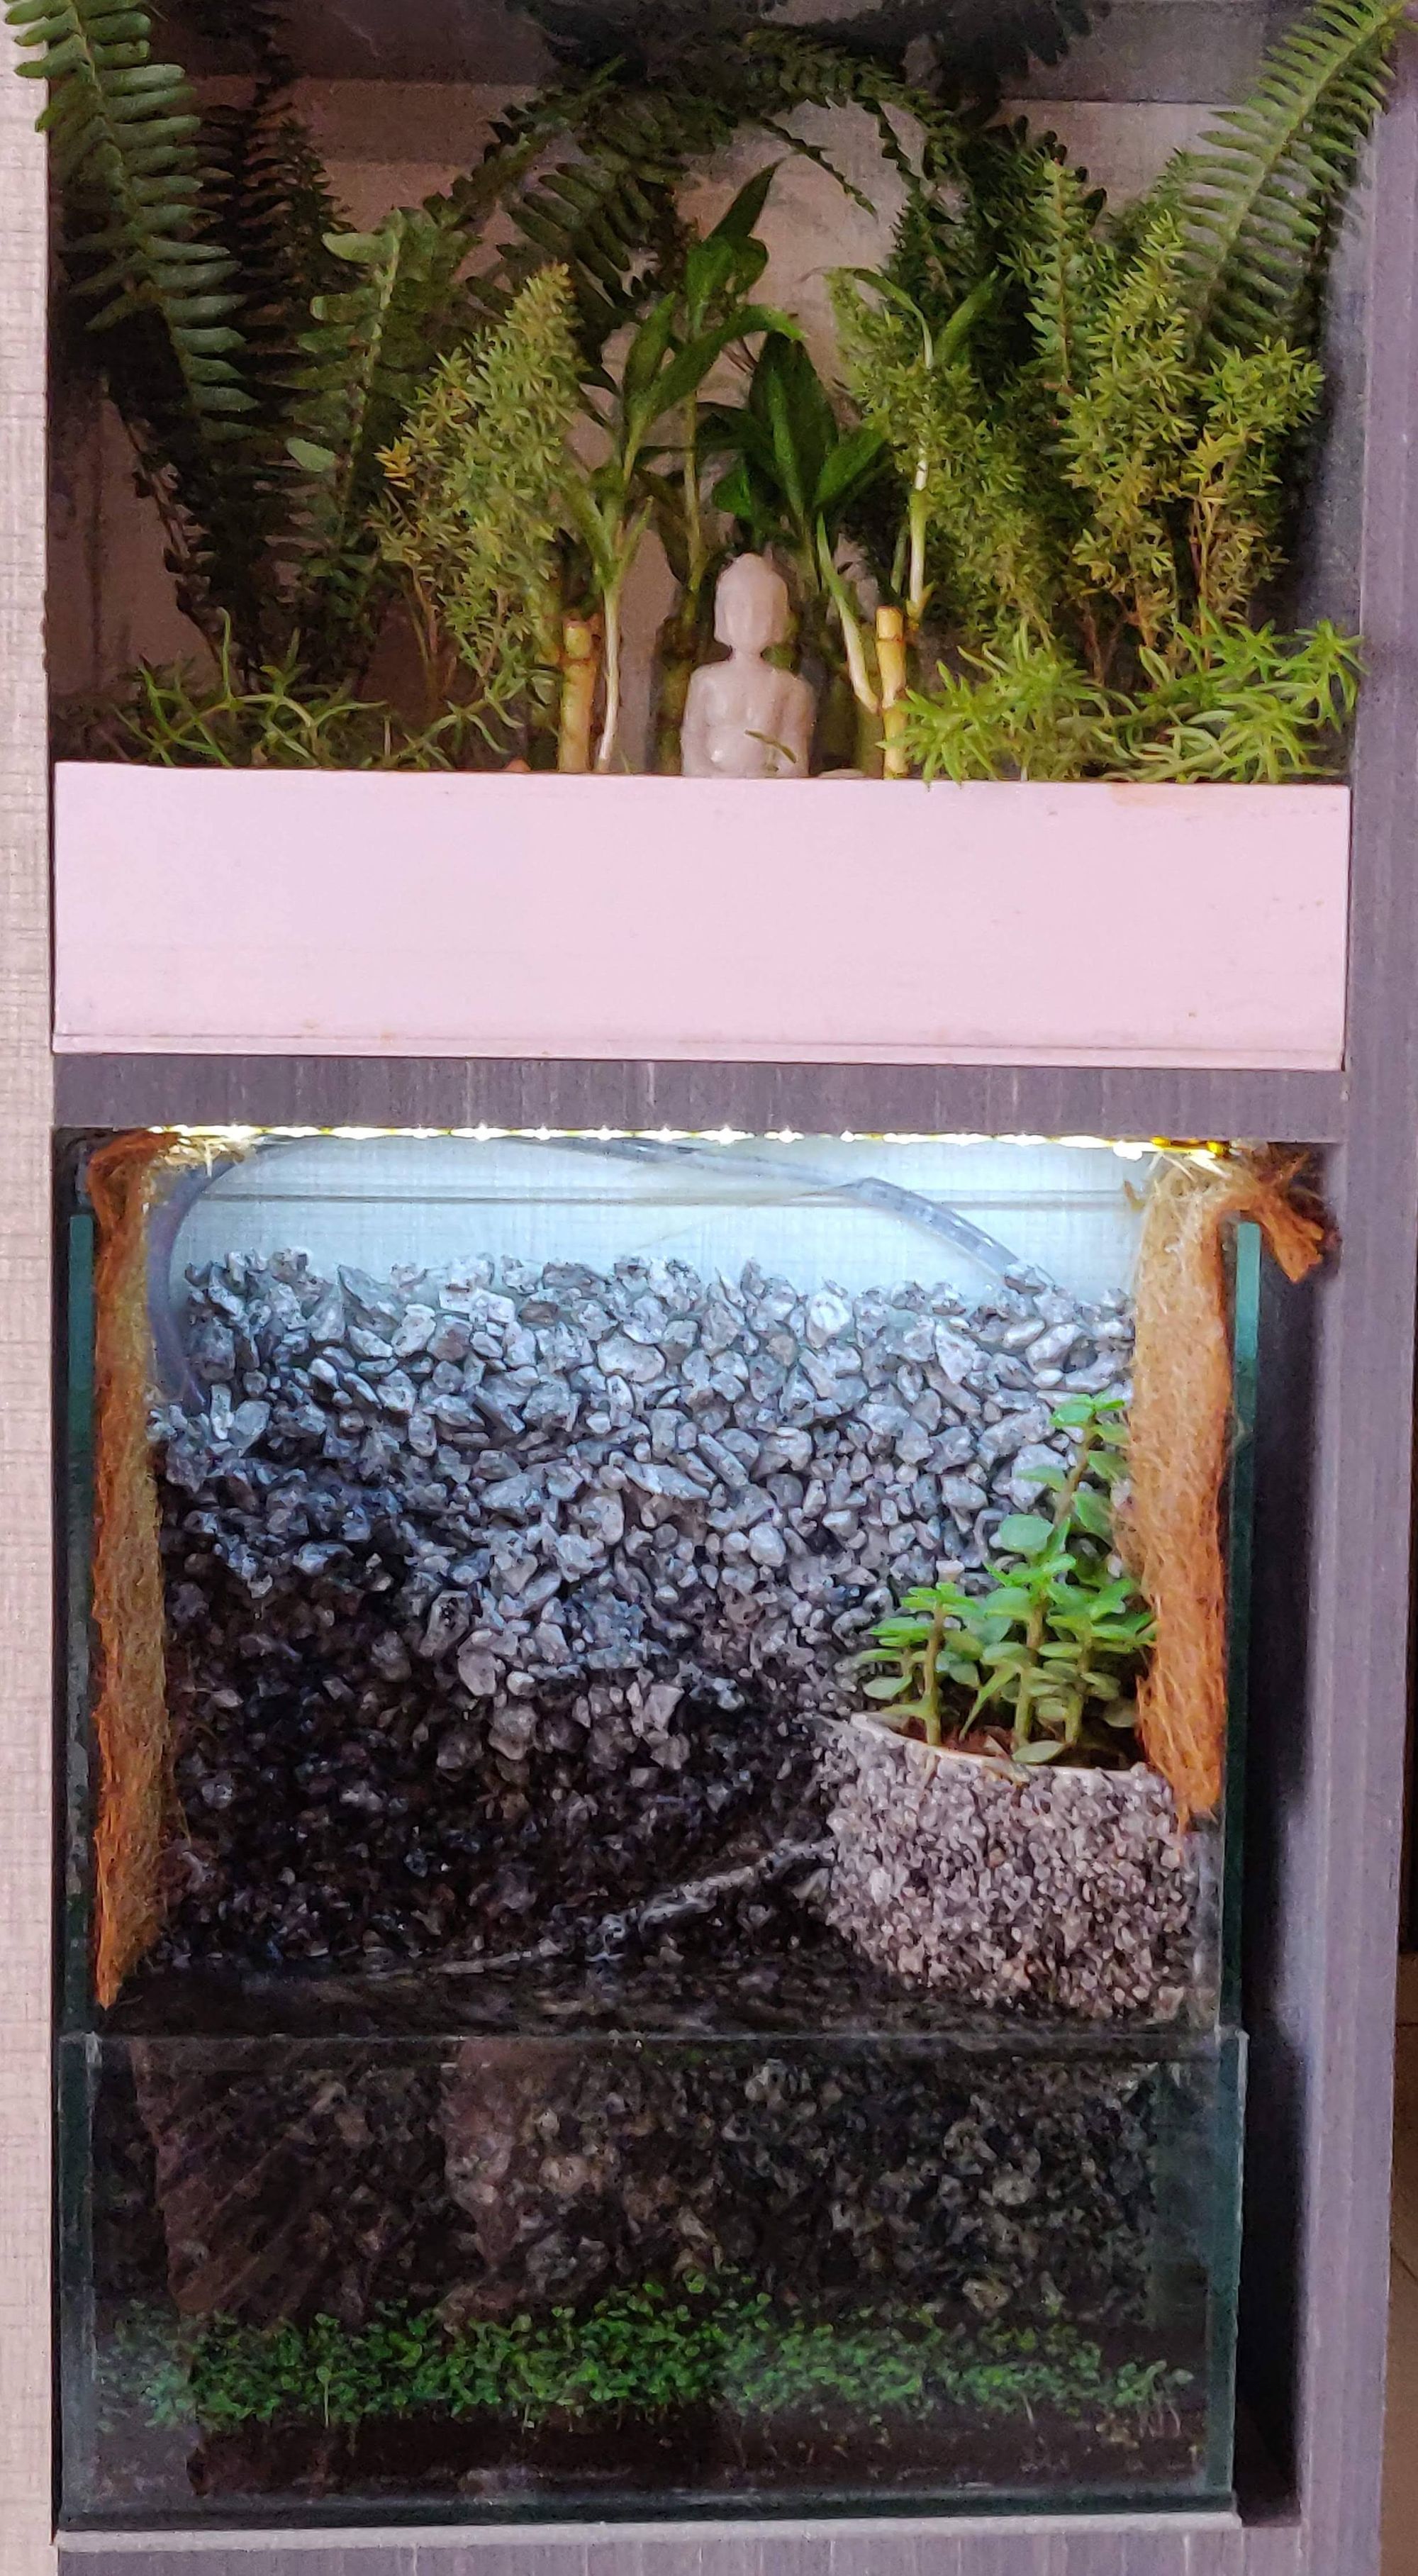
The complete paludarium setup in intended to be put in a shelf that is constructed as a partition of space. So the depth of the shelf space is very less and all of it has to be made use of to get a good tank. Measurements were taken for this with very less tolerances and thankfully it fit perfectly in the shelf.
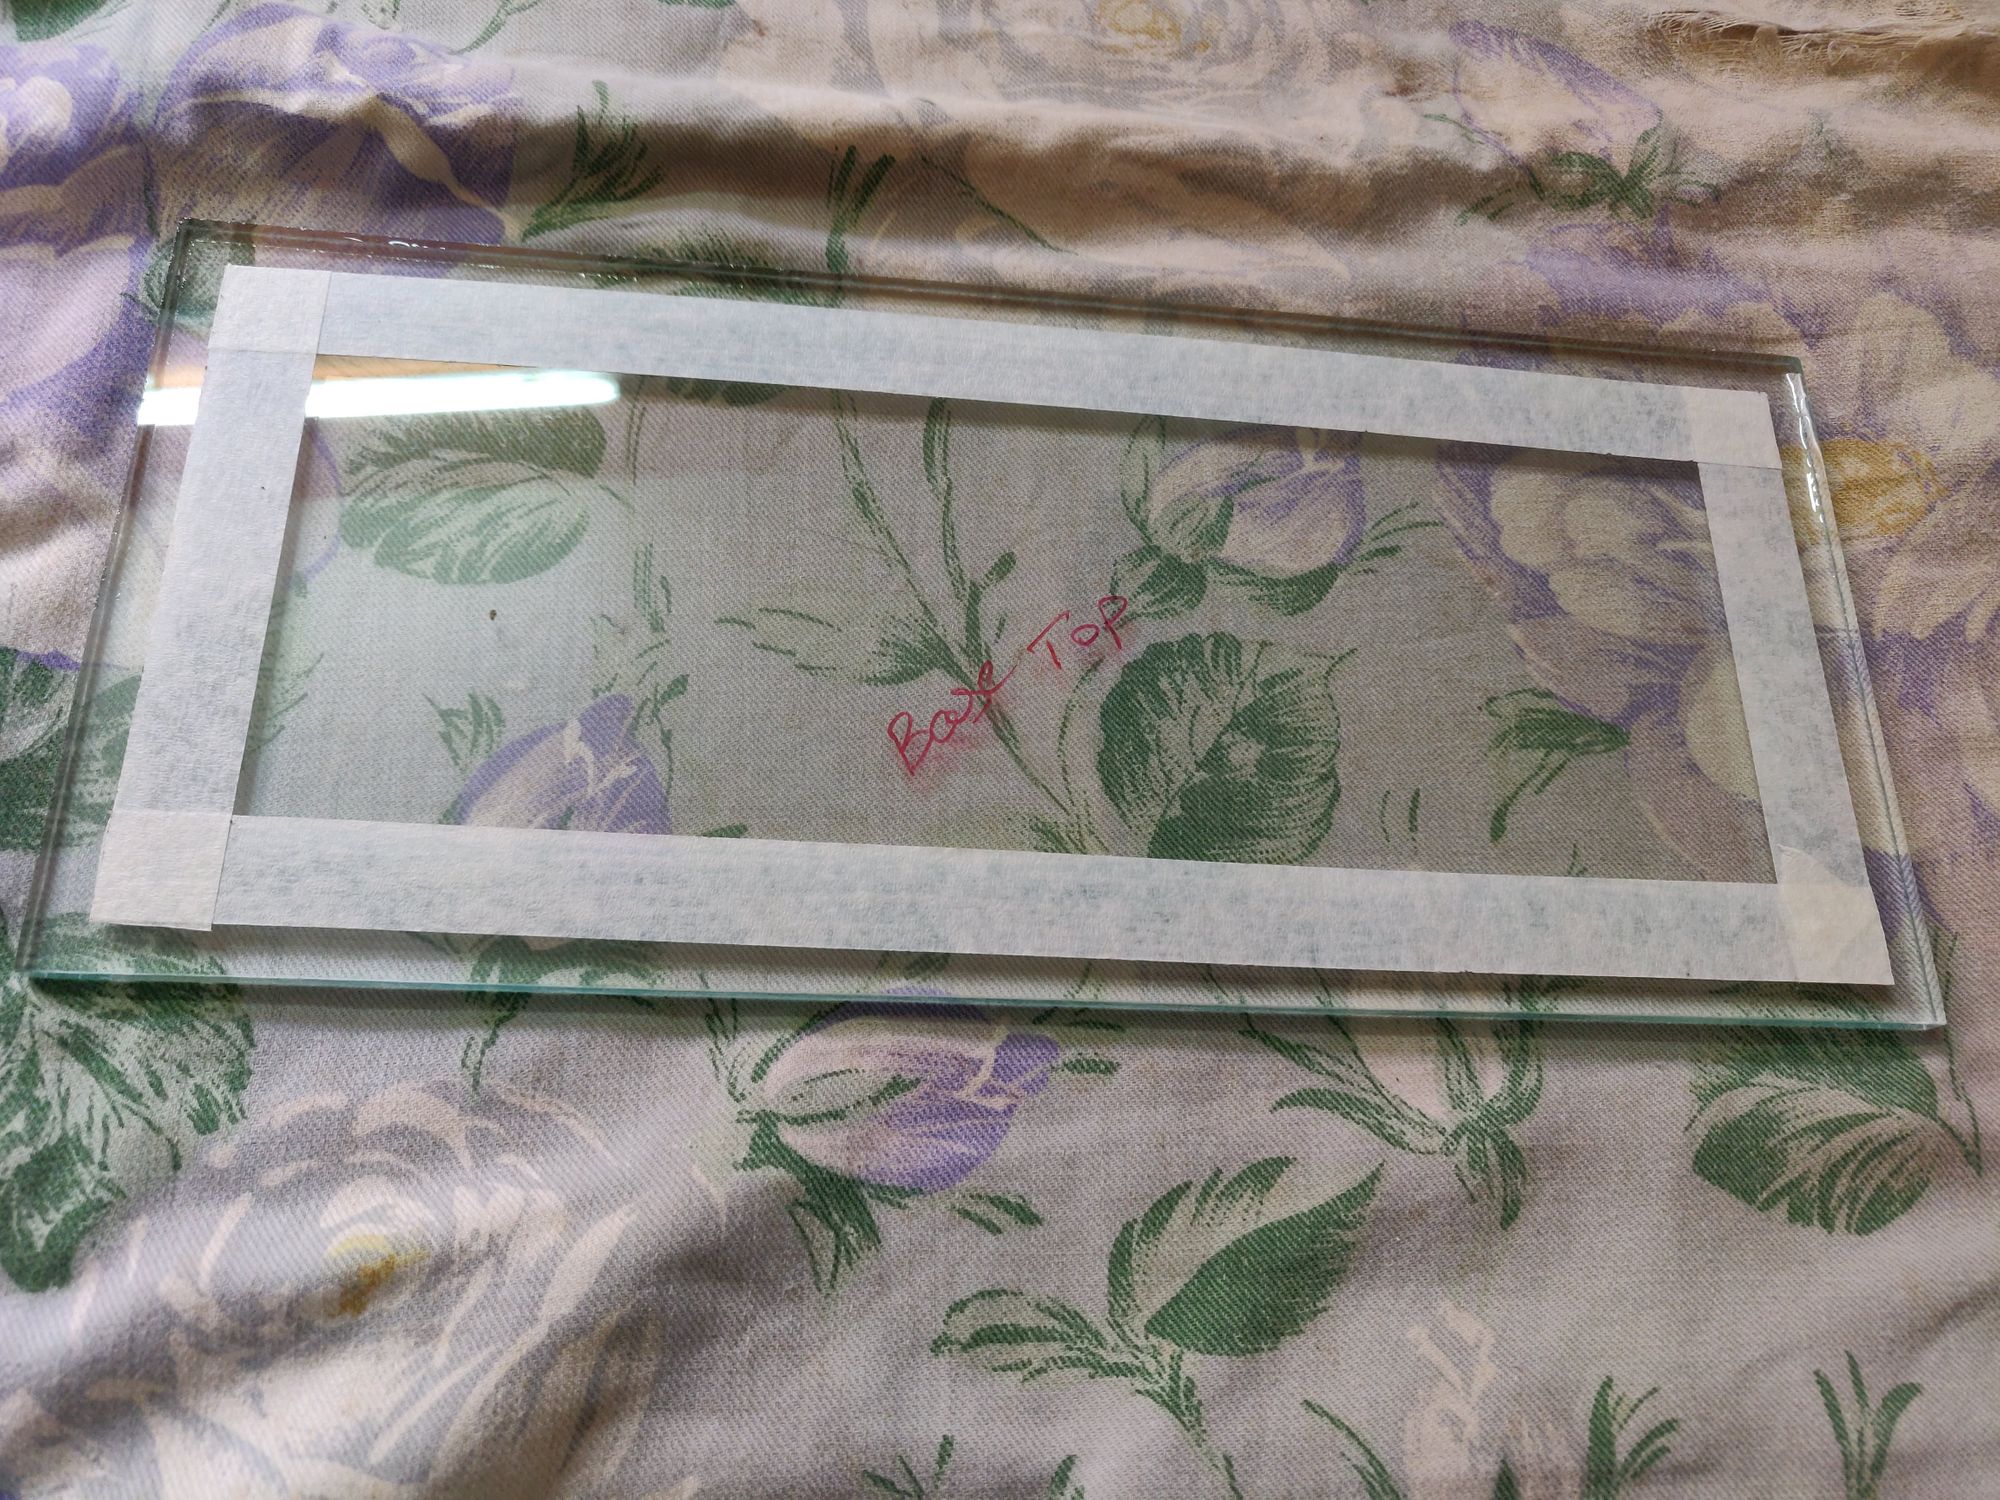
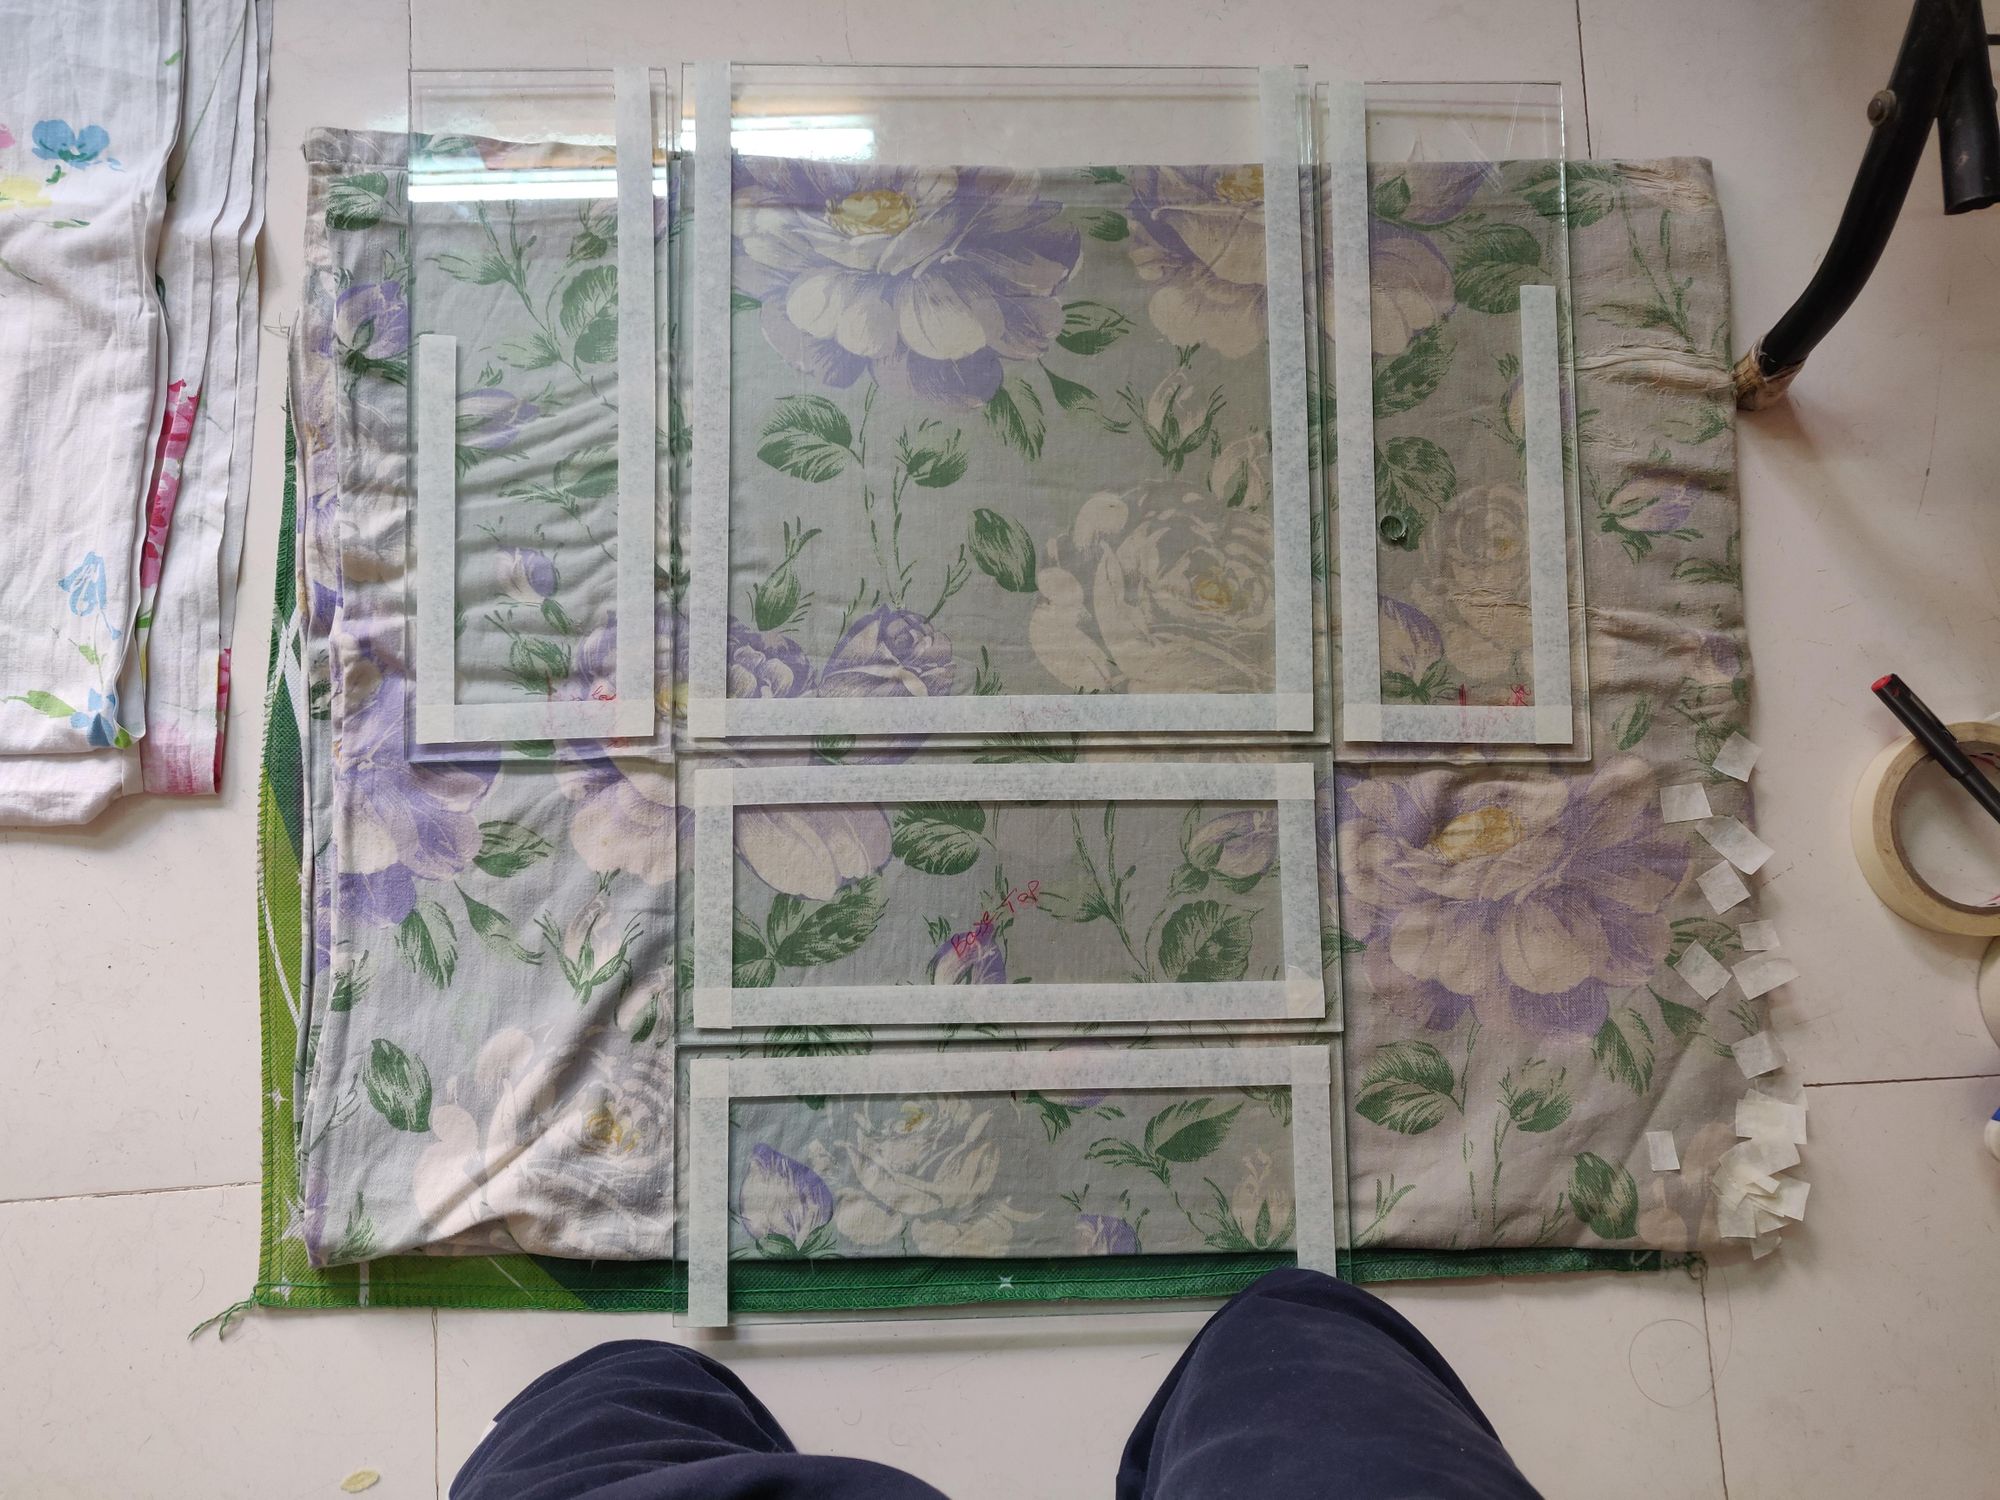
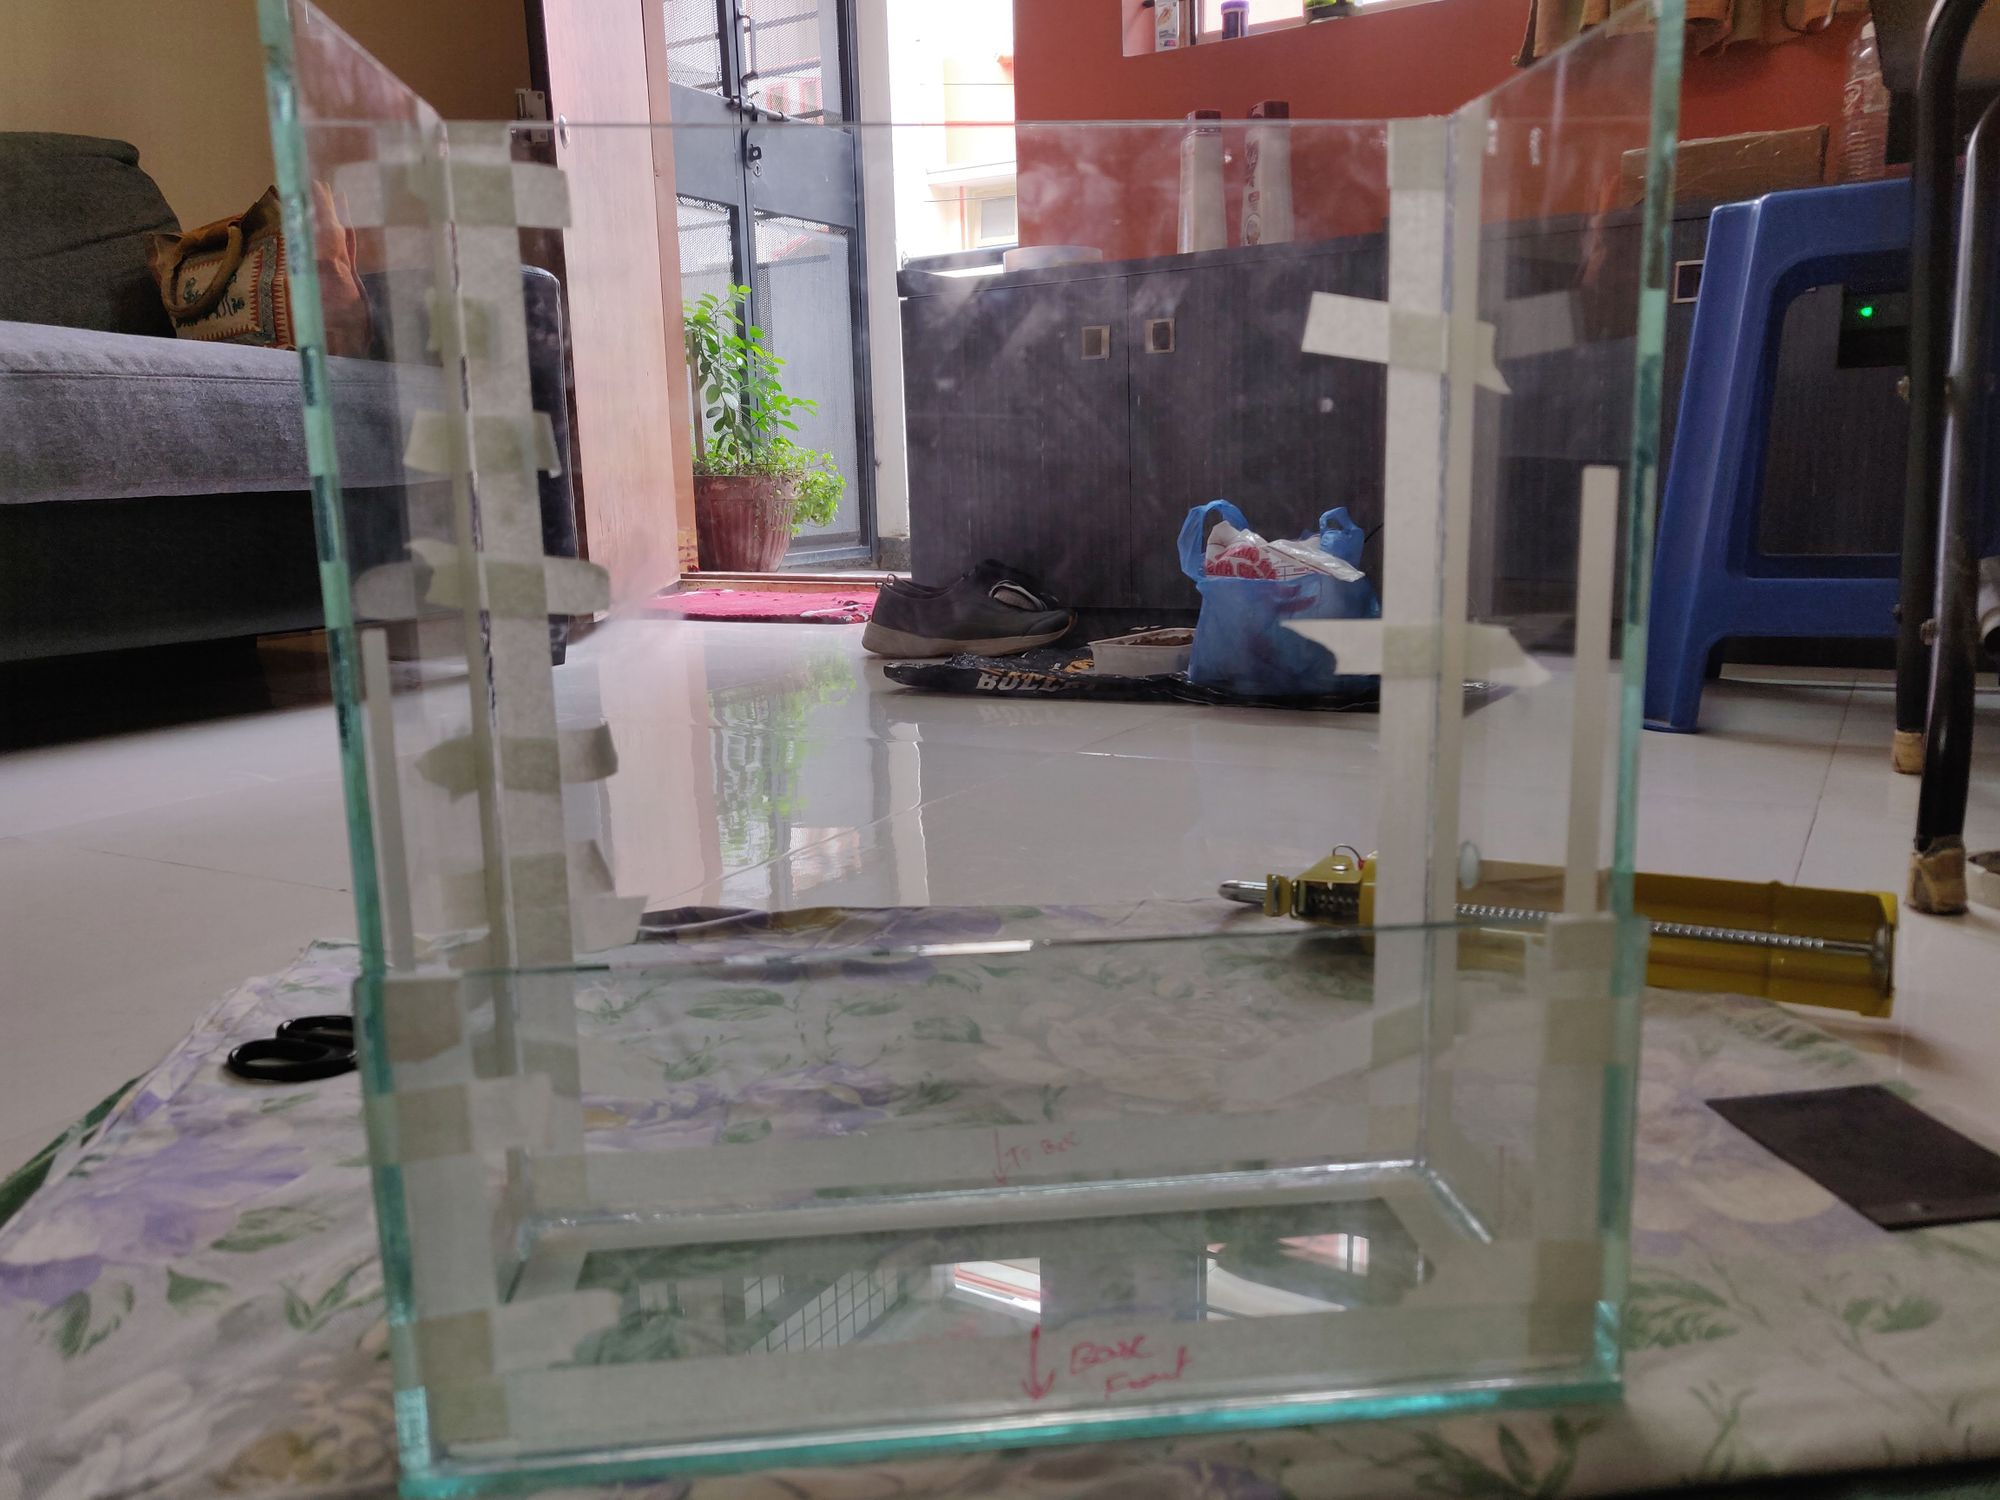
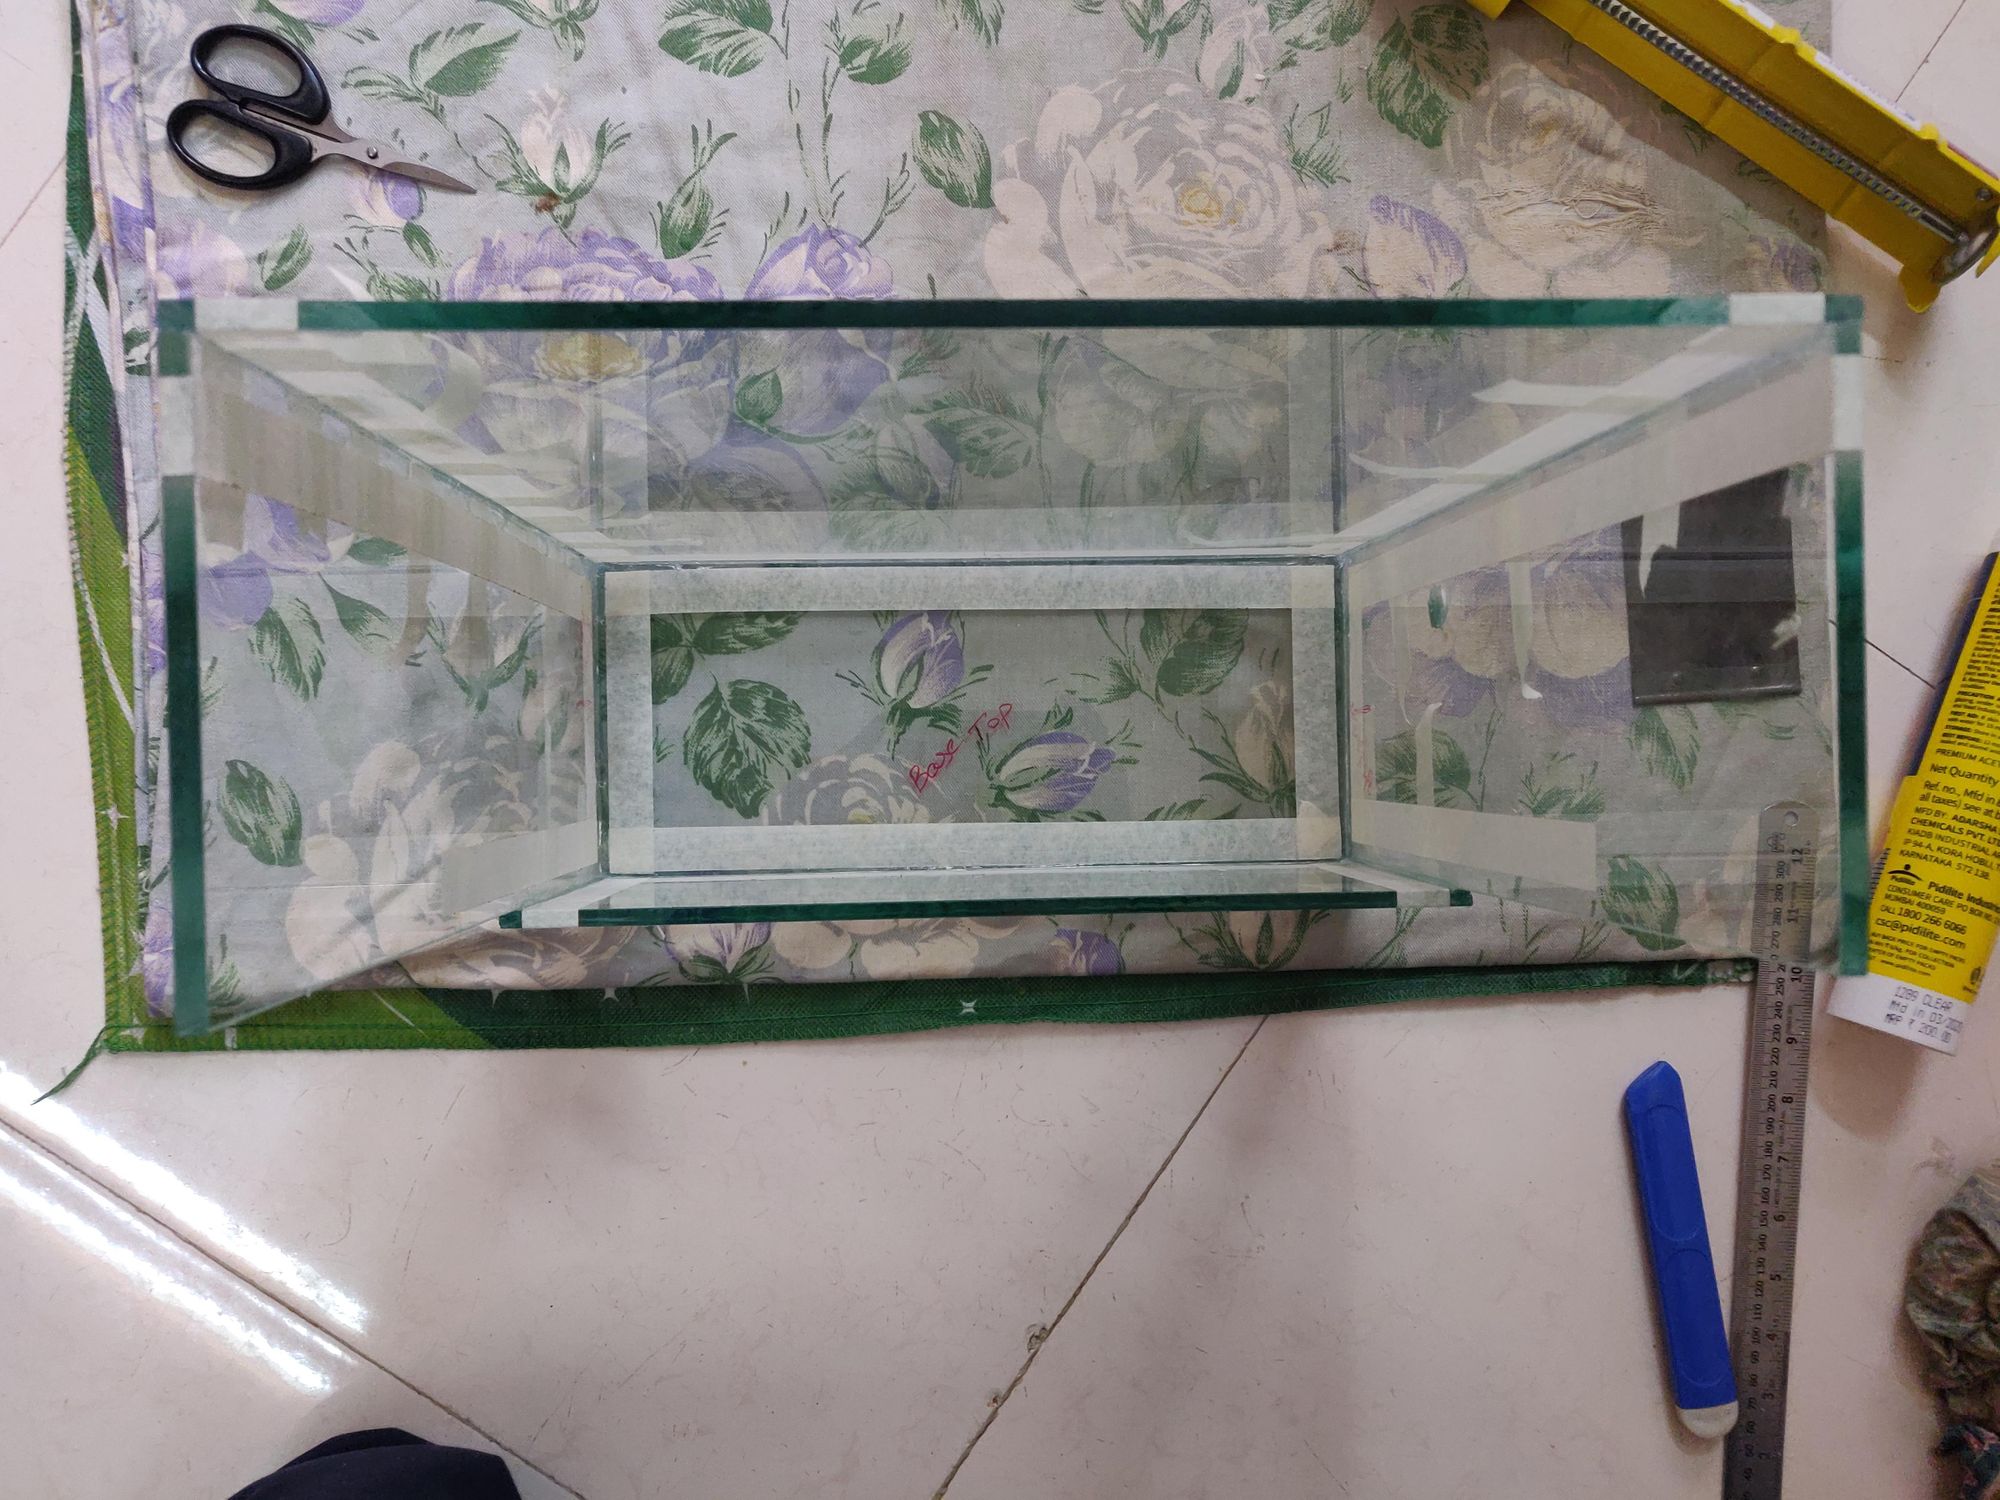
A 5mm glass was used for this tank, again keeping the space constraints in mind 10mm would take up space unnecessarily and 3mm was too thin for my to feel safe. The glass was cut into required pieces and edges were sanded to make handling easy. All the pieces were put together with clear silicon gel. But before that masking tape was stuck along the edges leaving a centimetre gap. This will take all the mess while applying silicon and leave a clean finish on the glass.
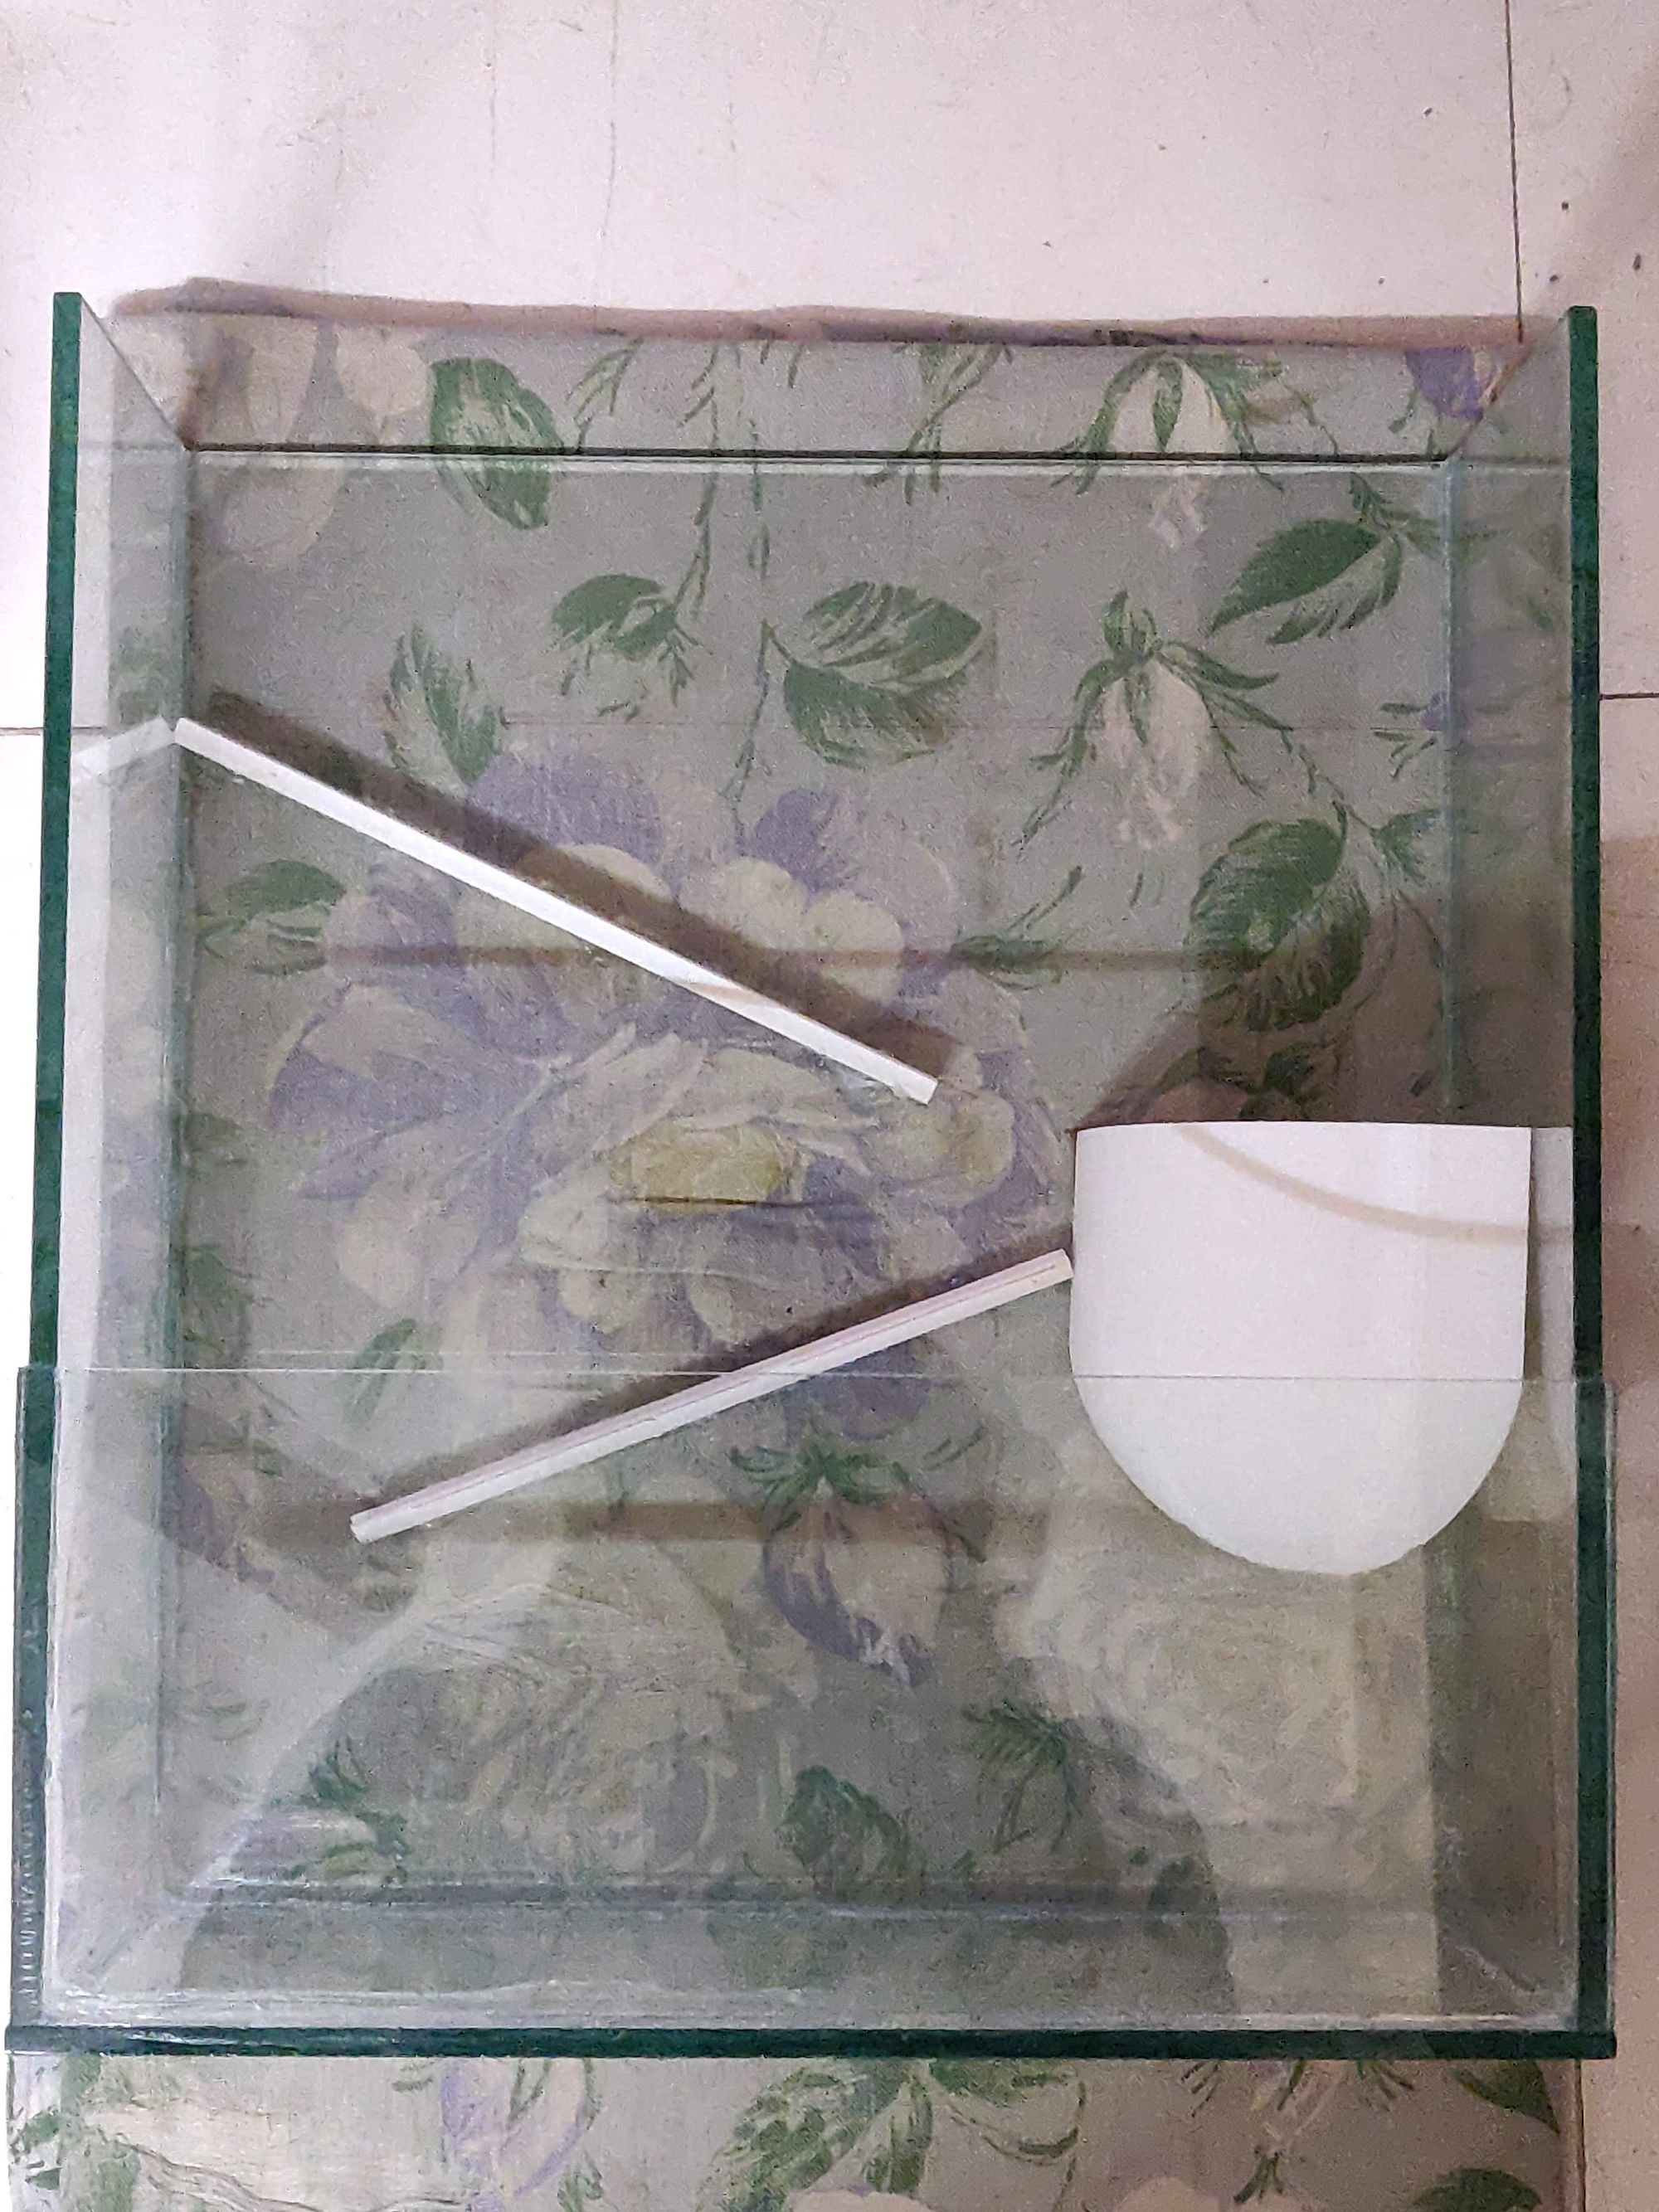
The front will have only glass upto 1/3 length and other three sides will have glass to full length to prevent splashes and drops to spill outside. A 1/2" hole was drilled to one of the side panels. This will be used for drain tubing into the bottom tank.
This tank will hold approx 4L of water. The dimensions for my setup is -
320 x 130 mm -> front
340 x 130 mm -> 2x sides
340 x 320 mm -> back
320 x 140 mm -> bottom
3D design and printing parts
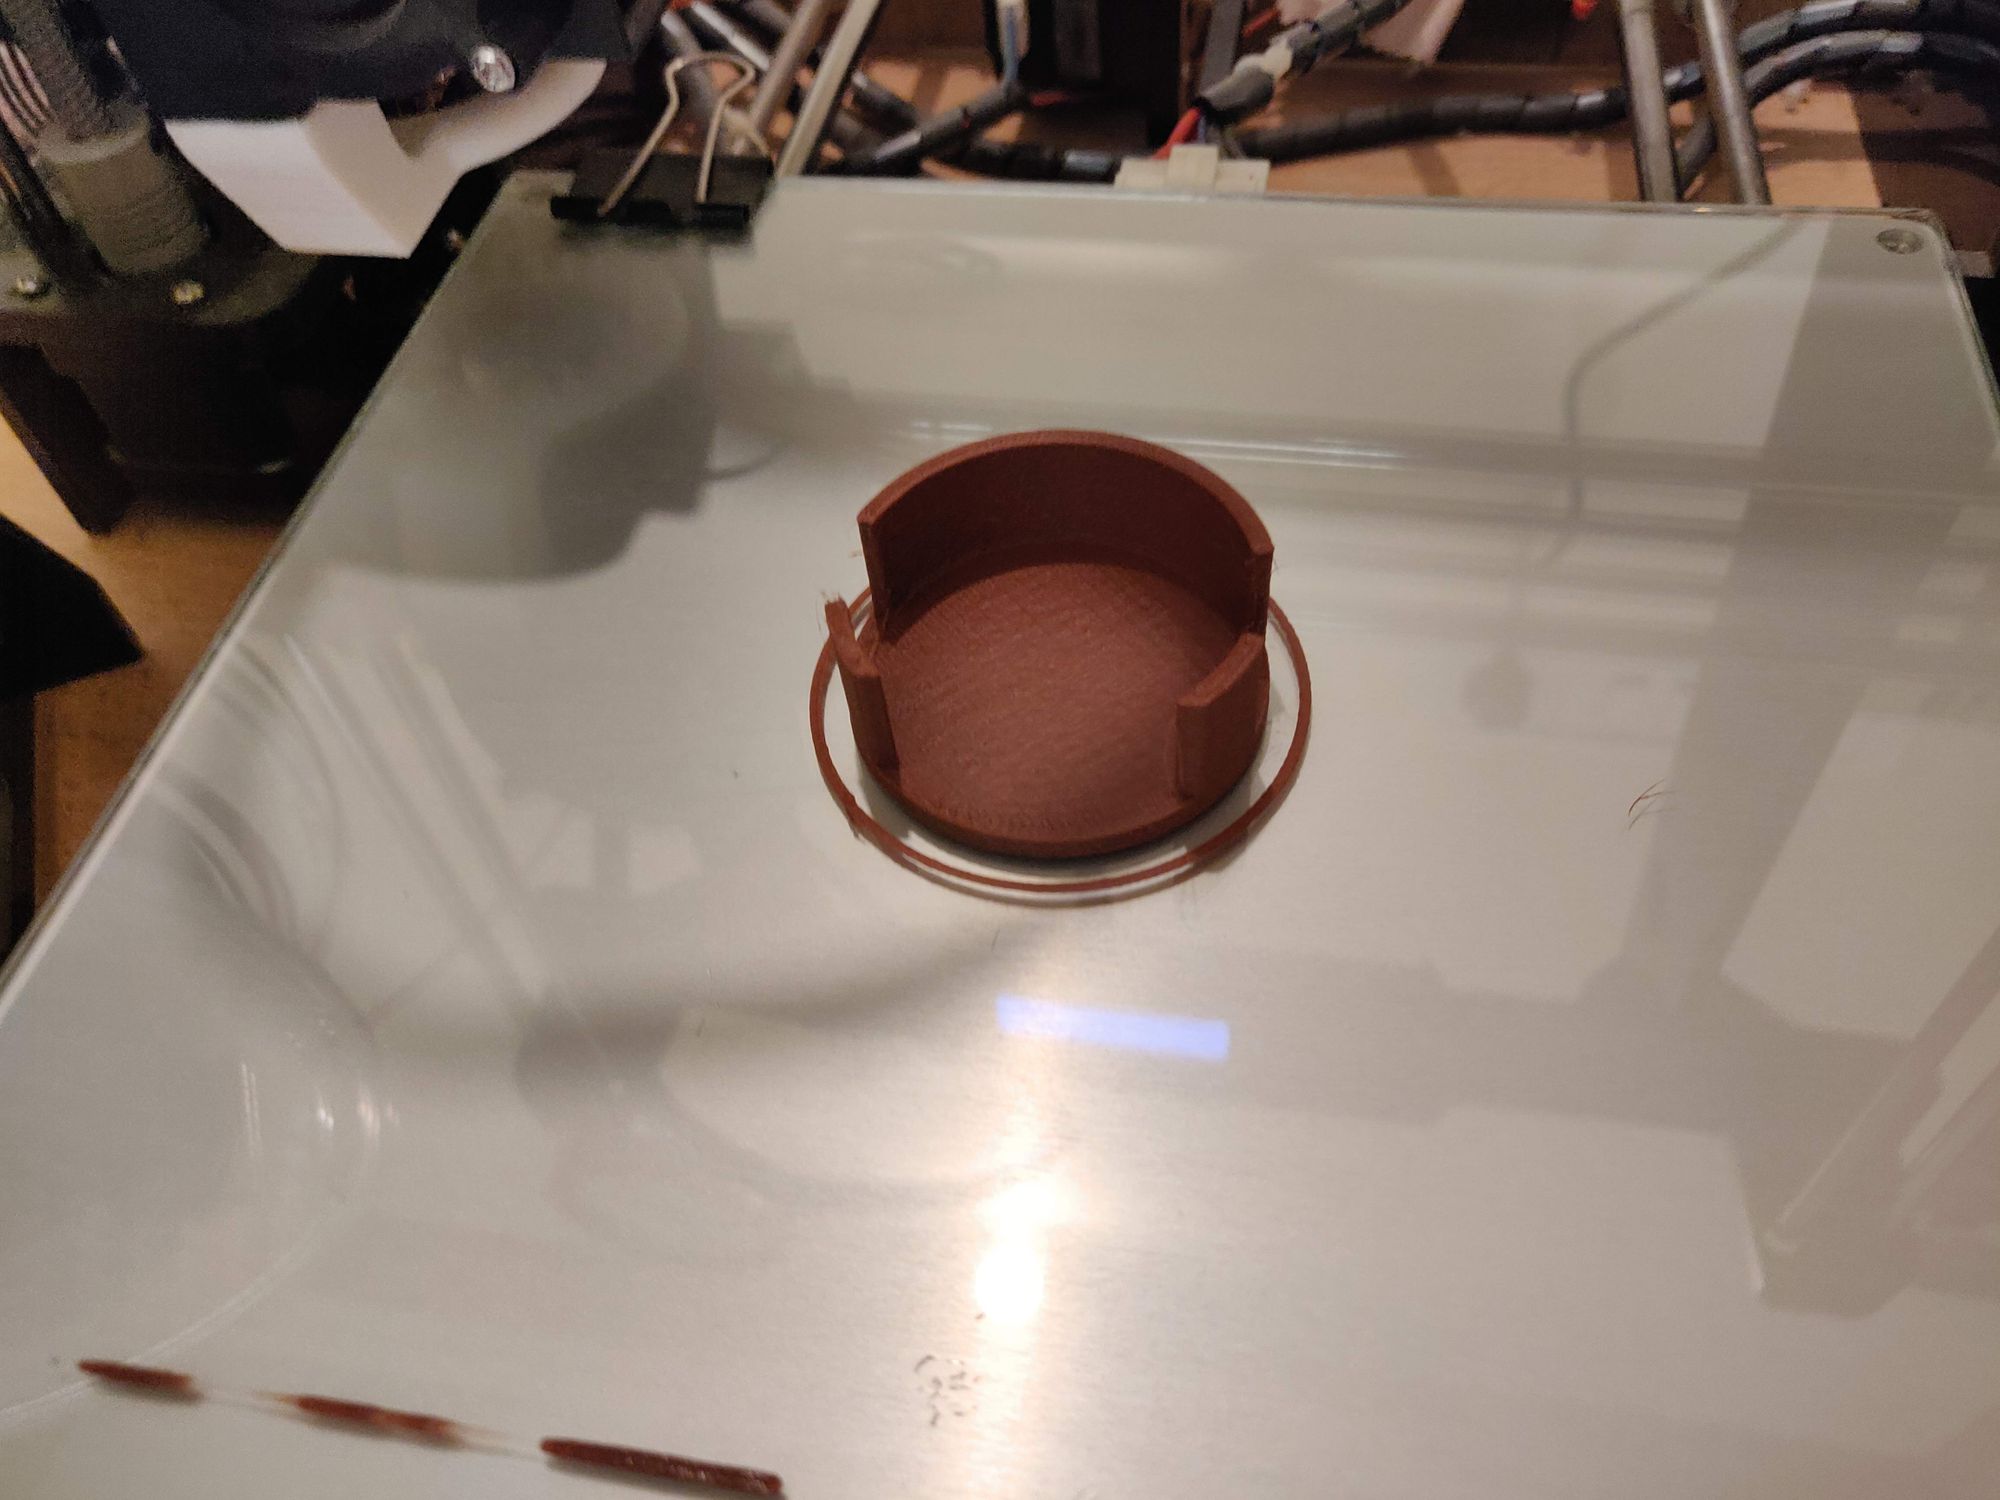
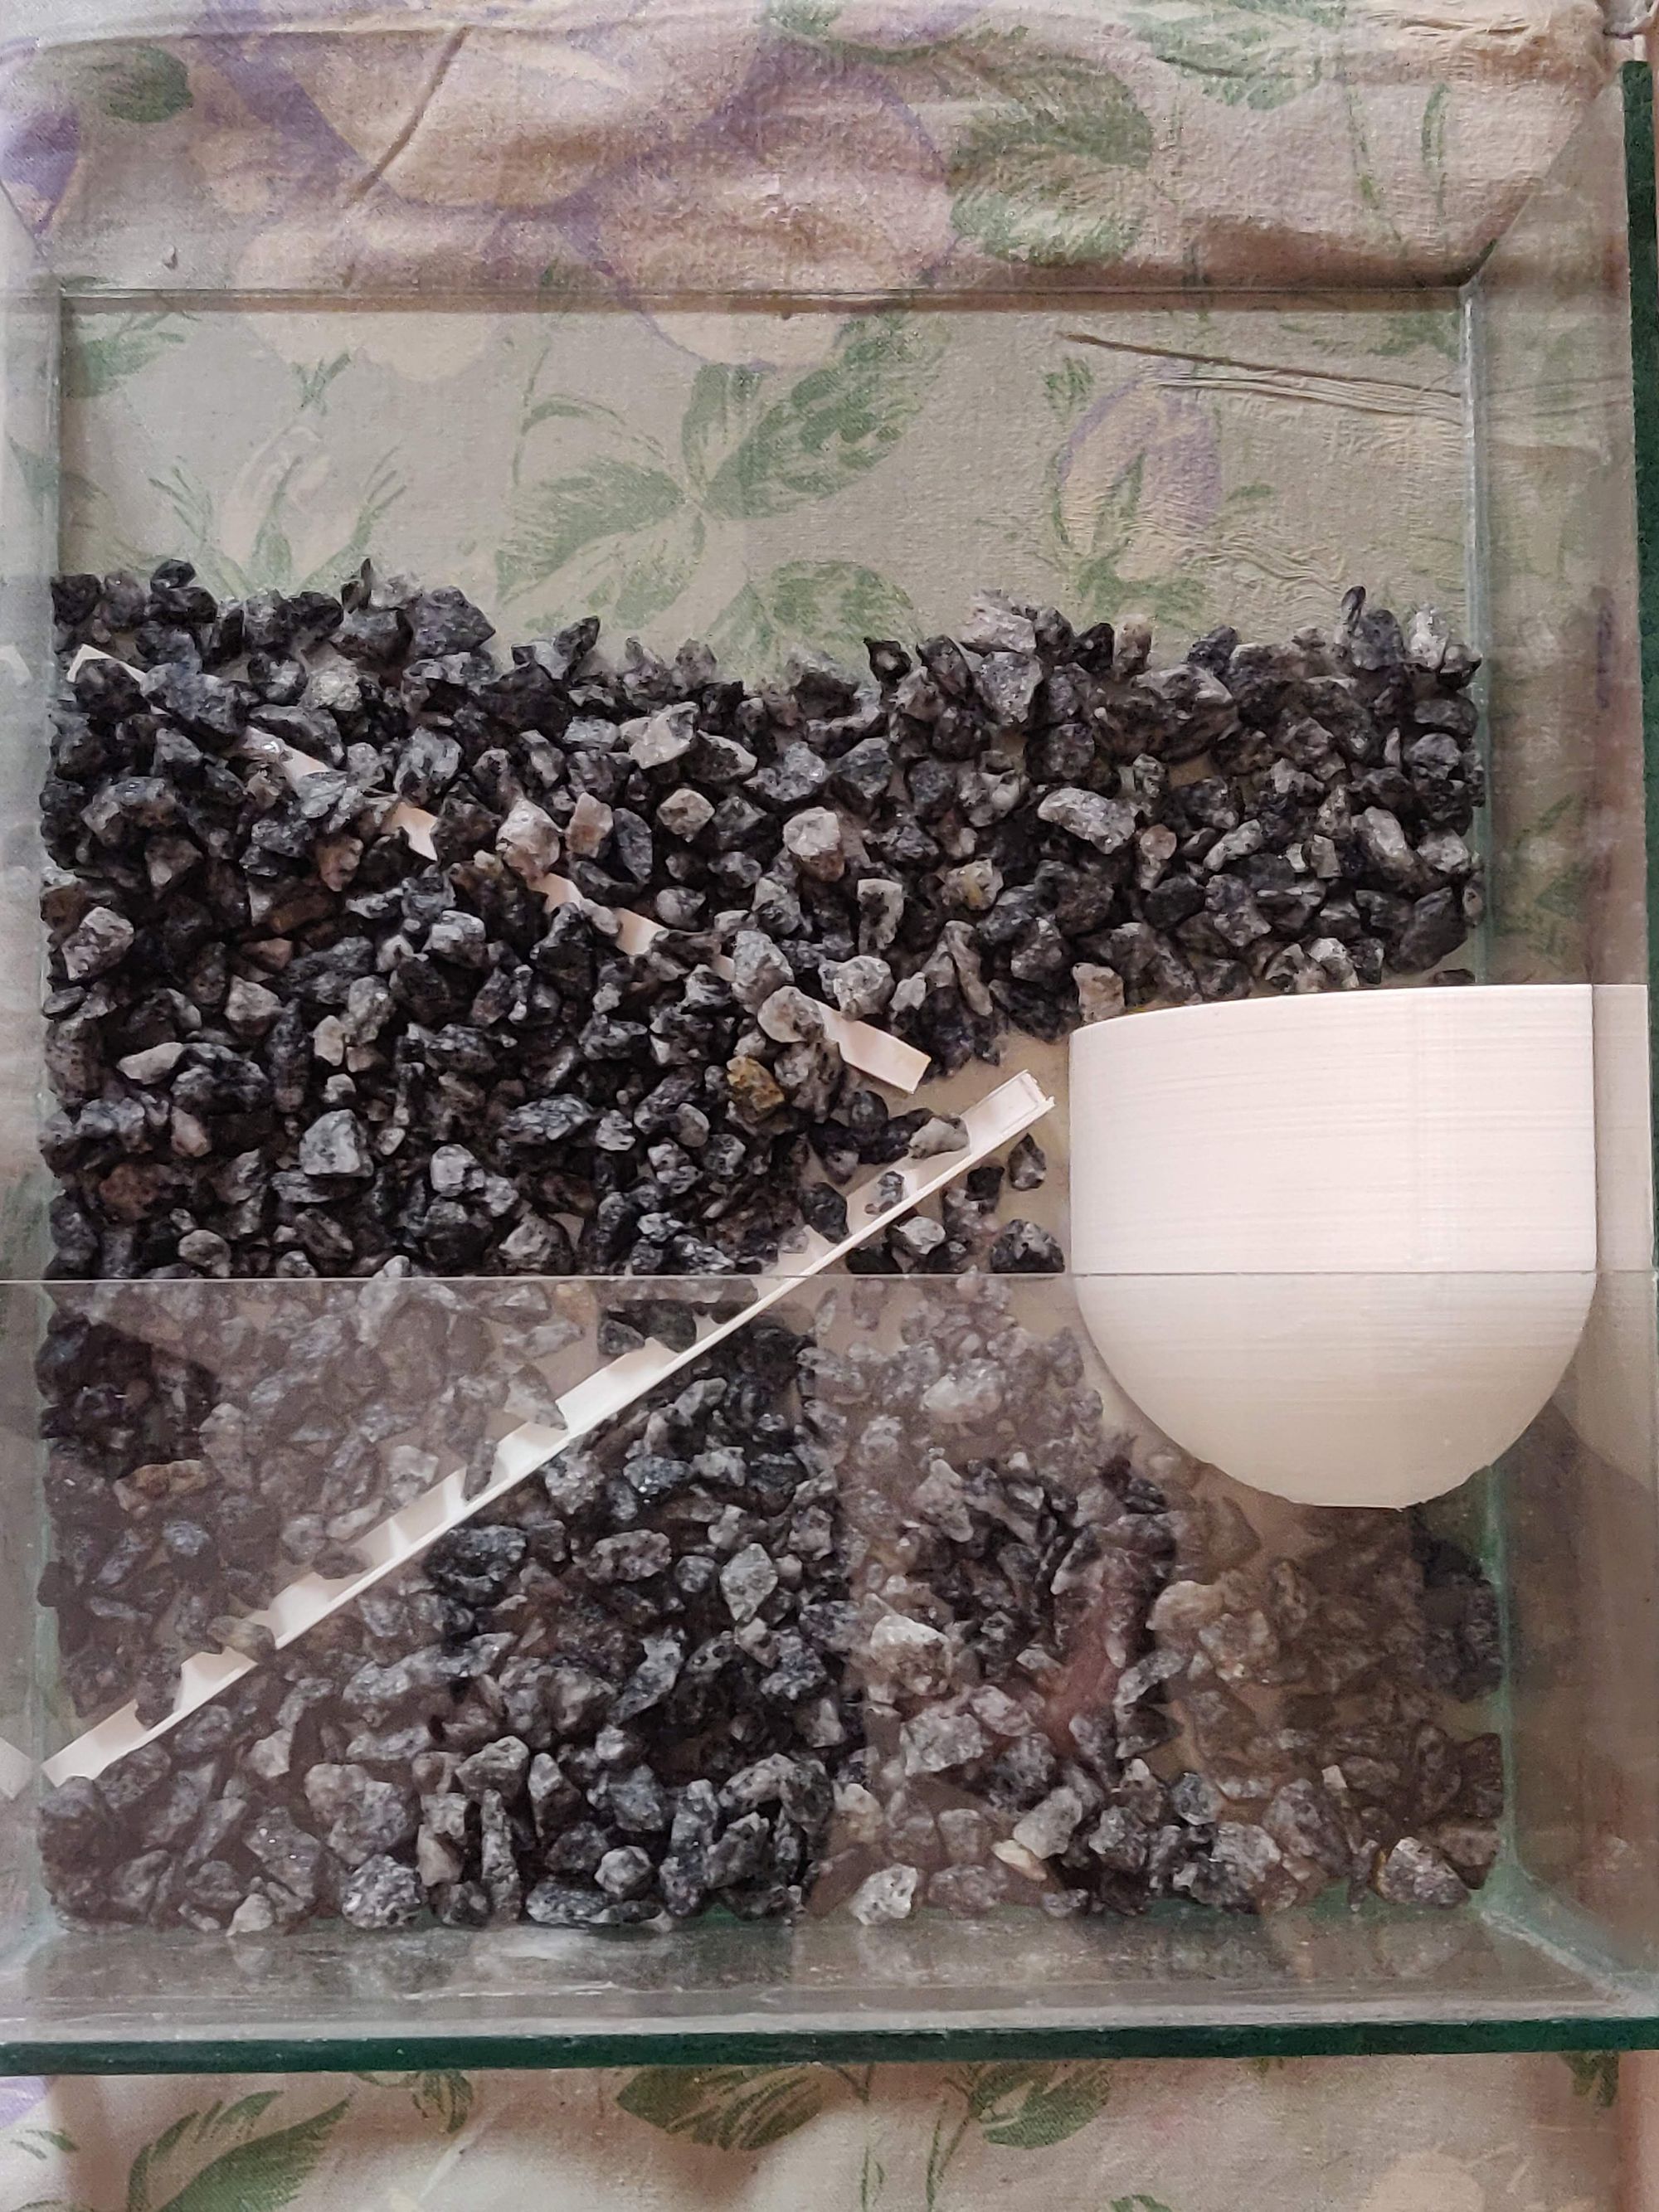
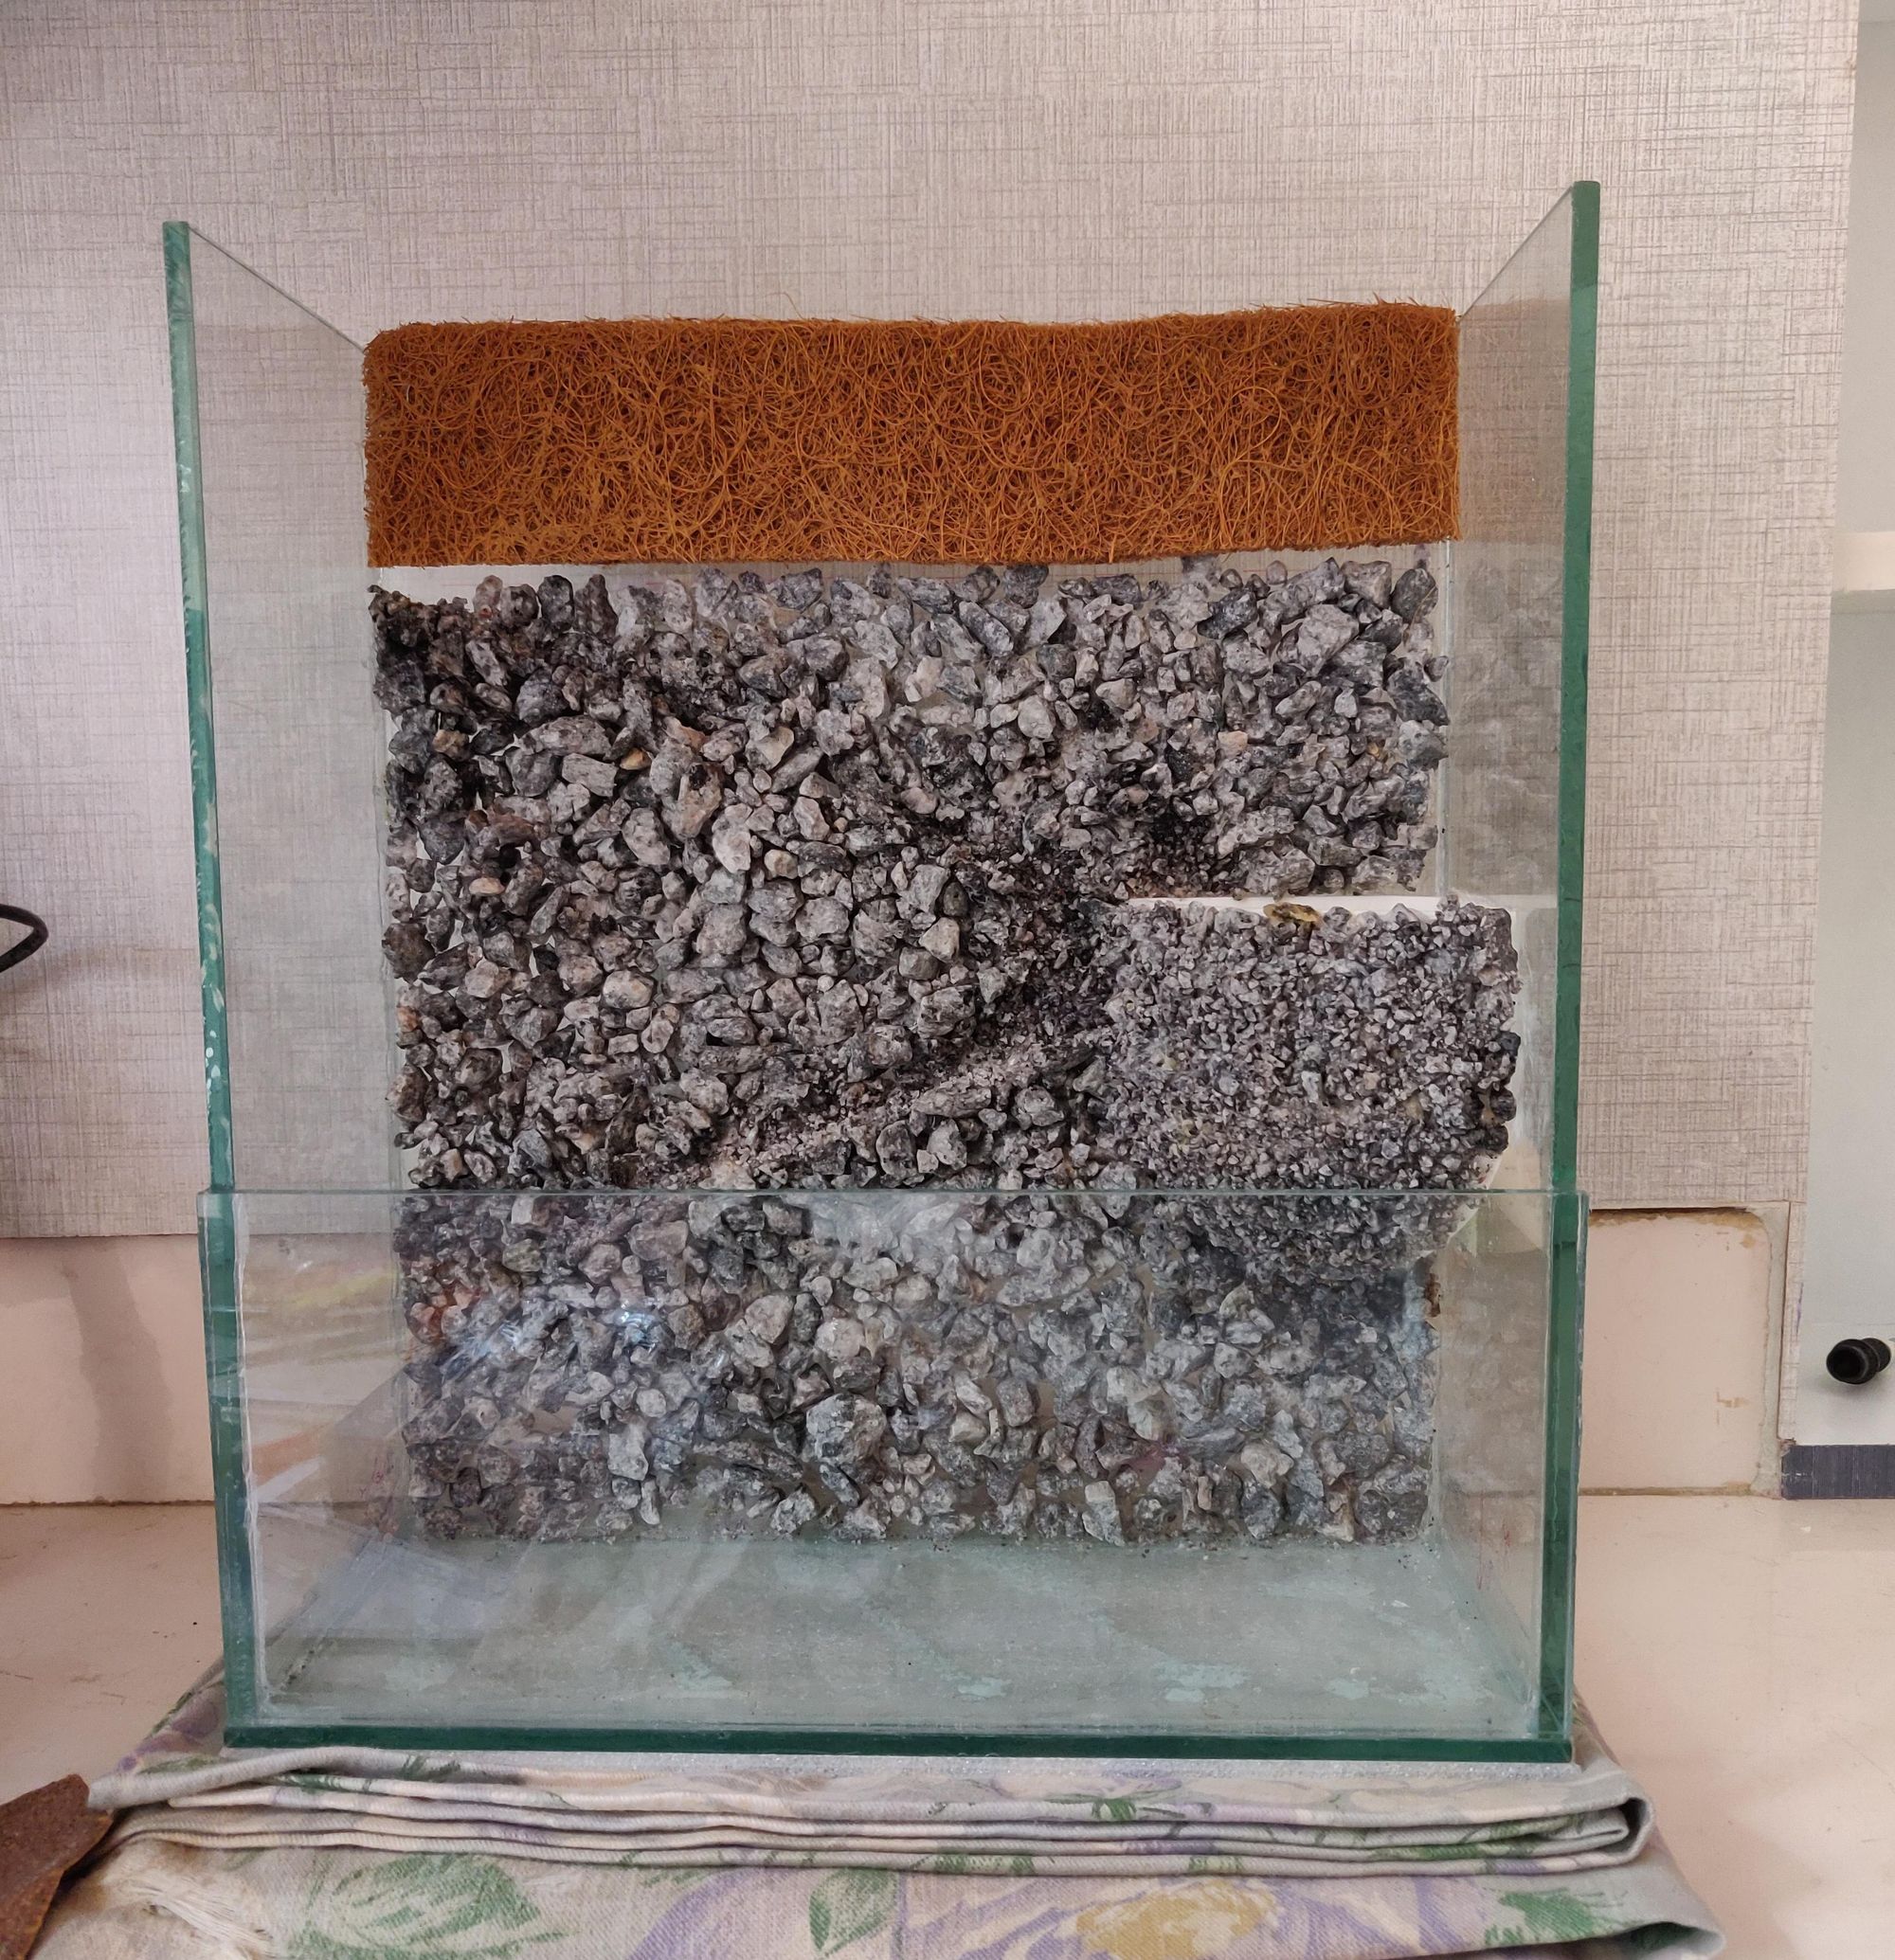
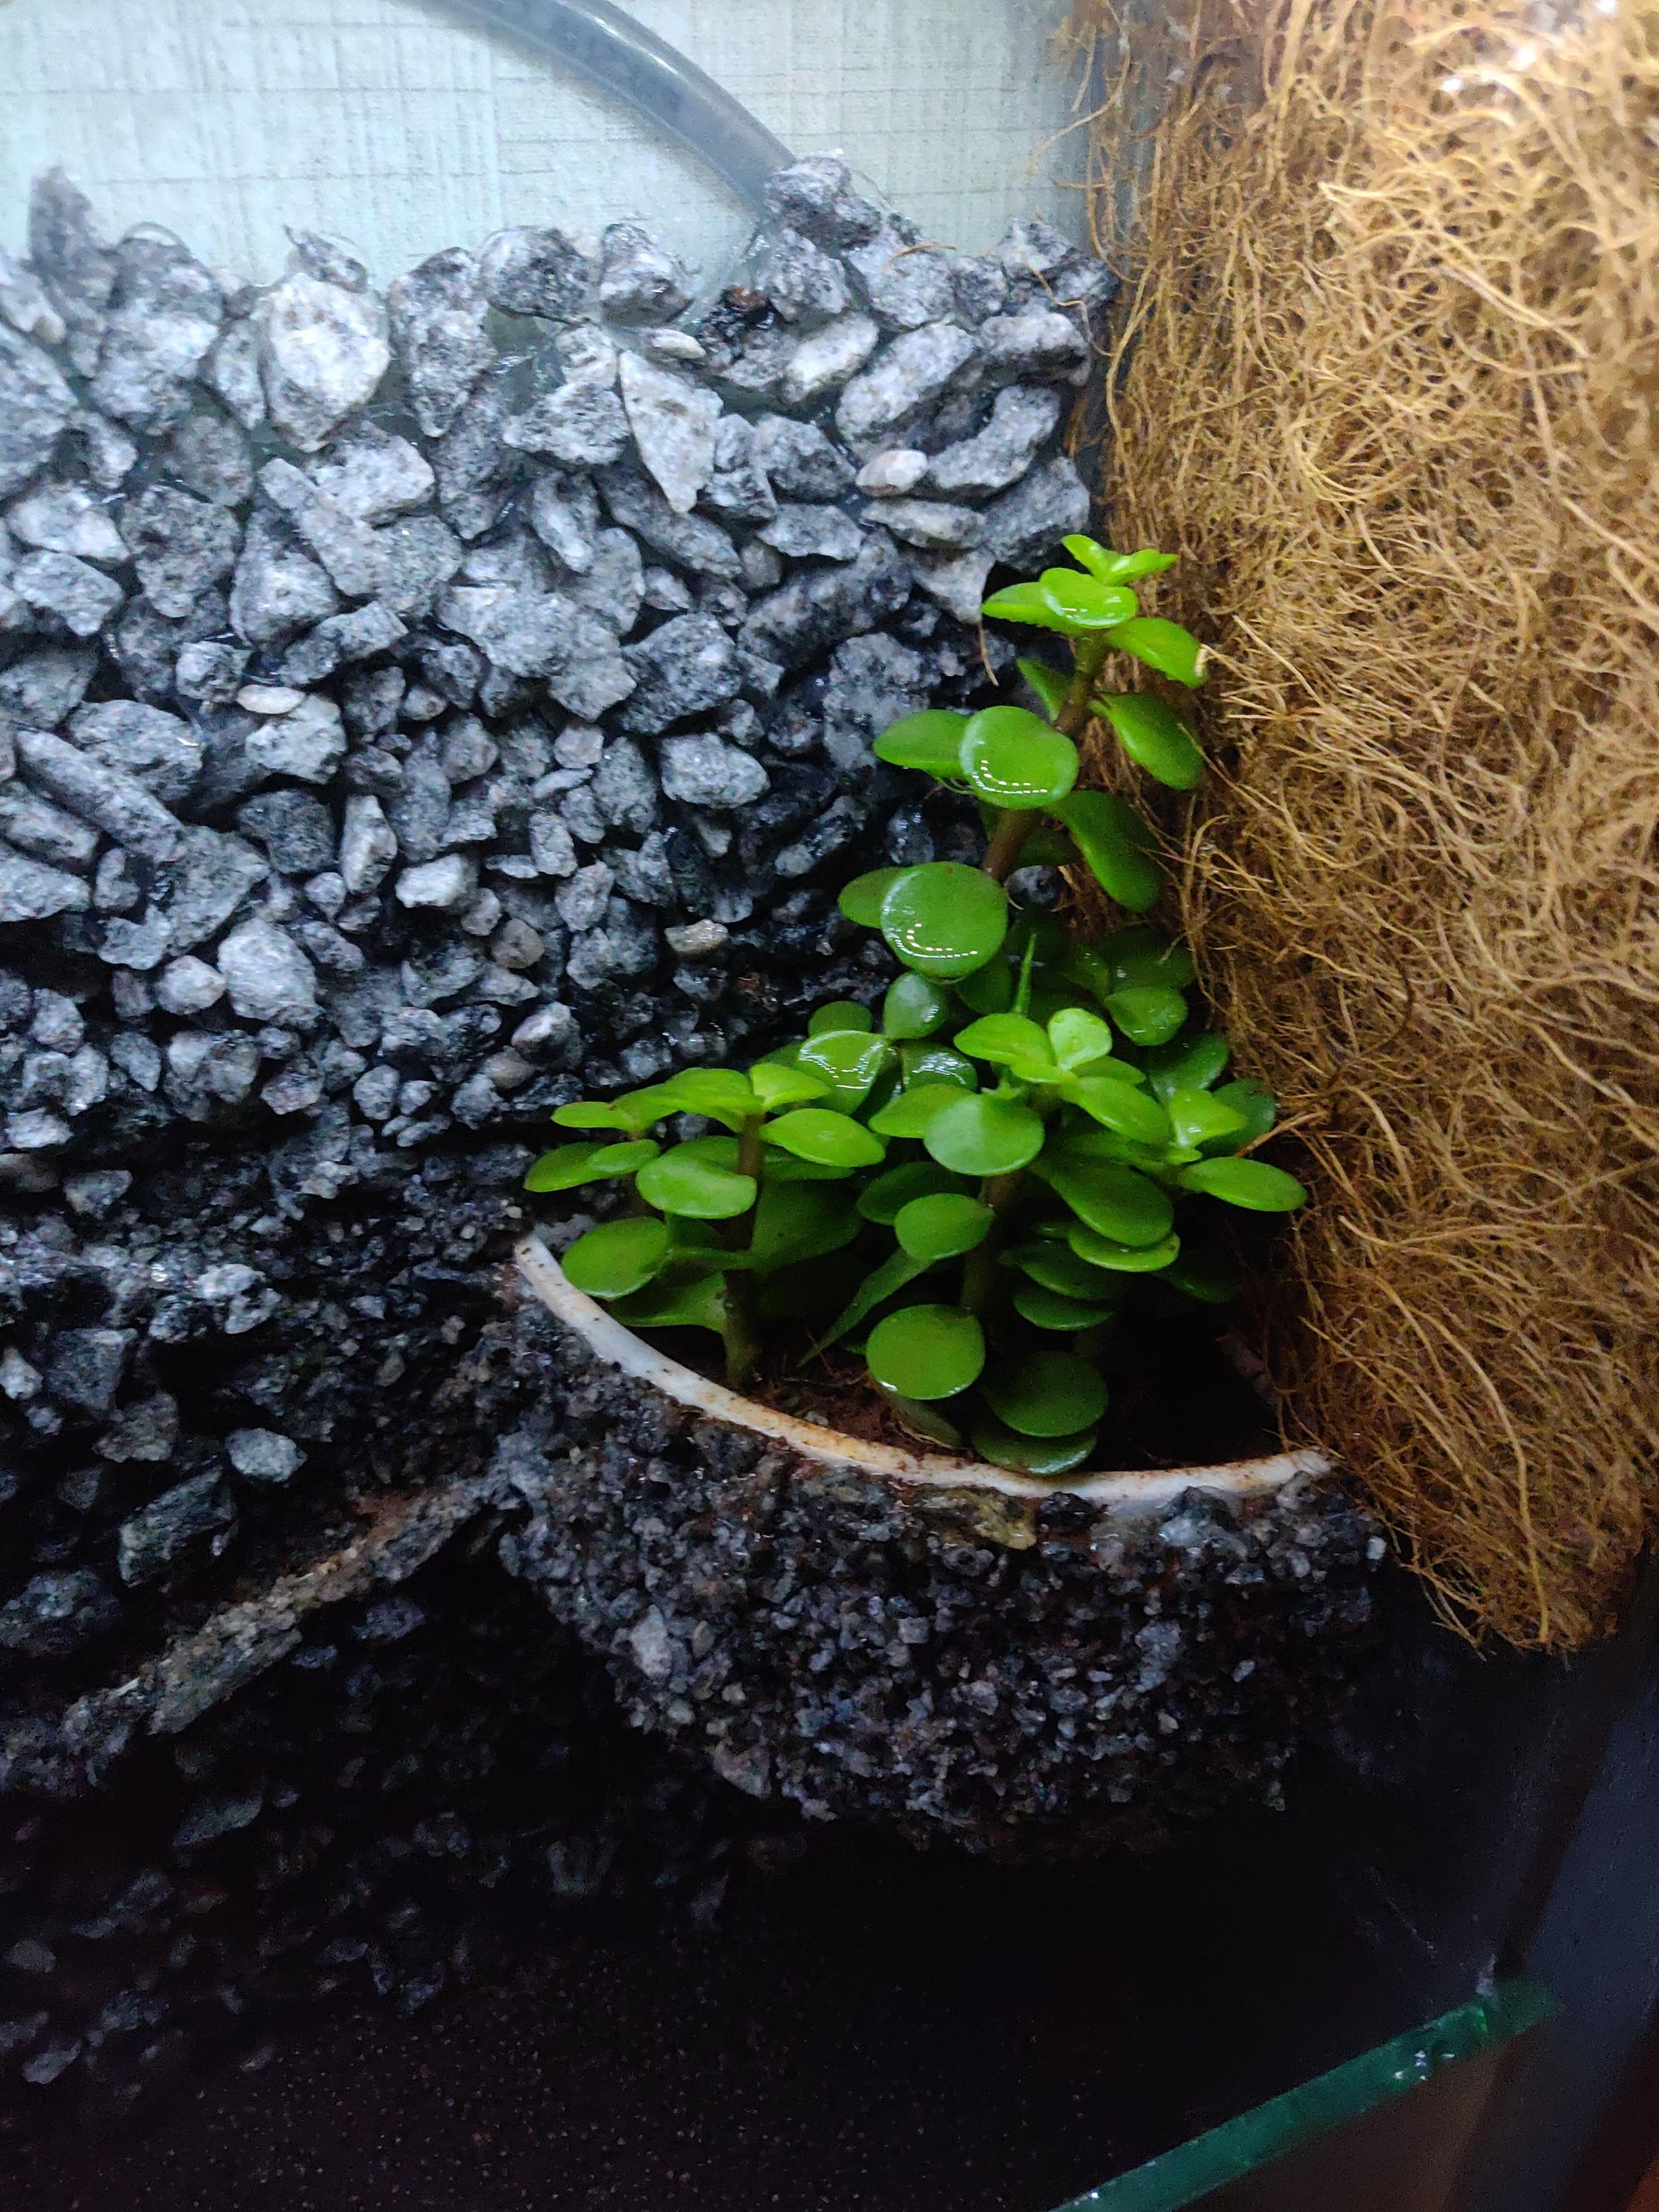
The first part that was required was the container in the main tank, where plants would go. Since there was a space constraint, I could not go for available containers. So I took the measurements, designed and printed a corner pot in the paludarium.
I printed this potter twice. First time in wool pla, in which I had a sharp corner. I did not account for the silicon along the edge of the glass and this sharp corner on the pot will damage it. So re-printed another in white pla with a flat corner.
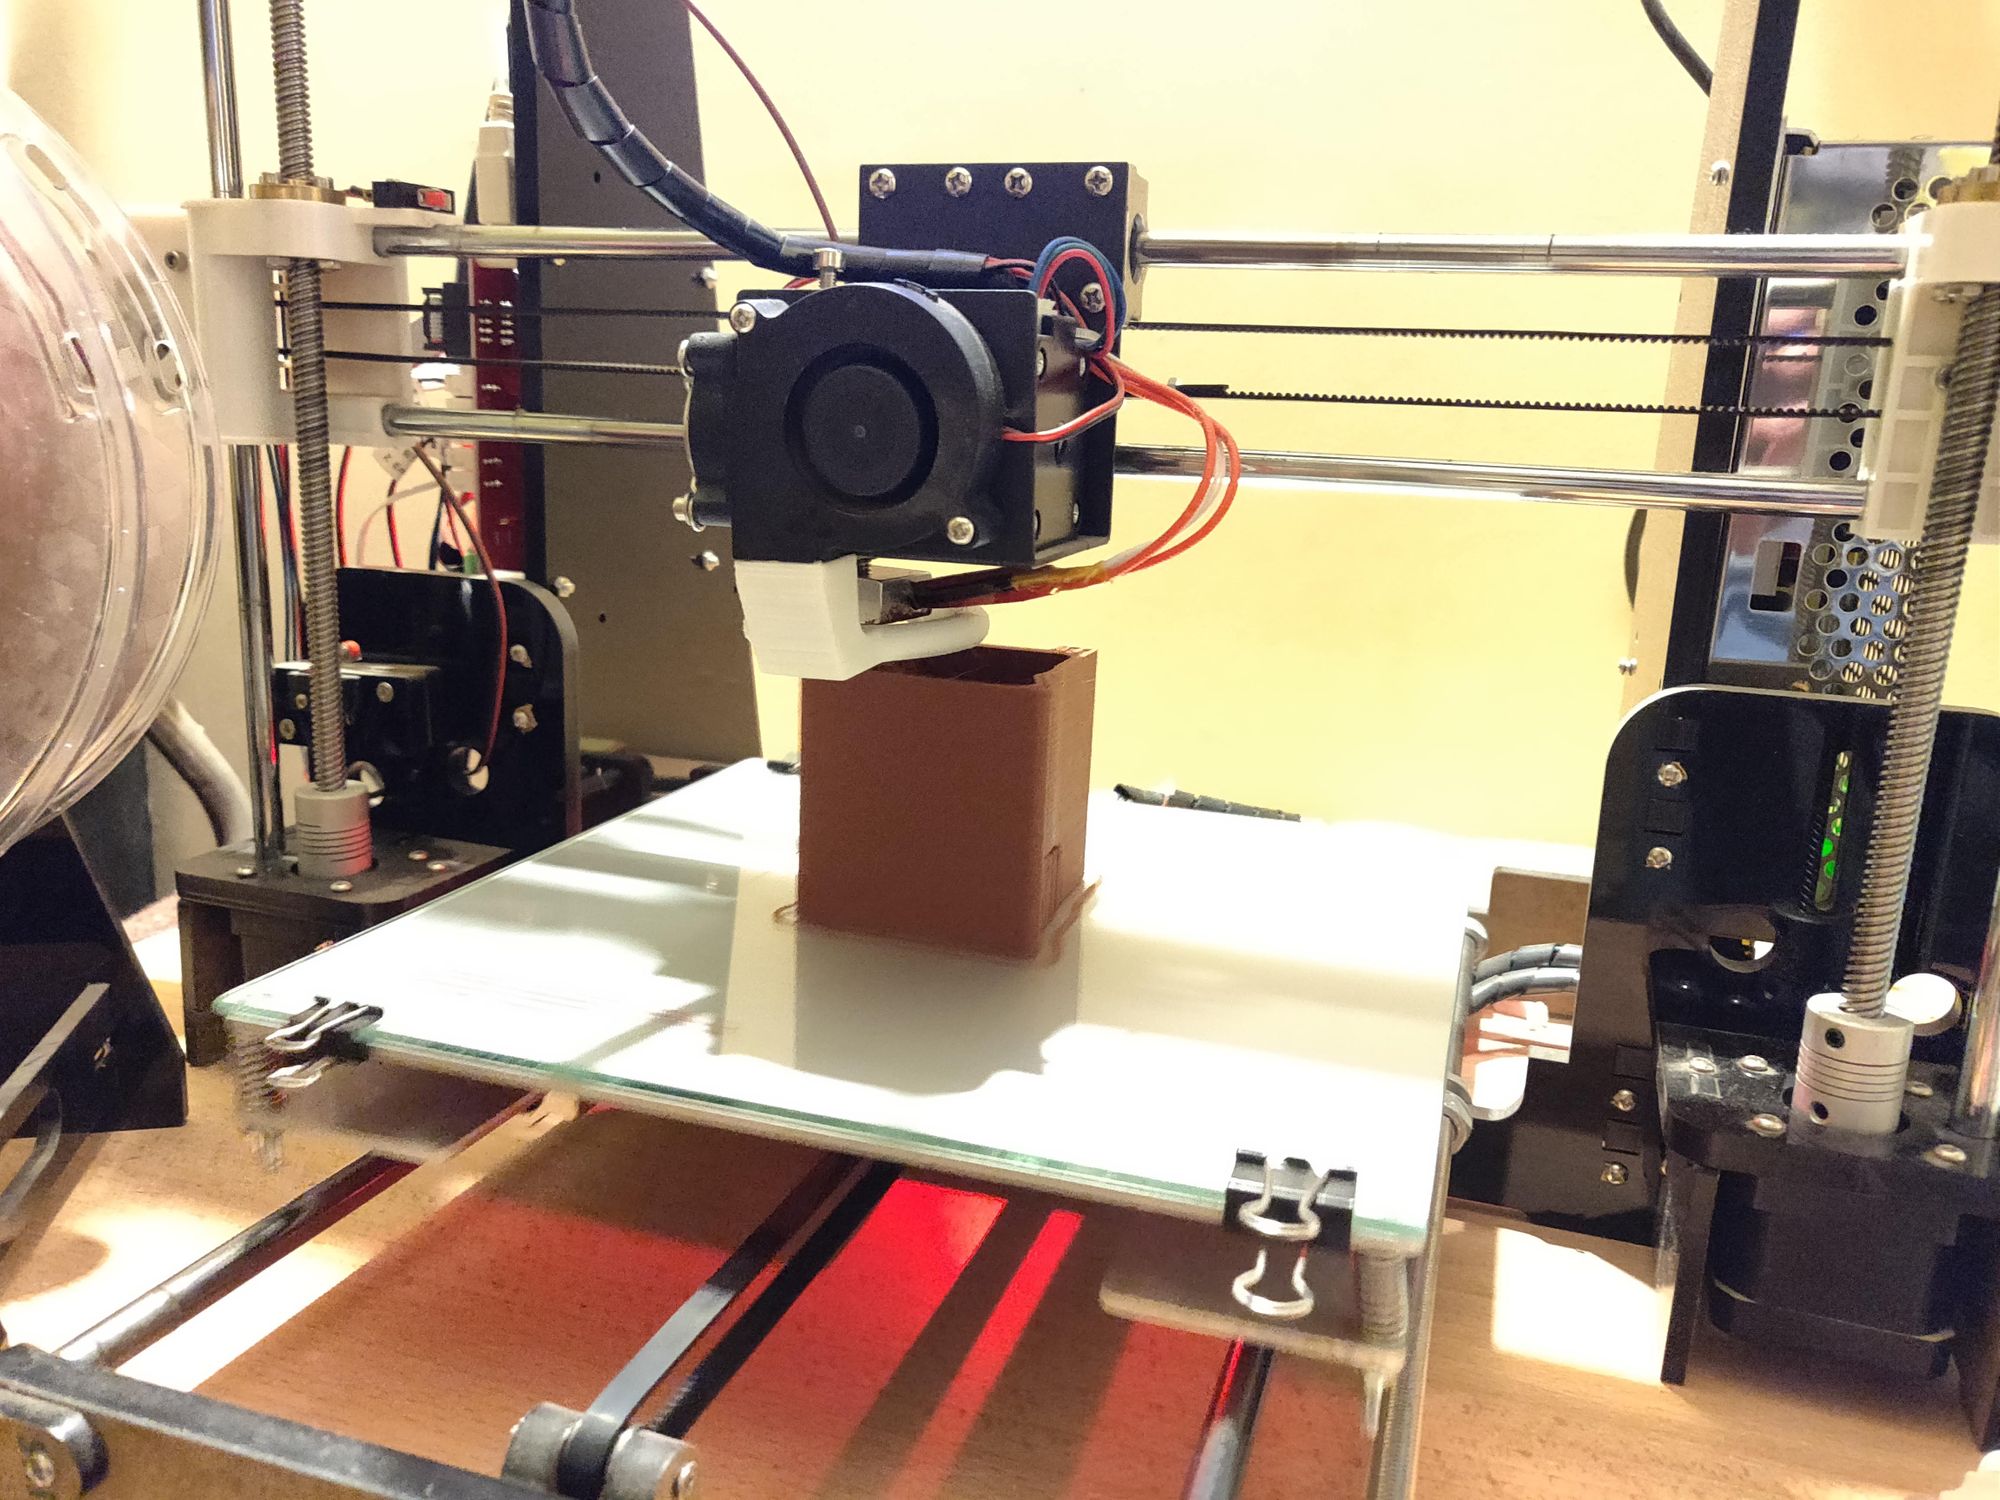
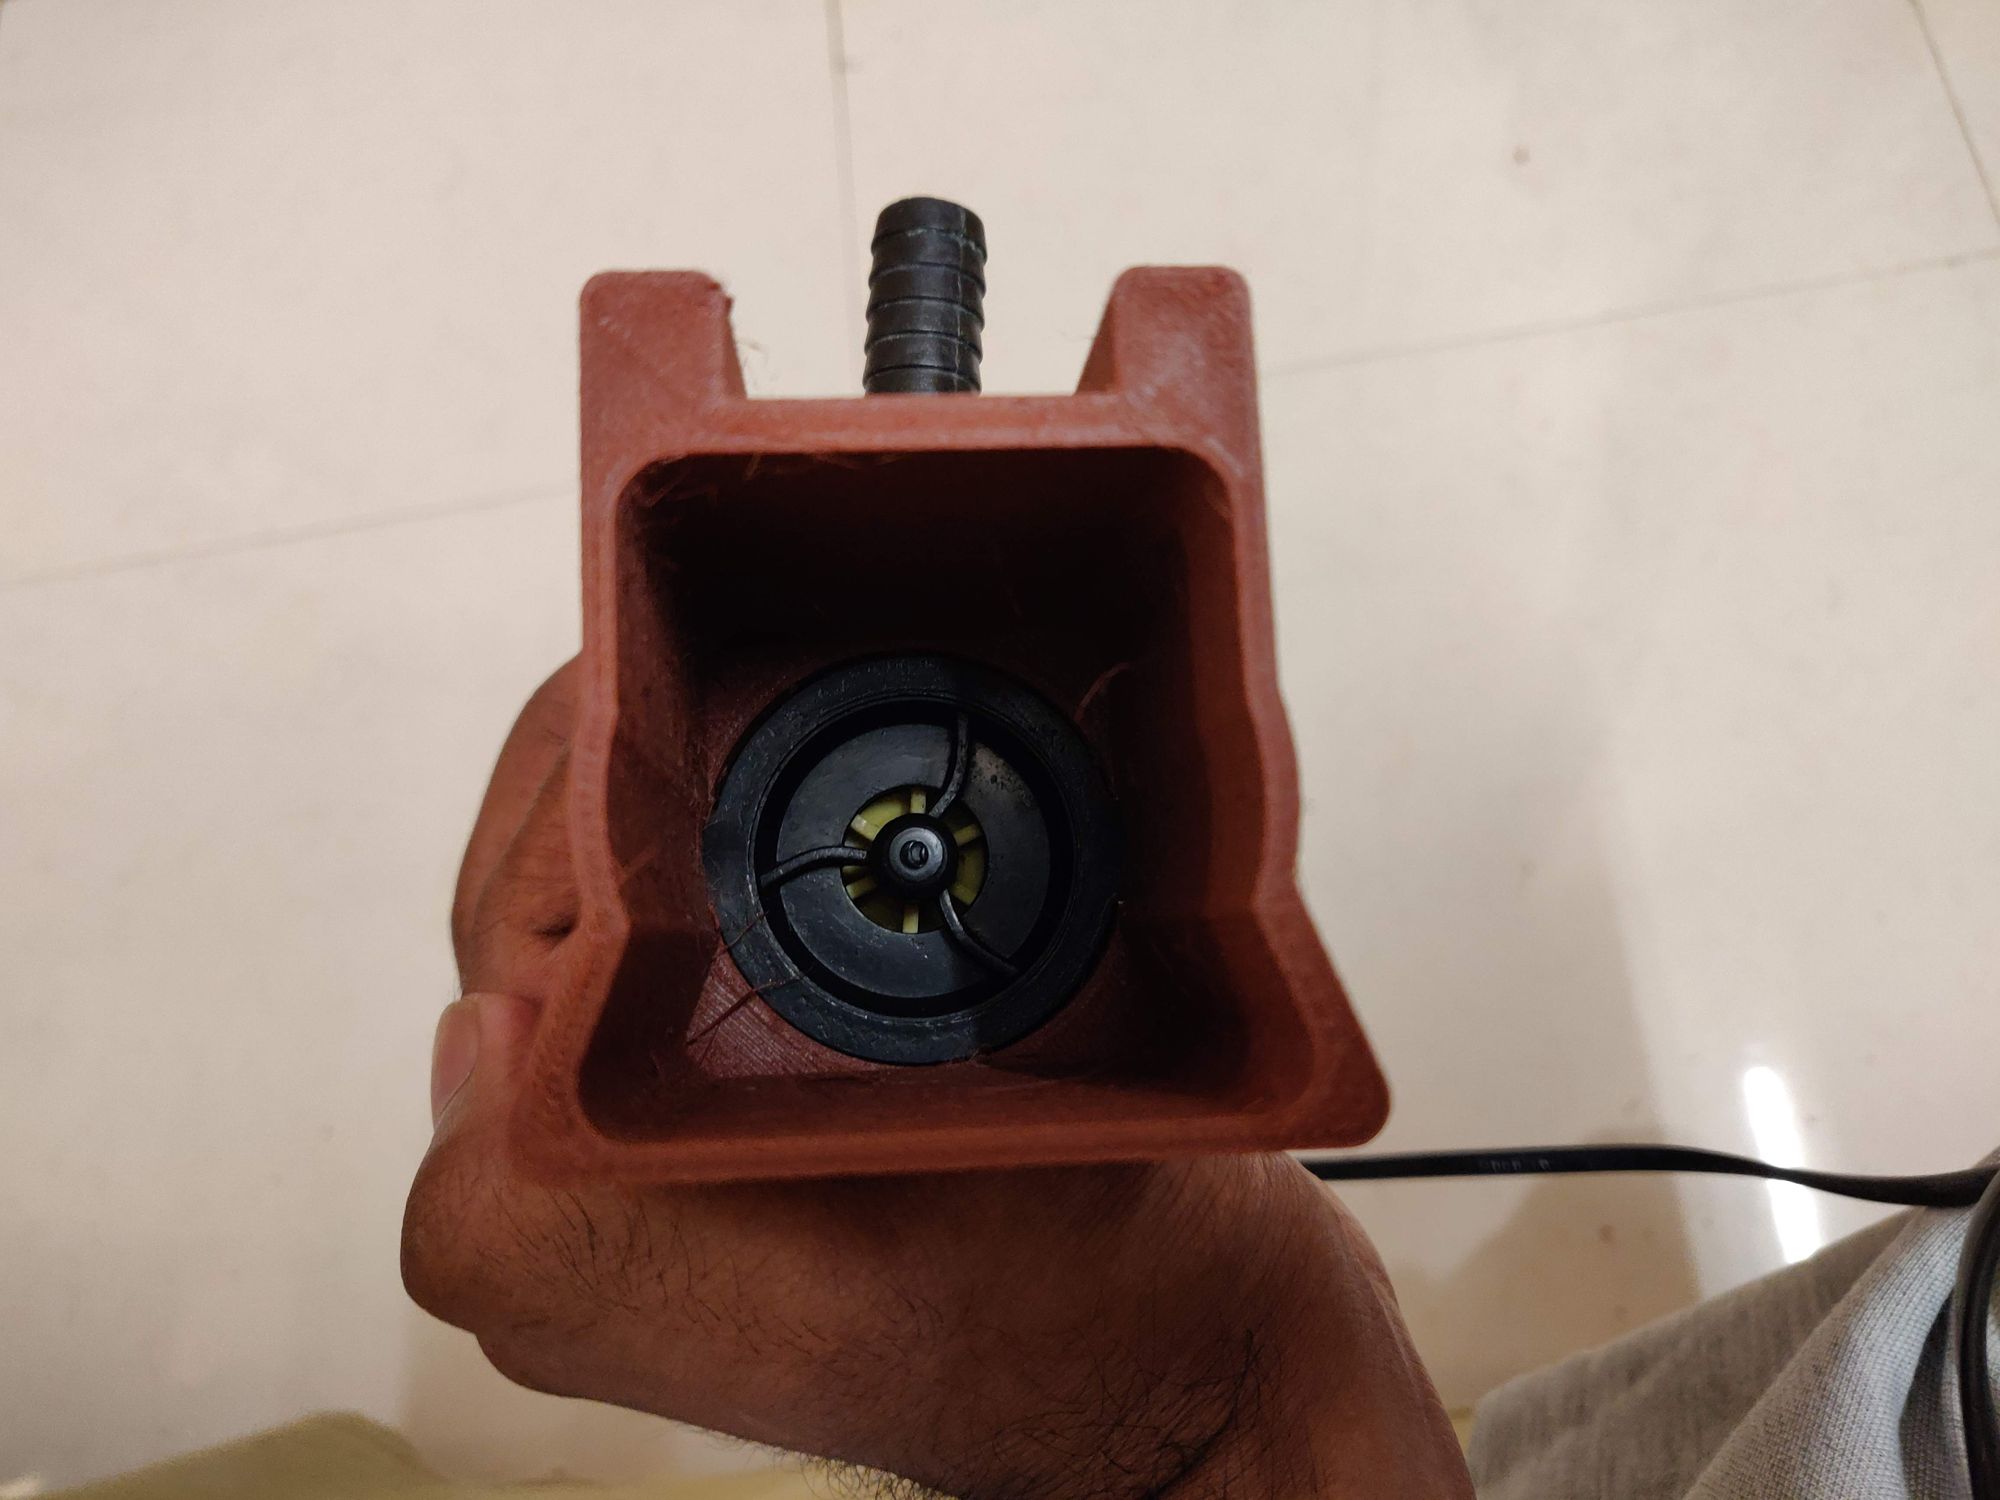
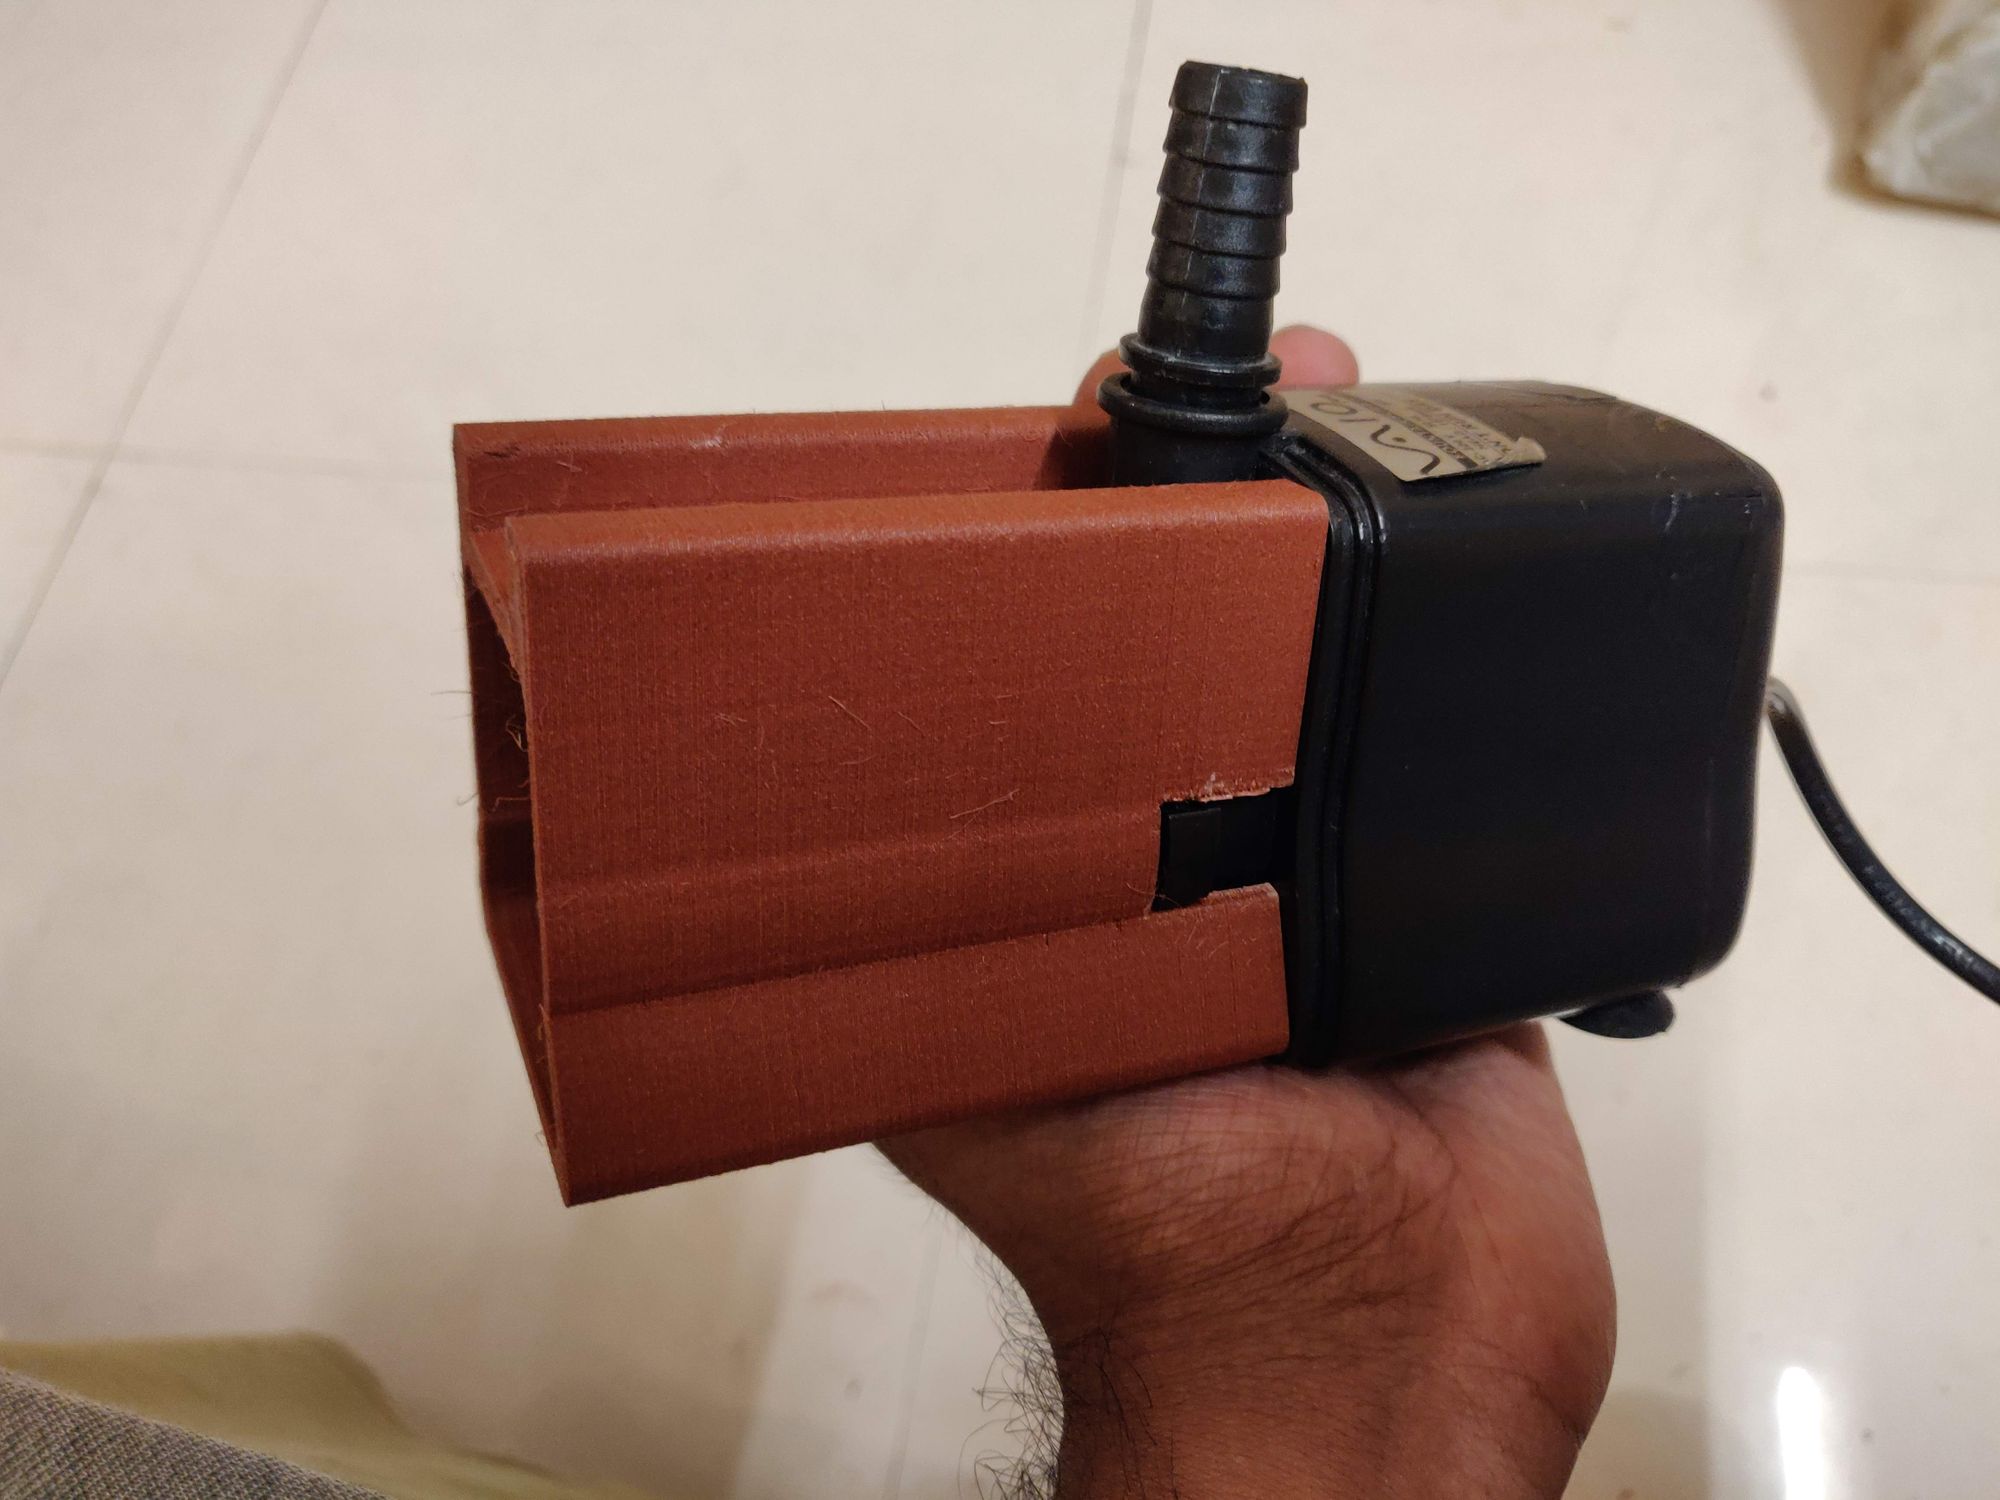
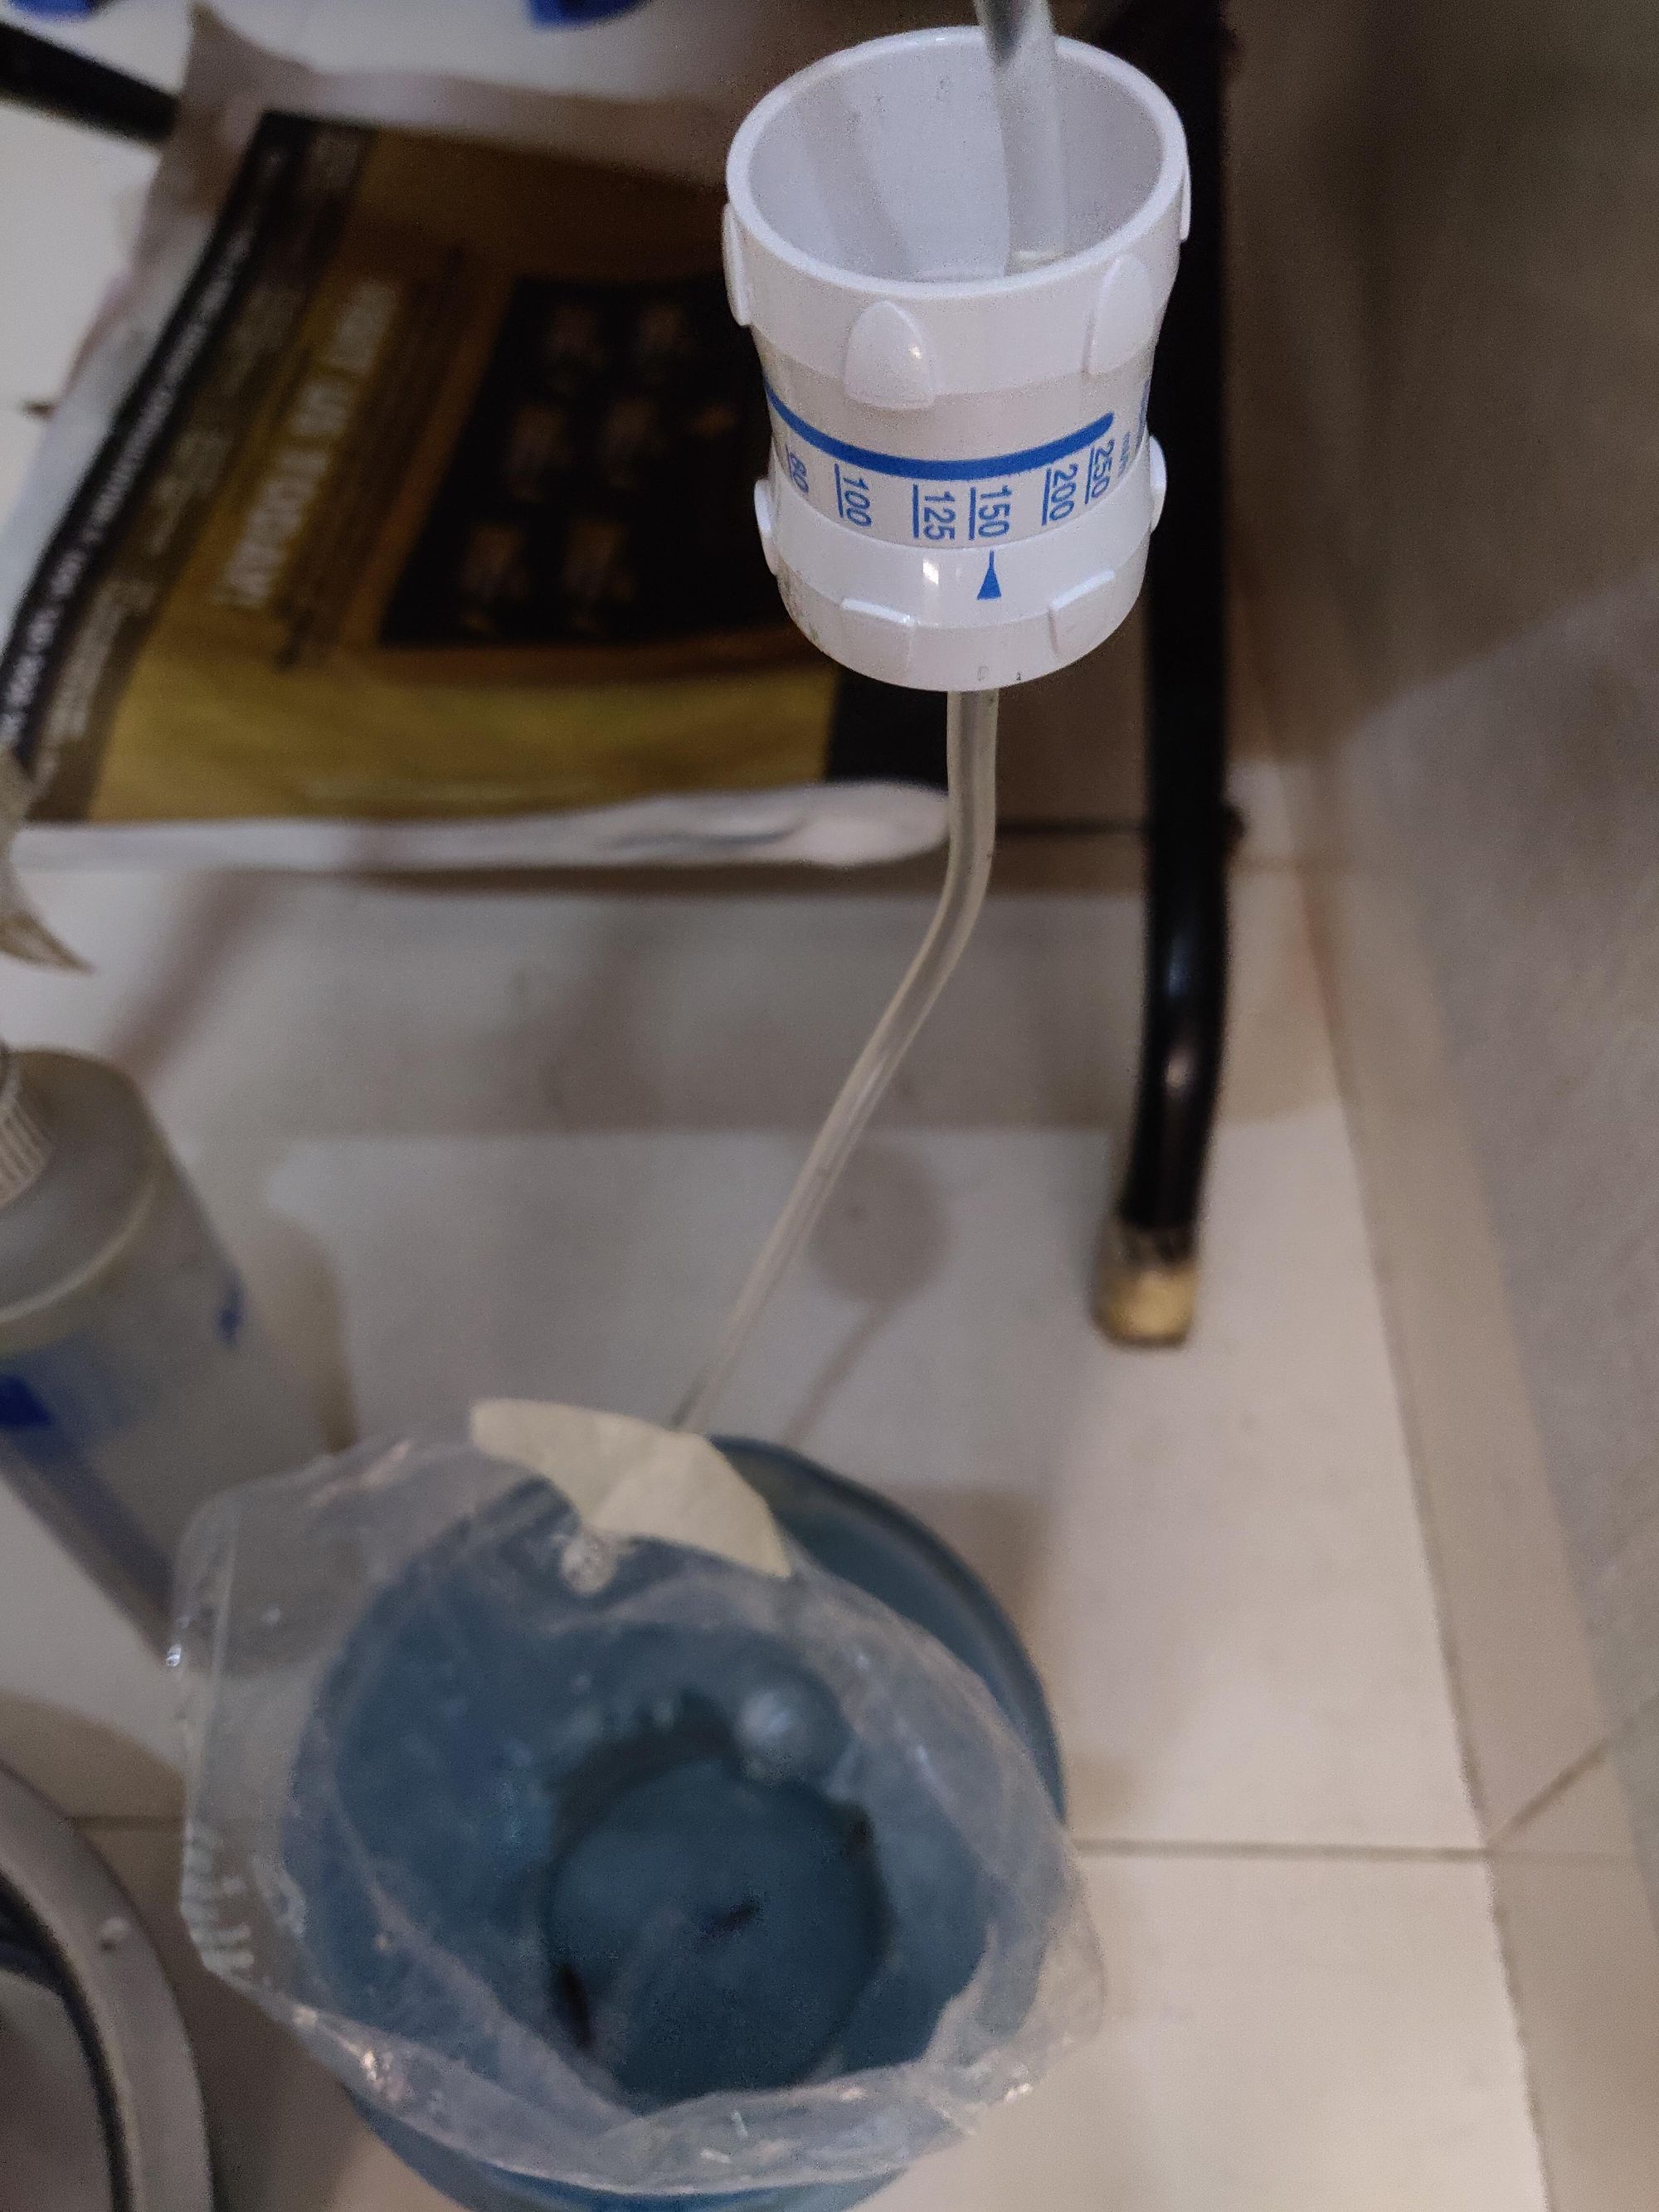
The second thing that needed printing is the filter attachment to the water pump. I don't have a aquarium pump strong enough to lift the amount of water for the waterfall and to the required height. So I used a regular submersible pump and designed a filter system to it.
The main media in this is mechanical filtration like cotton fiber and sponge, and some chemical filtration I've added activated charcoal in between.
Same as potter, I had to do two prints for this. The first one was just the connector part, to test the fit. And next the complete filter chamber was printed.
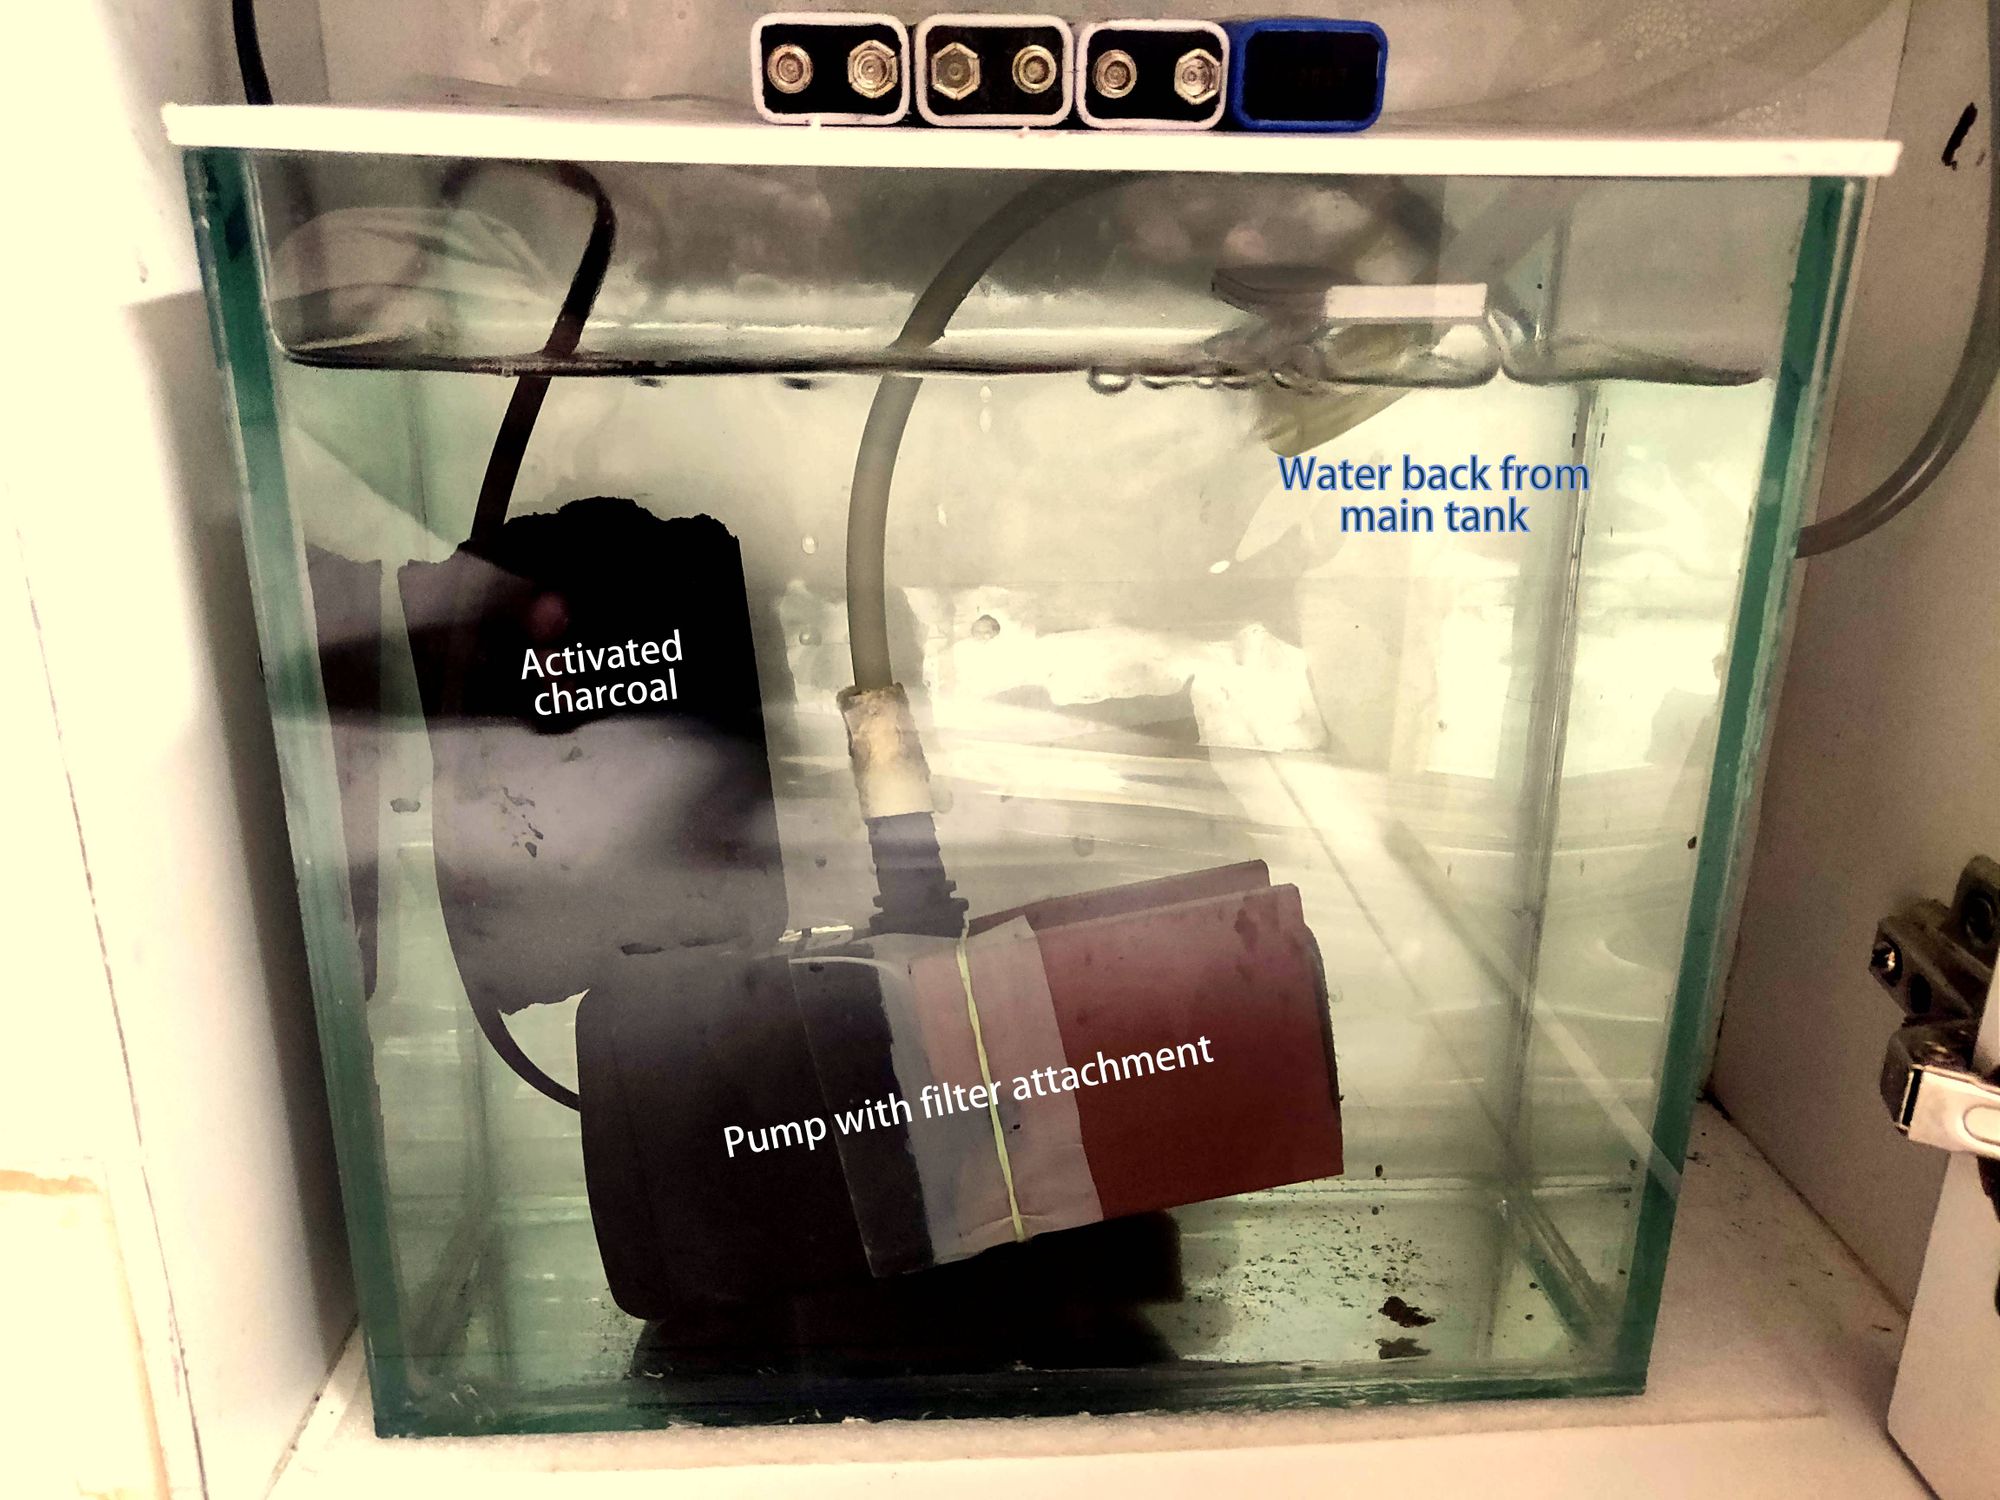
Making the Bottom tank
This tank will go into a closed compartment below the main tank and will host the pump and filter mechanism for the setup. This also means that the effective water capacity of the paludarium increases and will take more time for ammonia levels to reach high, meaning I have to do water changes less often as compared to just the main tank.
The process of building this is similar to main tank. Got all the glass panels cut to the required dimensions and put it together with silicon. There are no cuts and drills required for this tank. This one holds approx 5L of water and the dimensions of the tank are -
230 x 250 -> front & back
230 x 110 -> 2x sides
250 x 110 -> bottom
Bottom tank will have the water pump with filter attachment. I have also added a piece of activated charcoal (from a water purifier candle). This will remove the harmful chemical and metals, and being porous increases surface area and will act as a biological medium as well.
Collecting hardscape
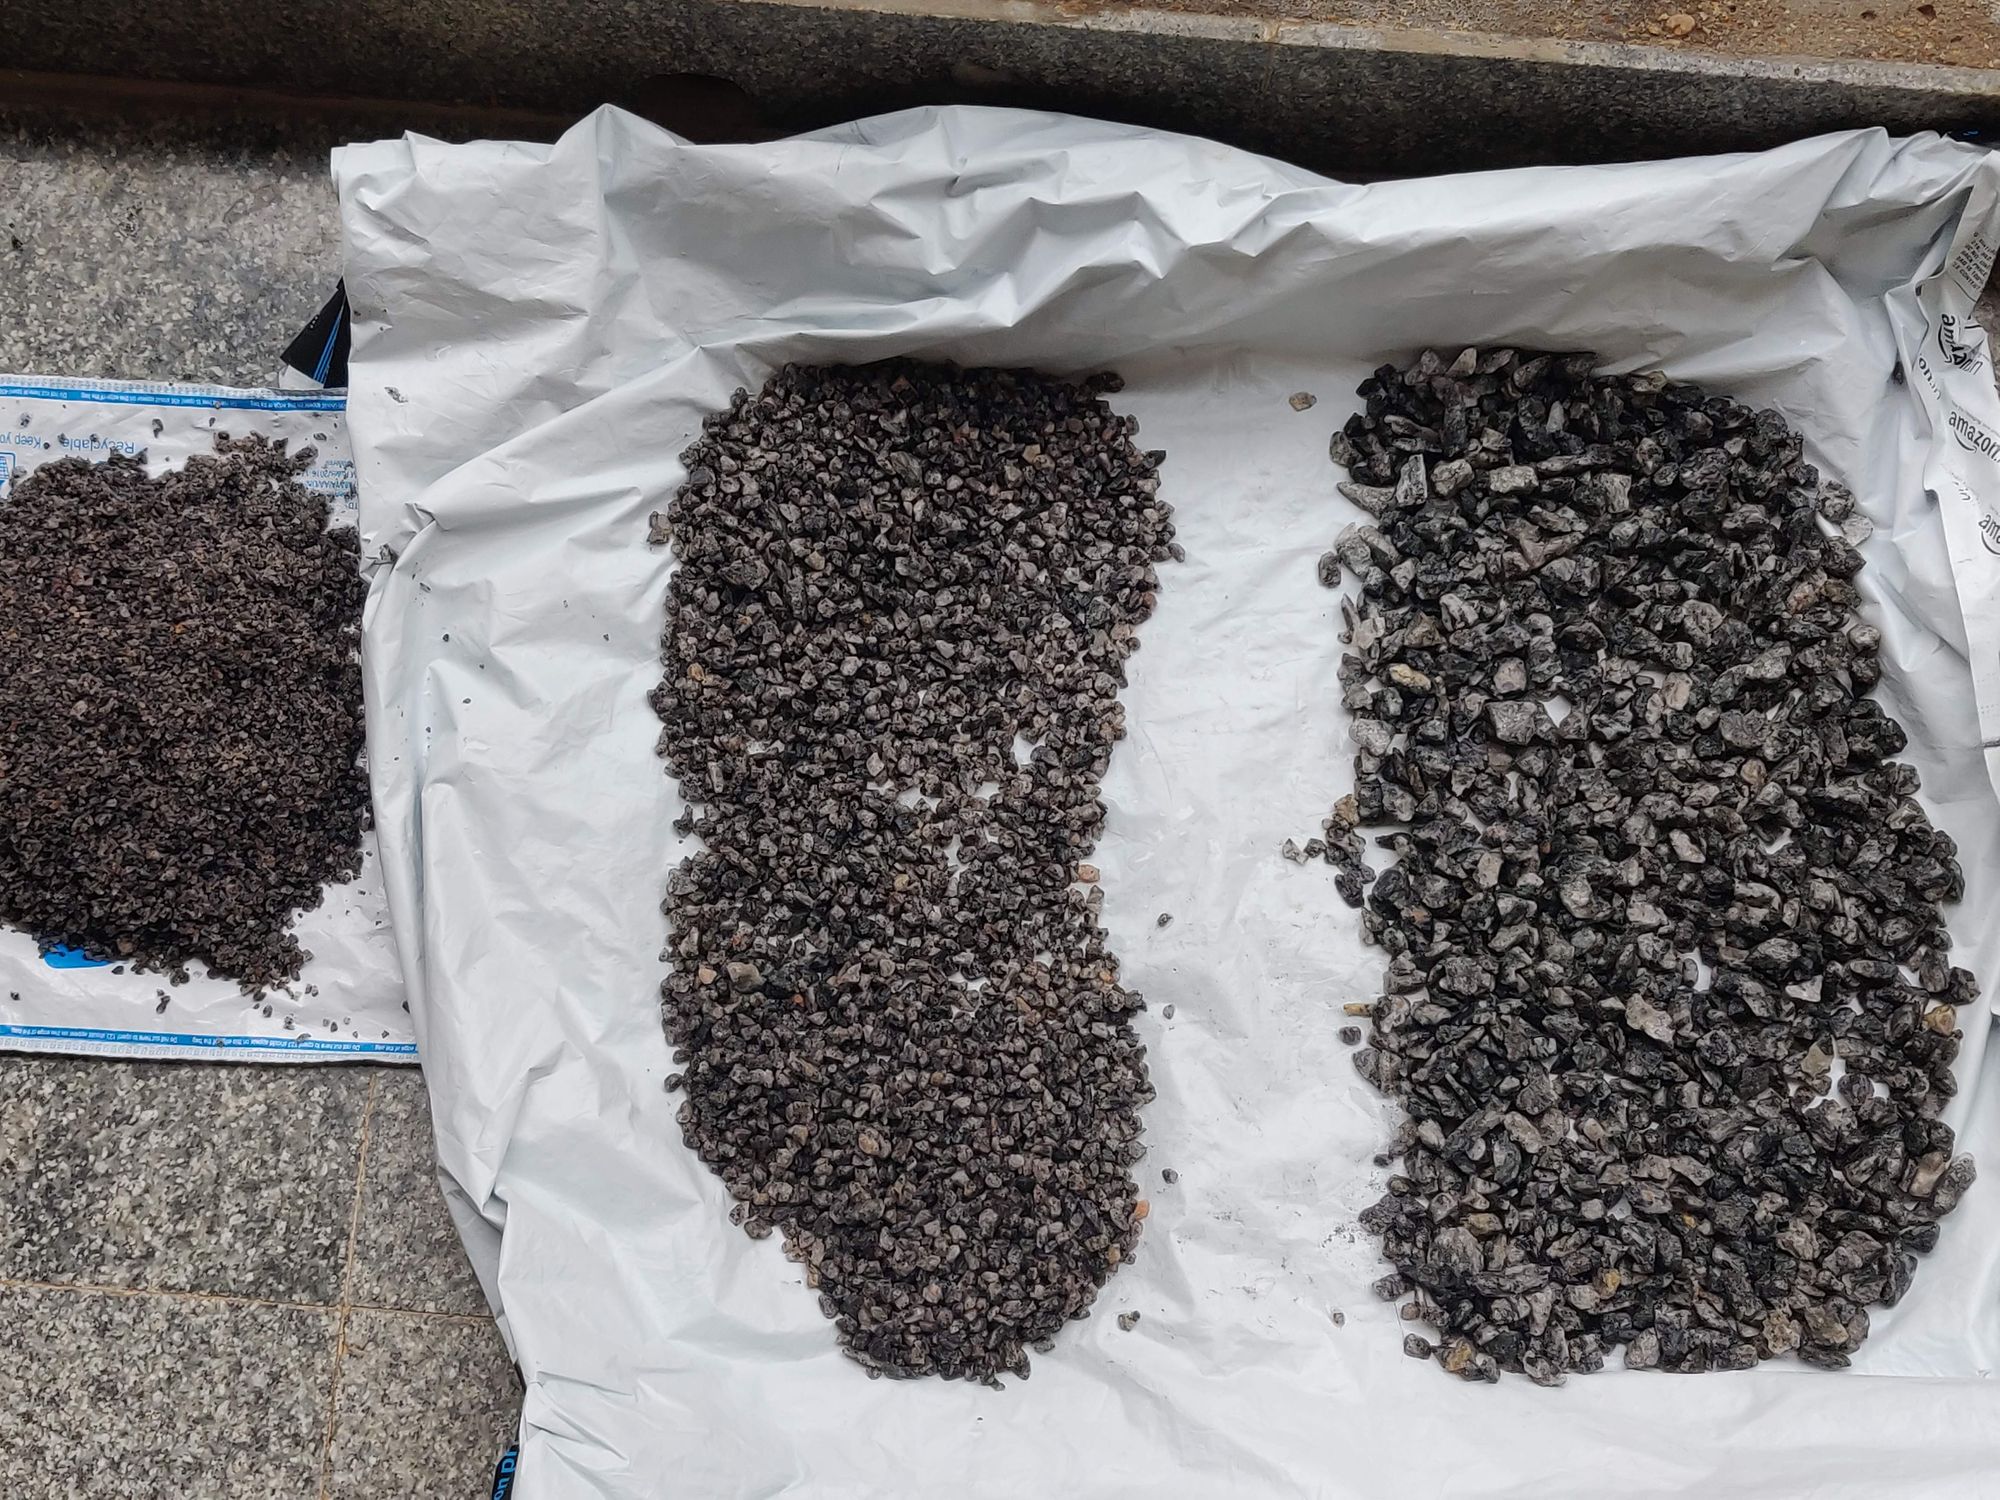
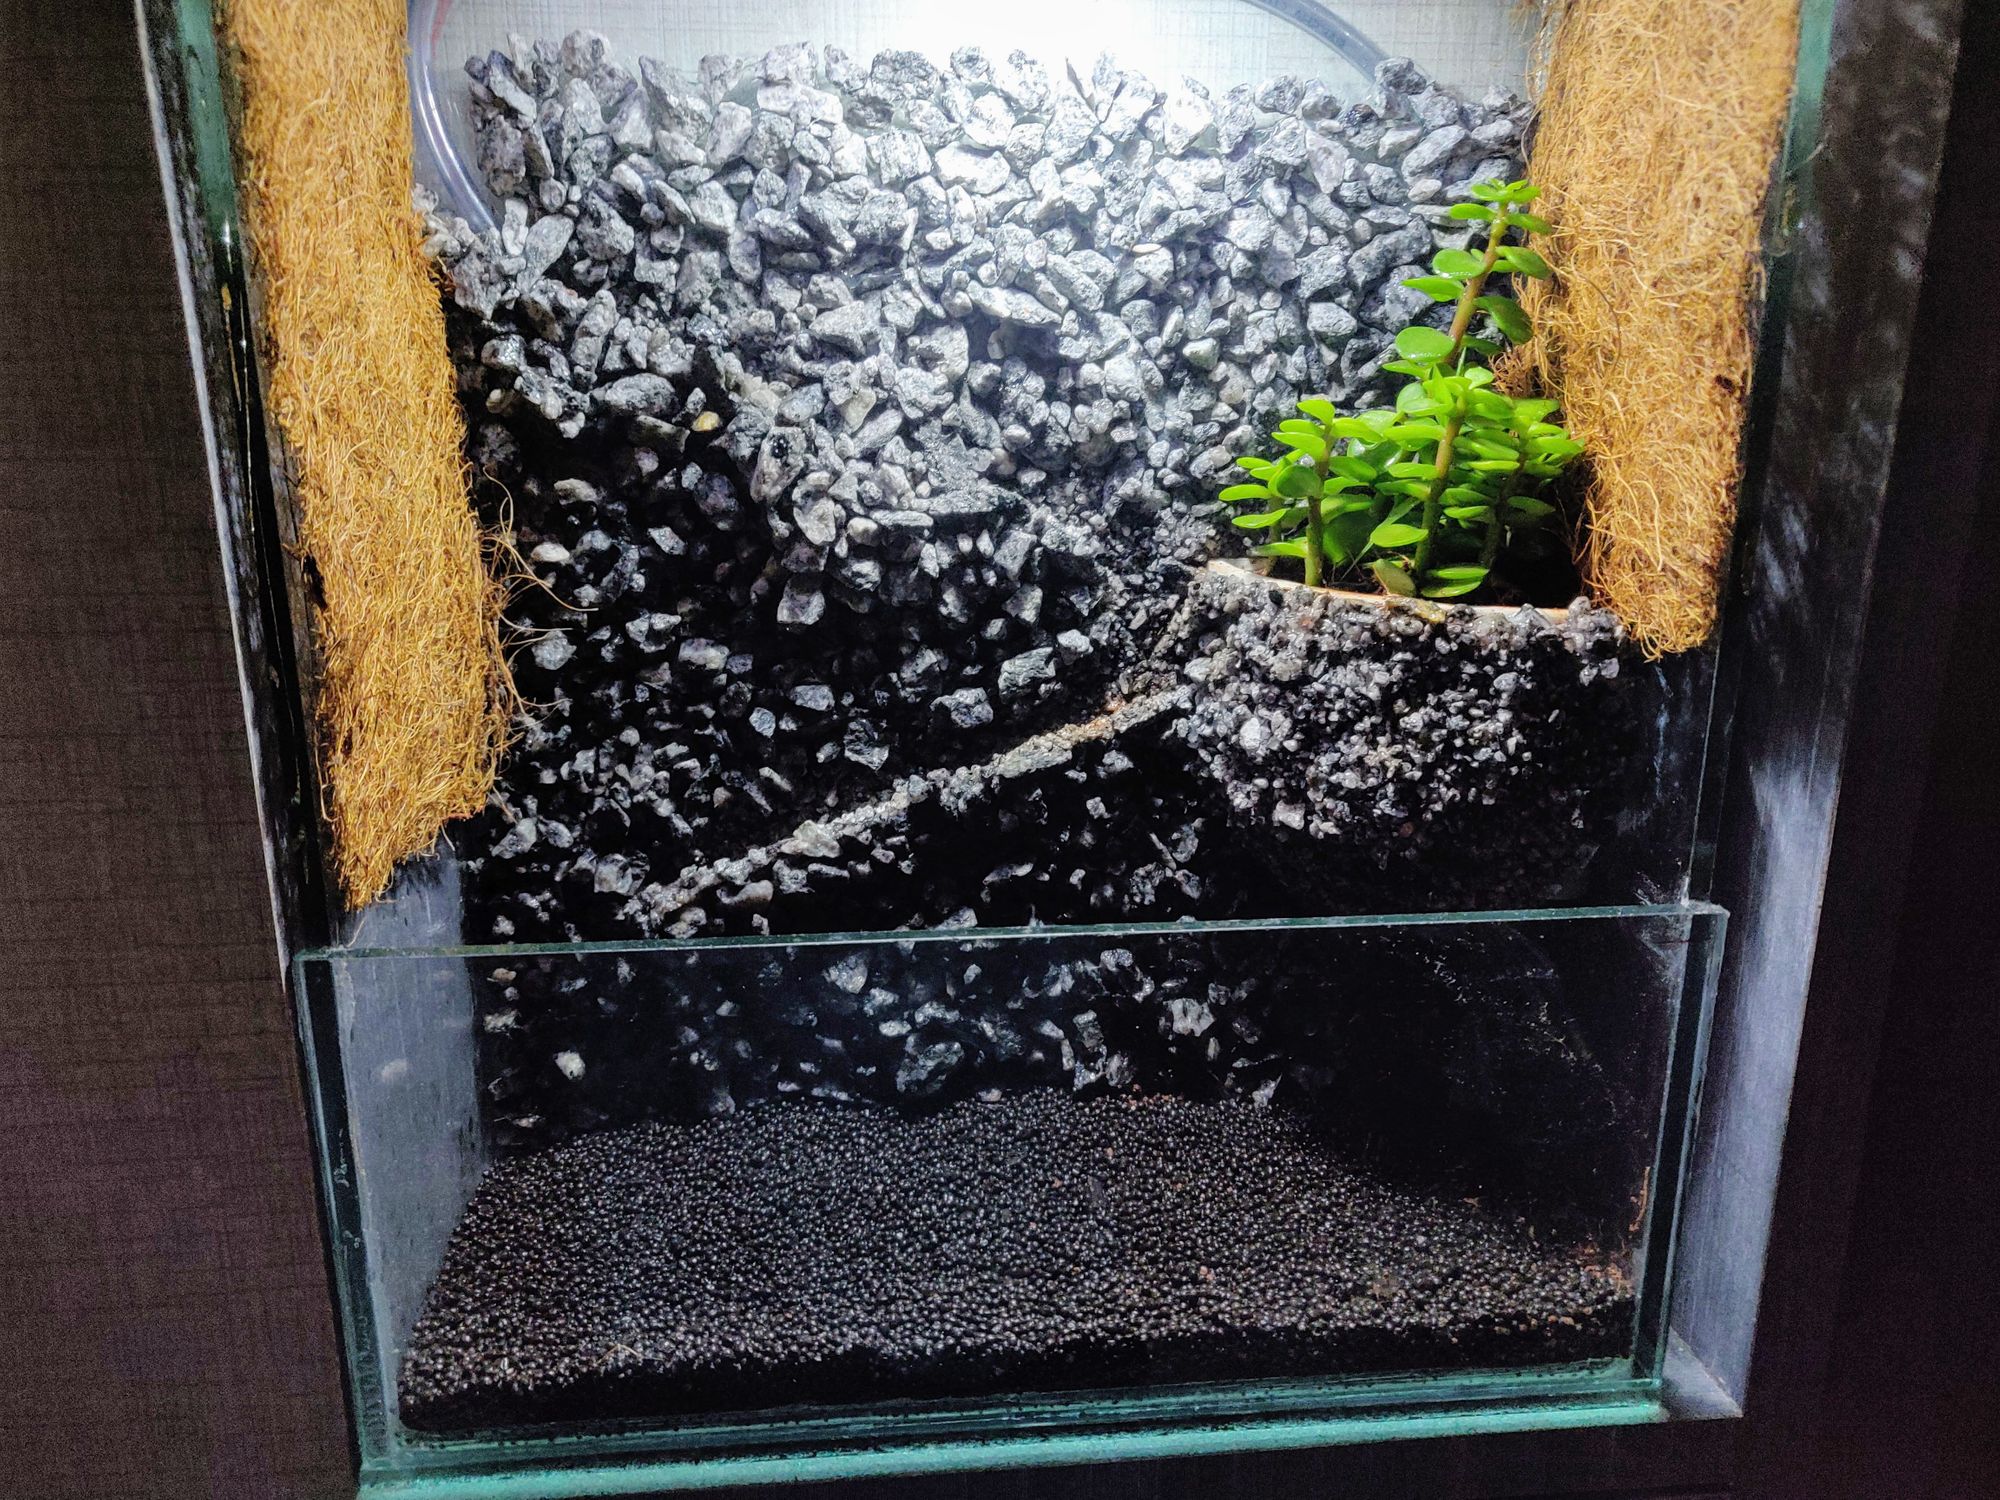
Next import thing is to collect all the stones for the background and waterfall. I am going with just stone hardscaping, as adding wood will take up lot of space and I could not find smaller twigs 🙂.
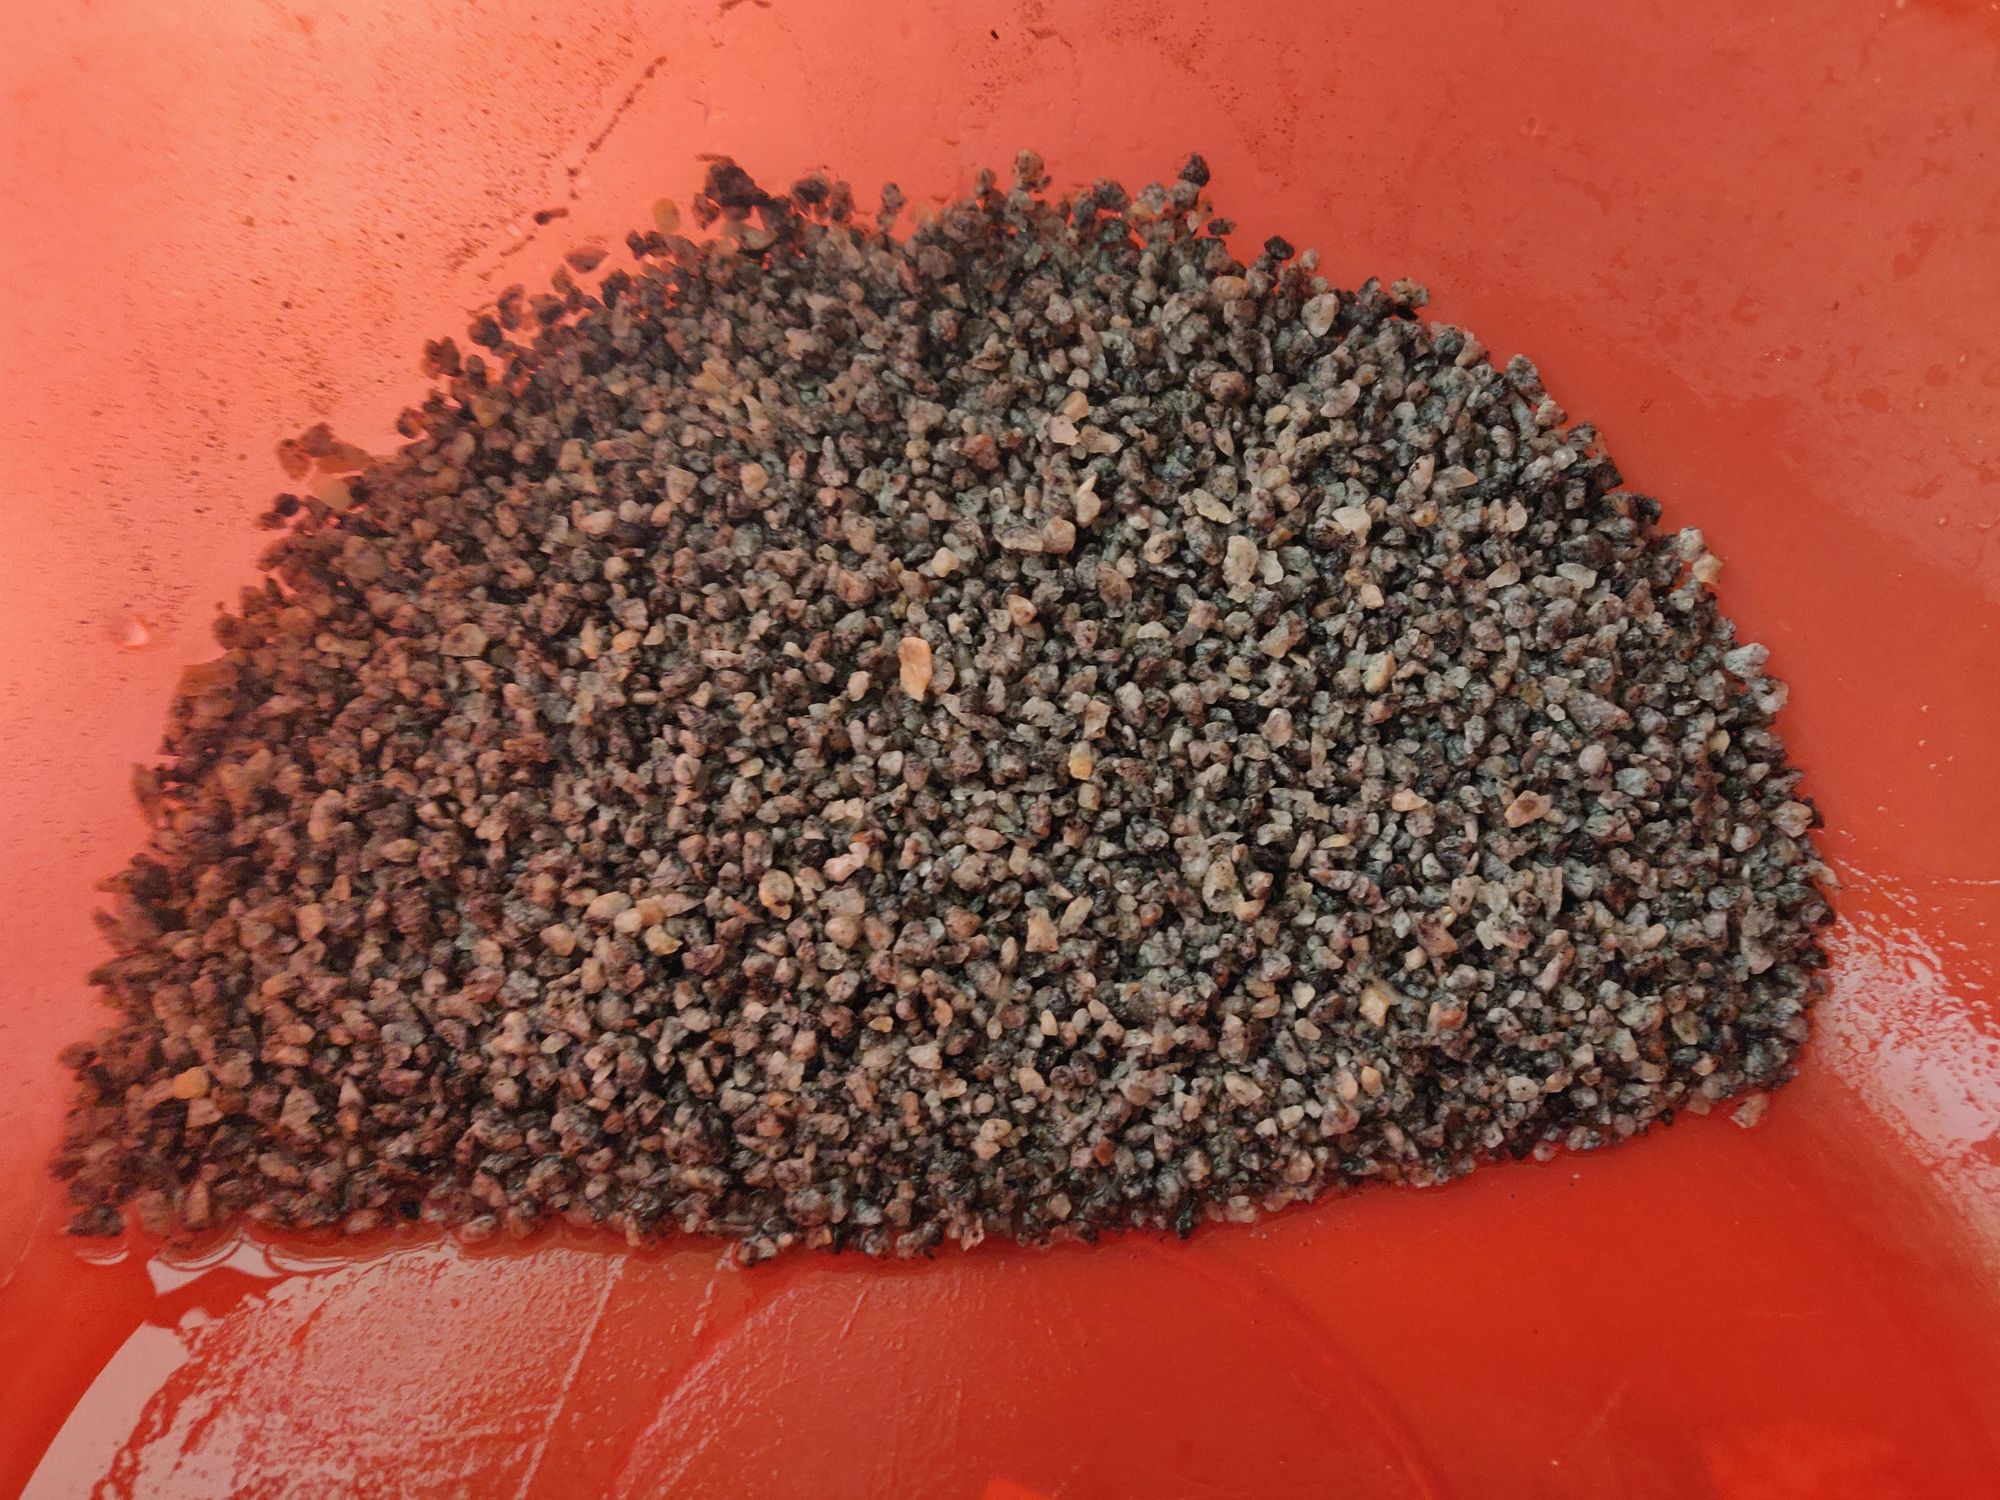
I got 3-4 sizes of stones, being a budget build these were the same as stones used for construction work. So rinsed and washed all the hardscaping elements thoroughly before using. I first started with the bigger rocks and added smaller ones in between creating natural look to the waterfall.
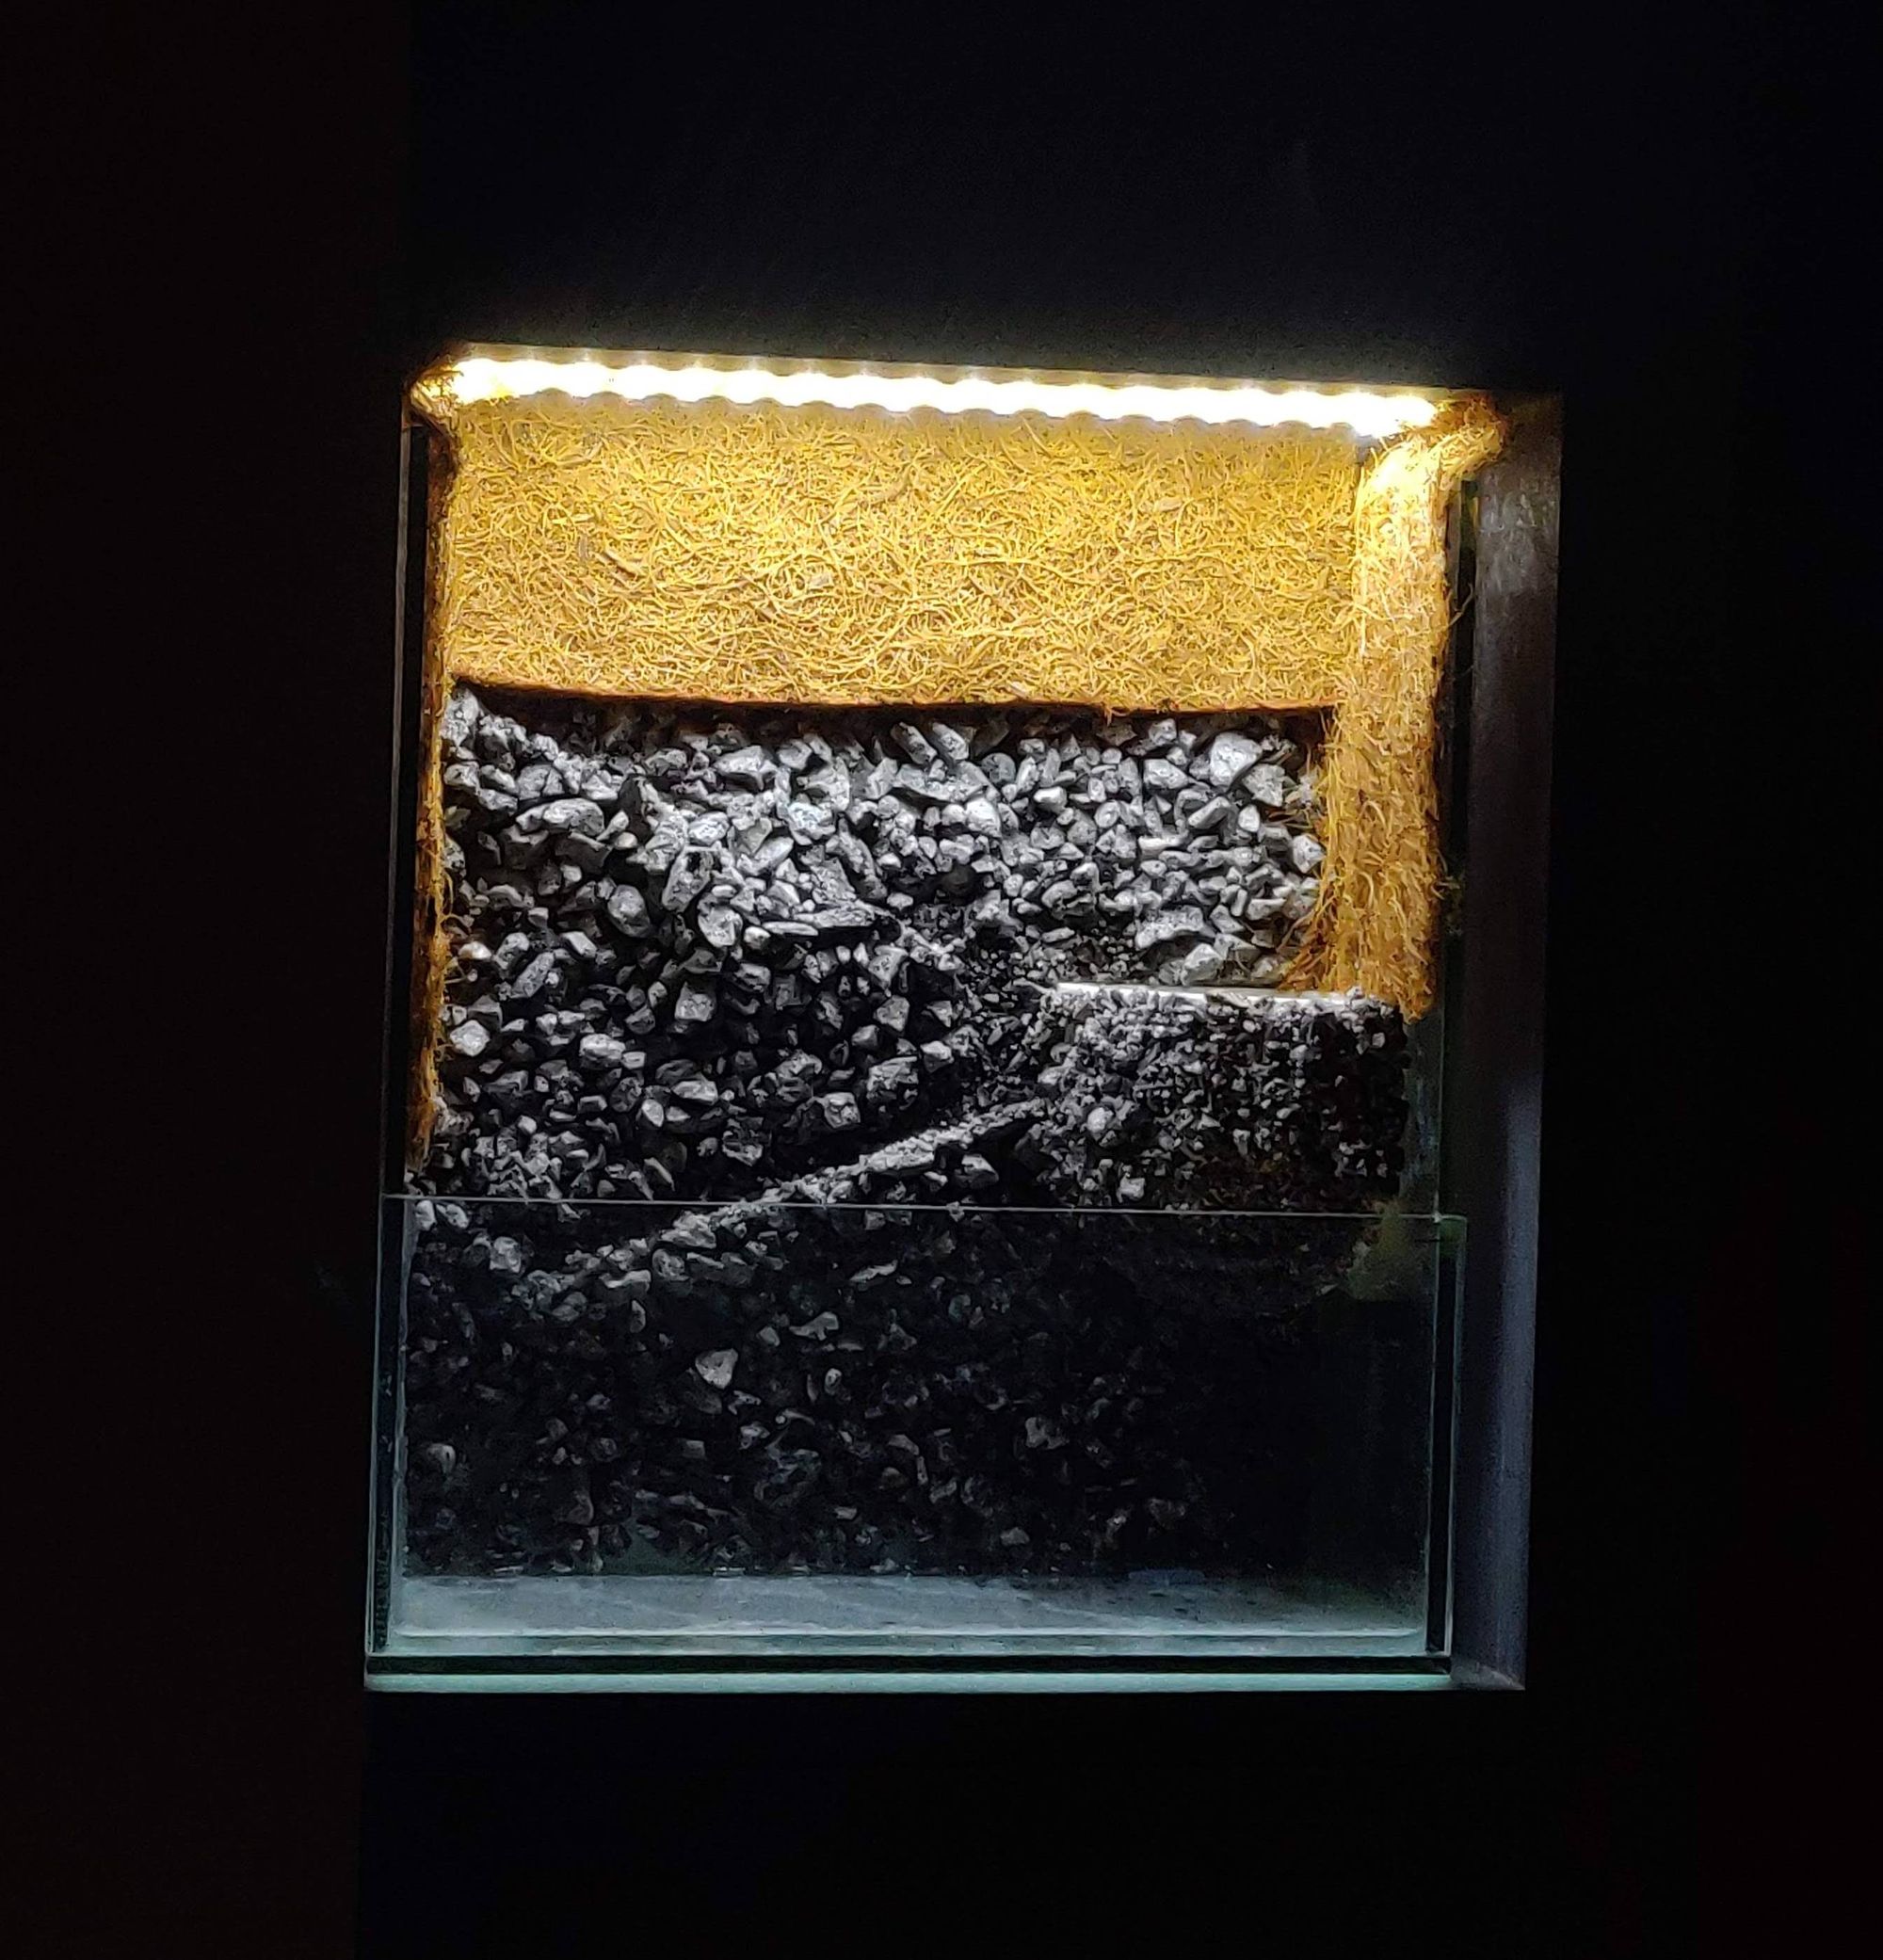
The smaller ones were glued to the corner pot and after drying, was fixed to the main tank. Starting with the bigger stones, these were added in layers on top of each other to create a good background and to form a path for the water to flow along. Top part was covered in coir mat to hide the water in-flow tubing and electrical connections for lights.
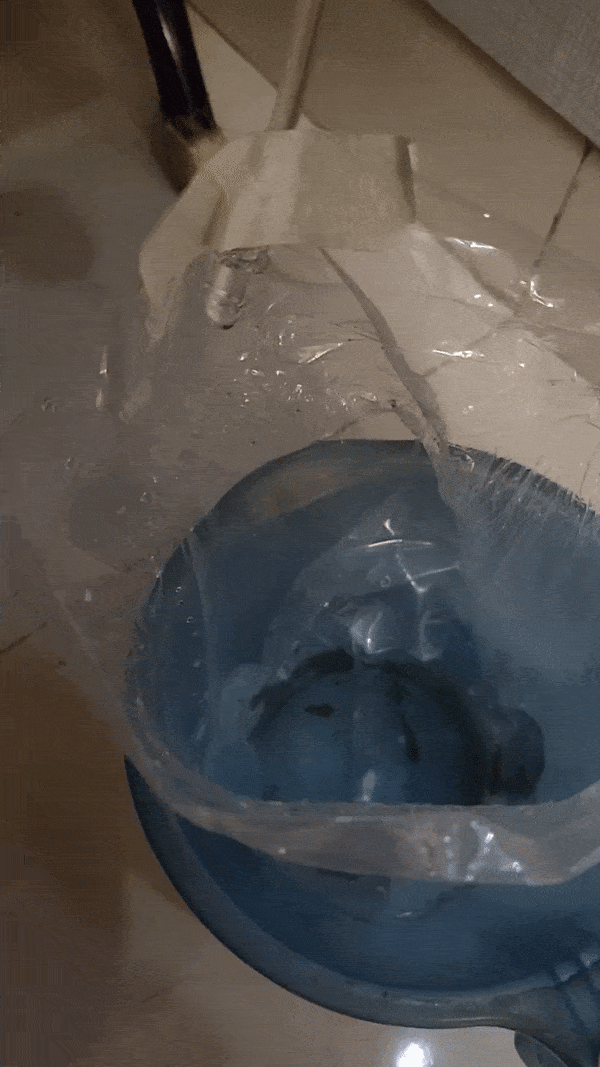
First Trial run
Checking the tank for good seal and also testing the pump and waterfall.
Substrate and plants
Now that everything is working as expected, time to start adding flora and fauna into the setup. In the corner pot, I went with a small succulent plant with small leaves. The thick fleshy plant will add to the rich look of rocky background.
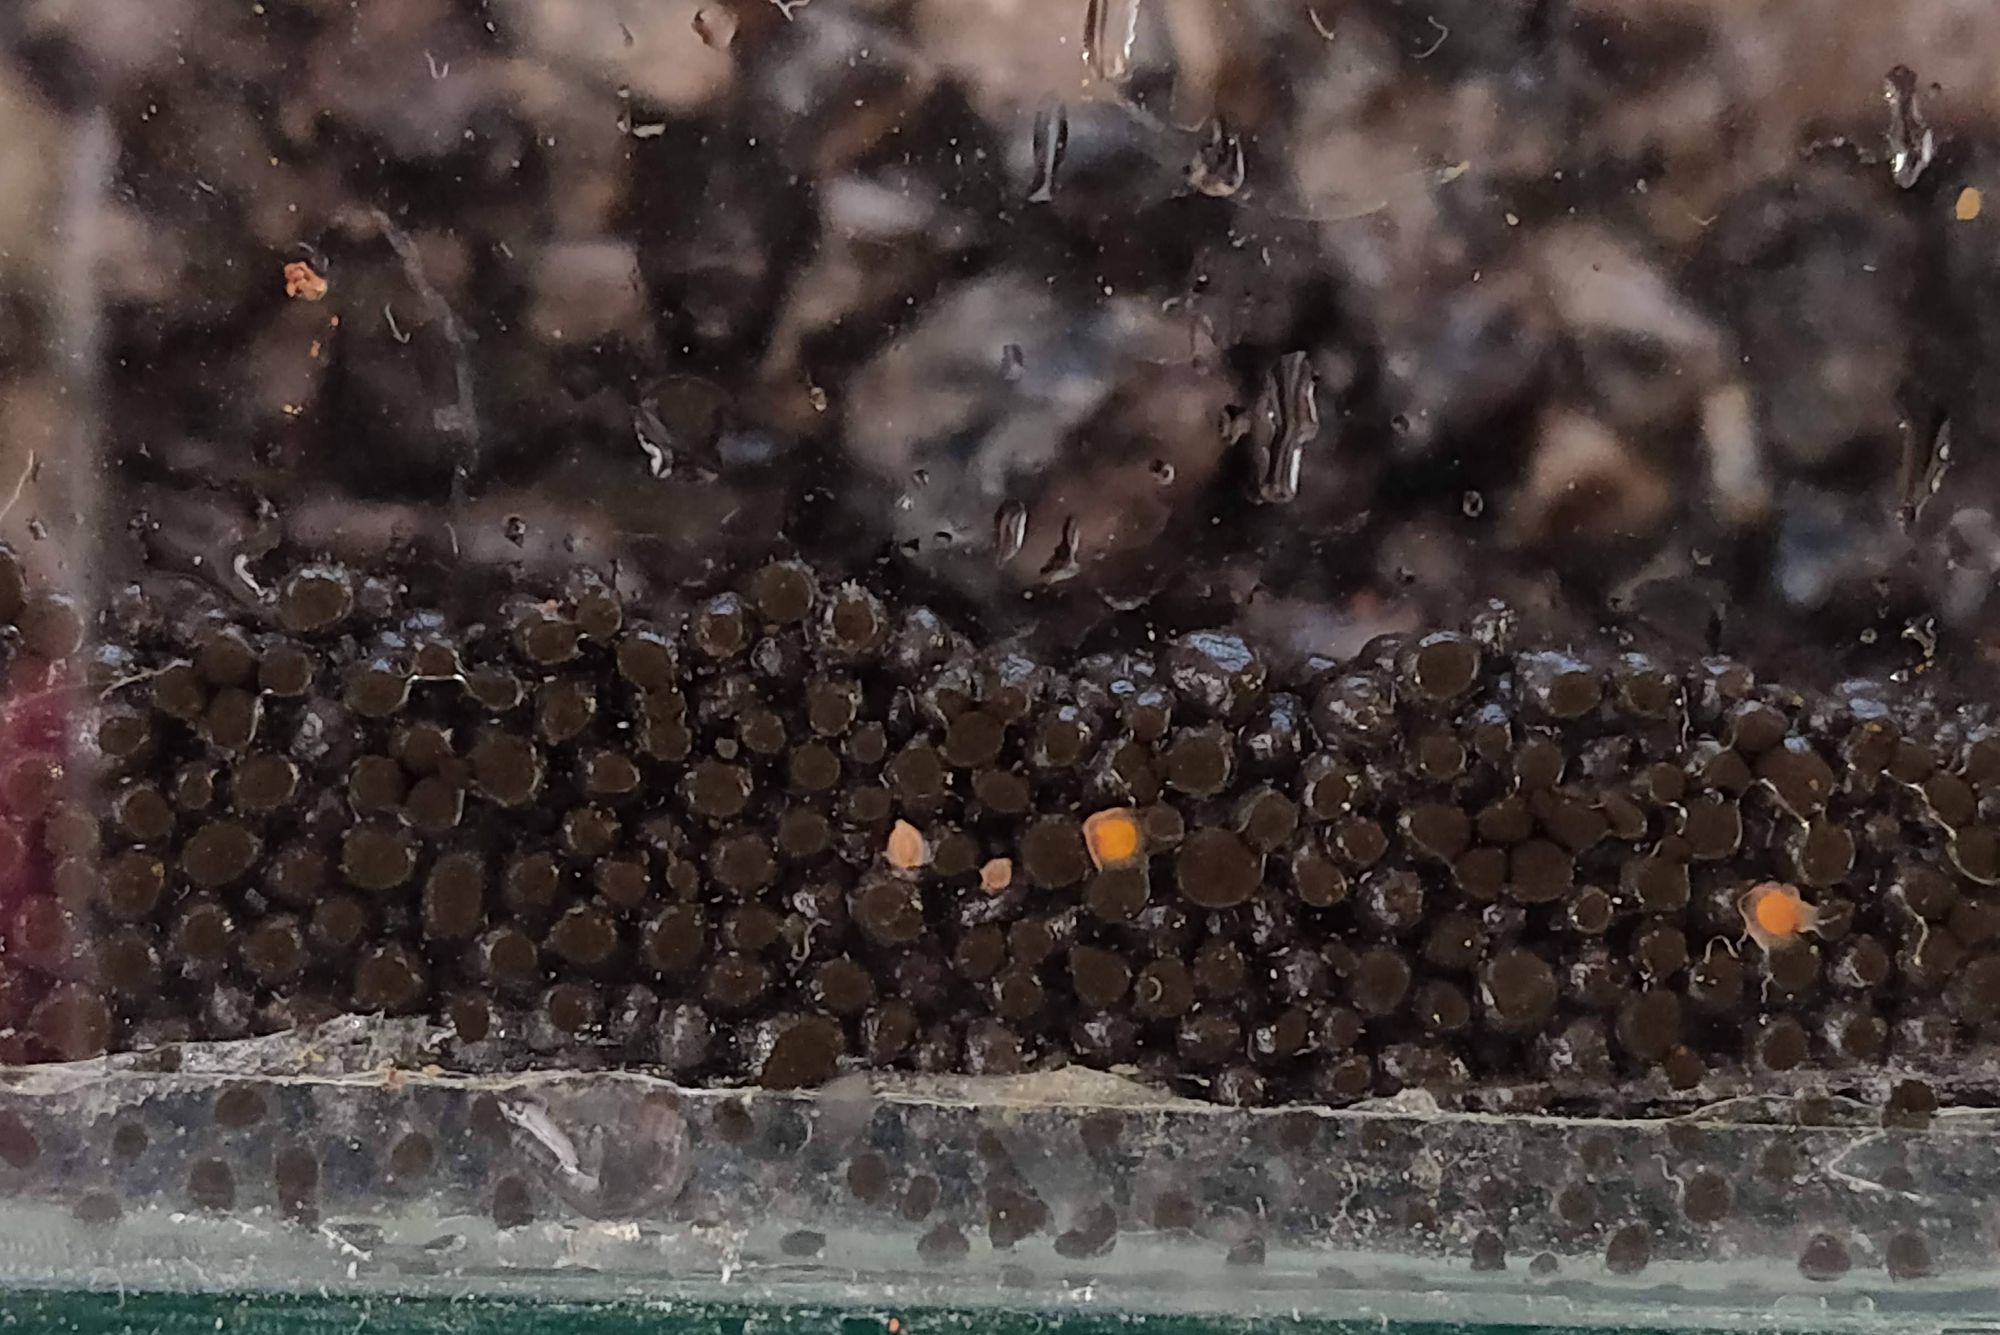
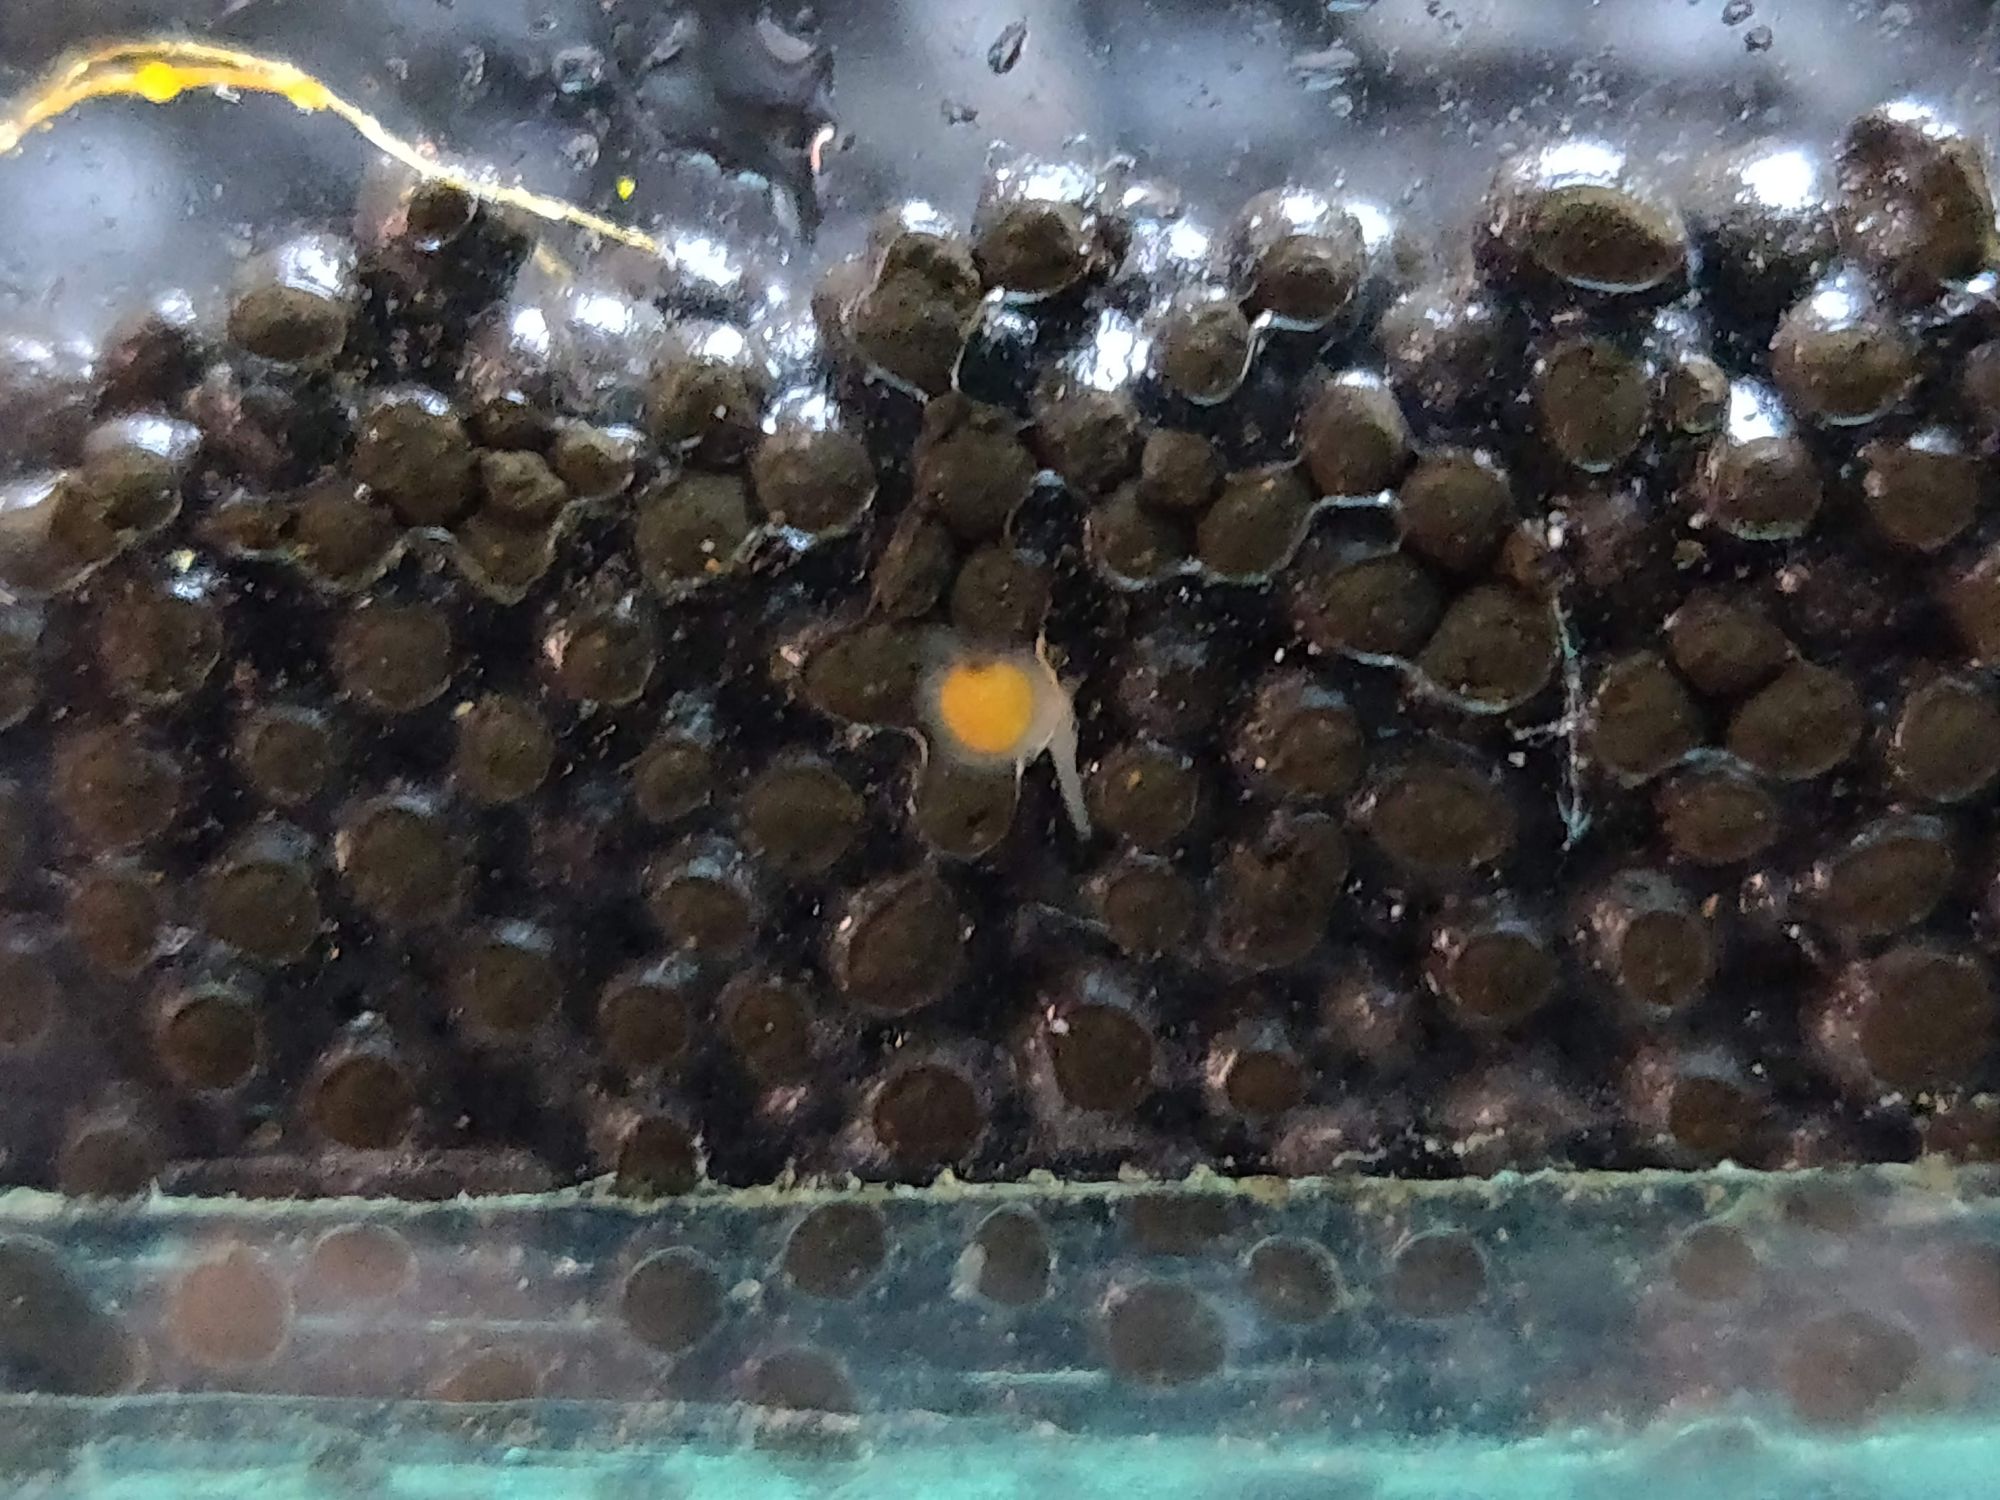
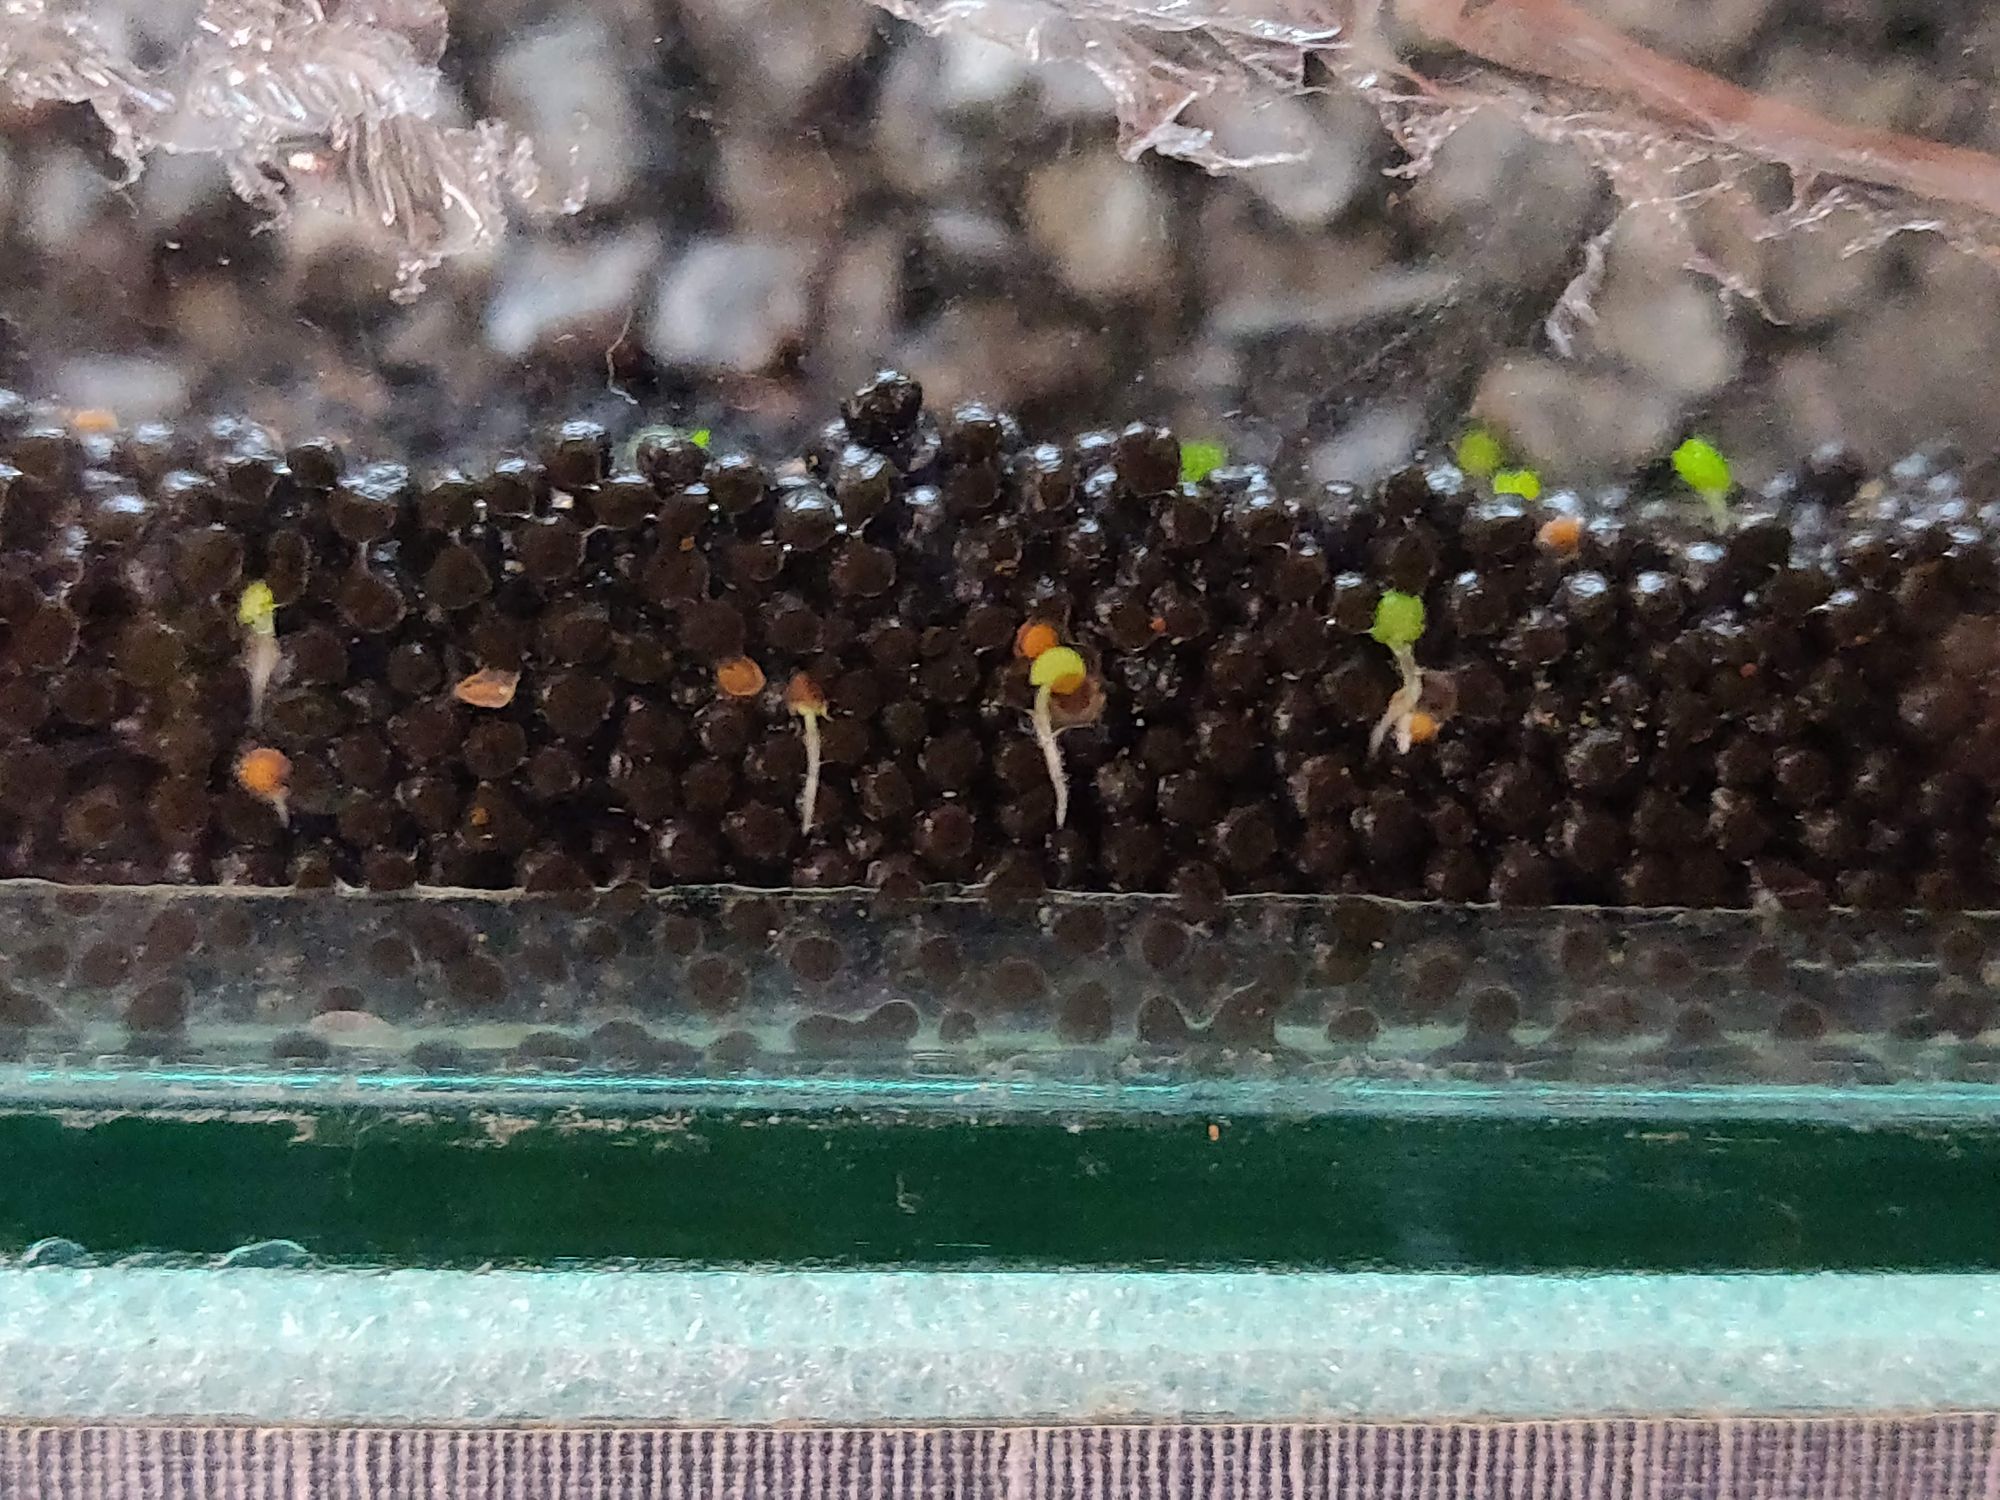
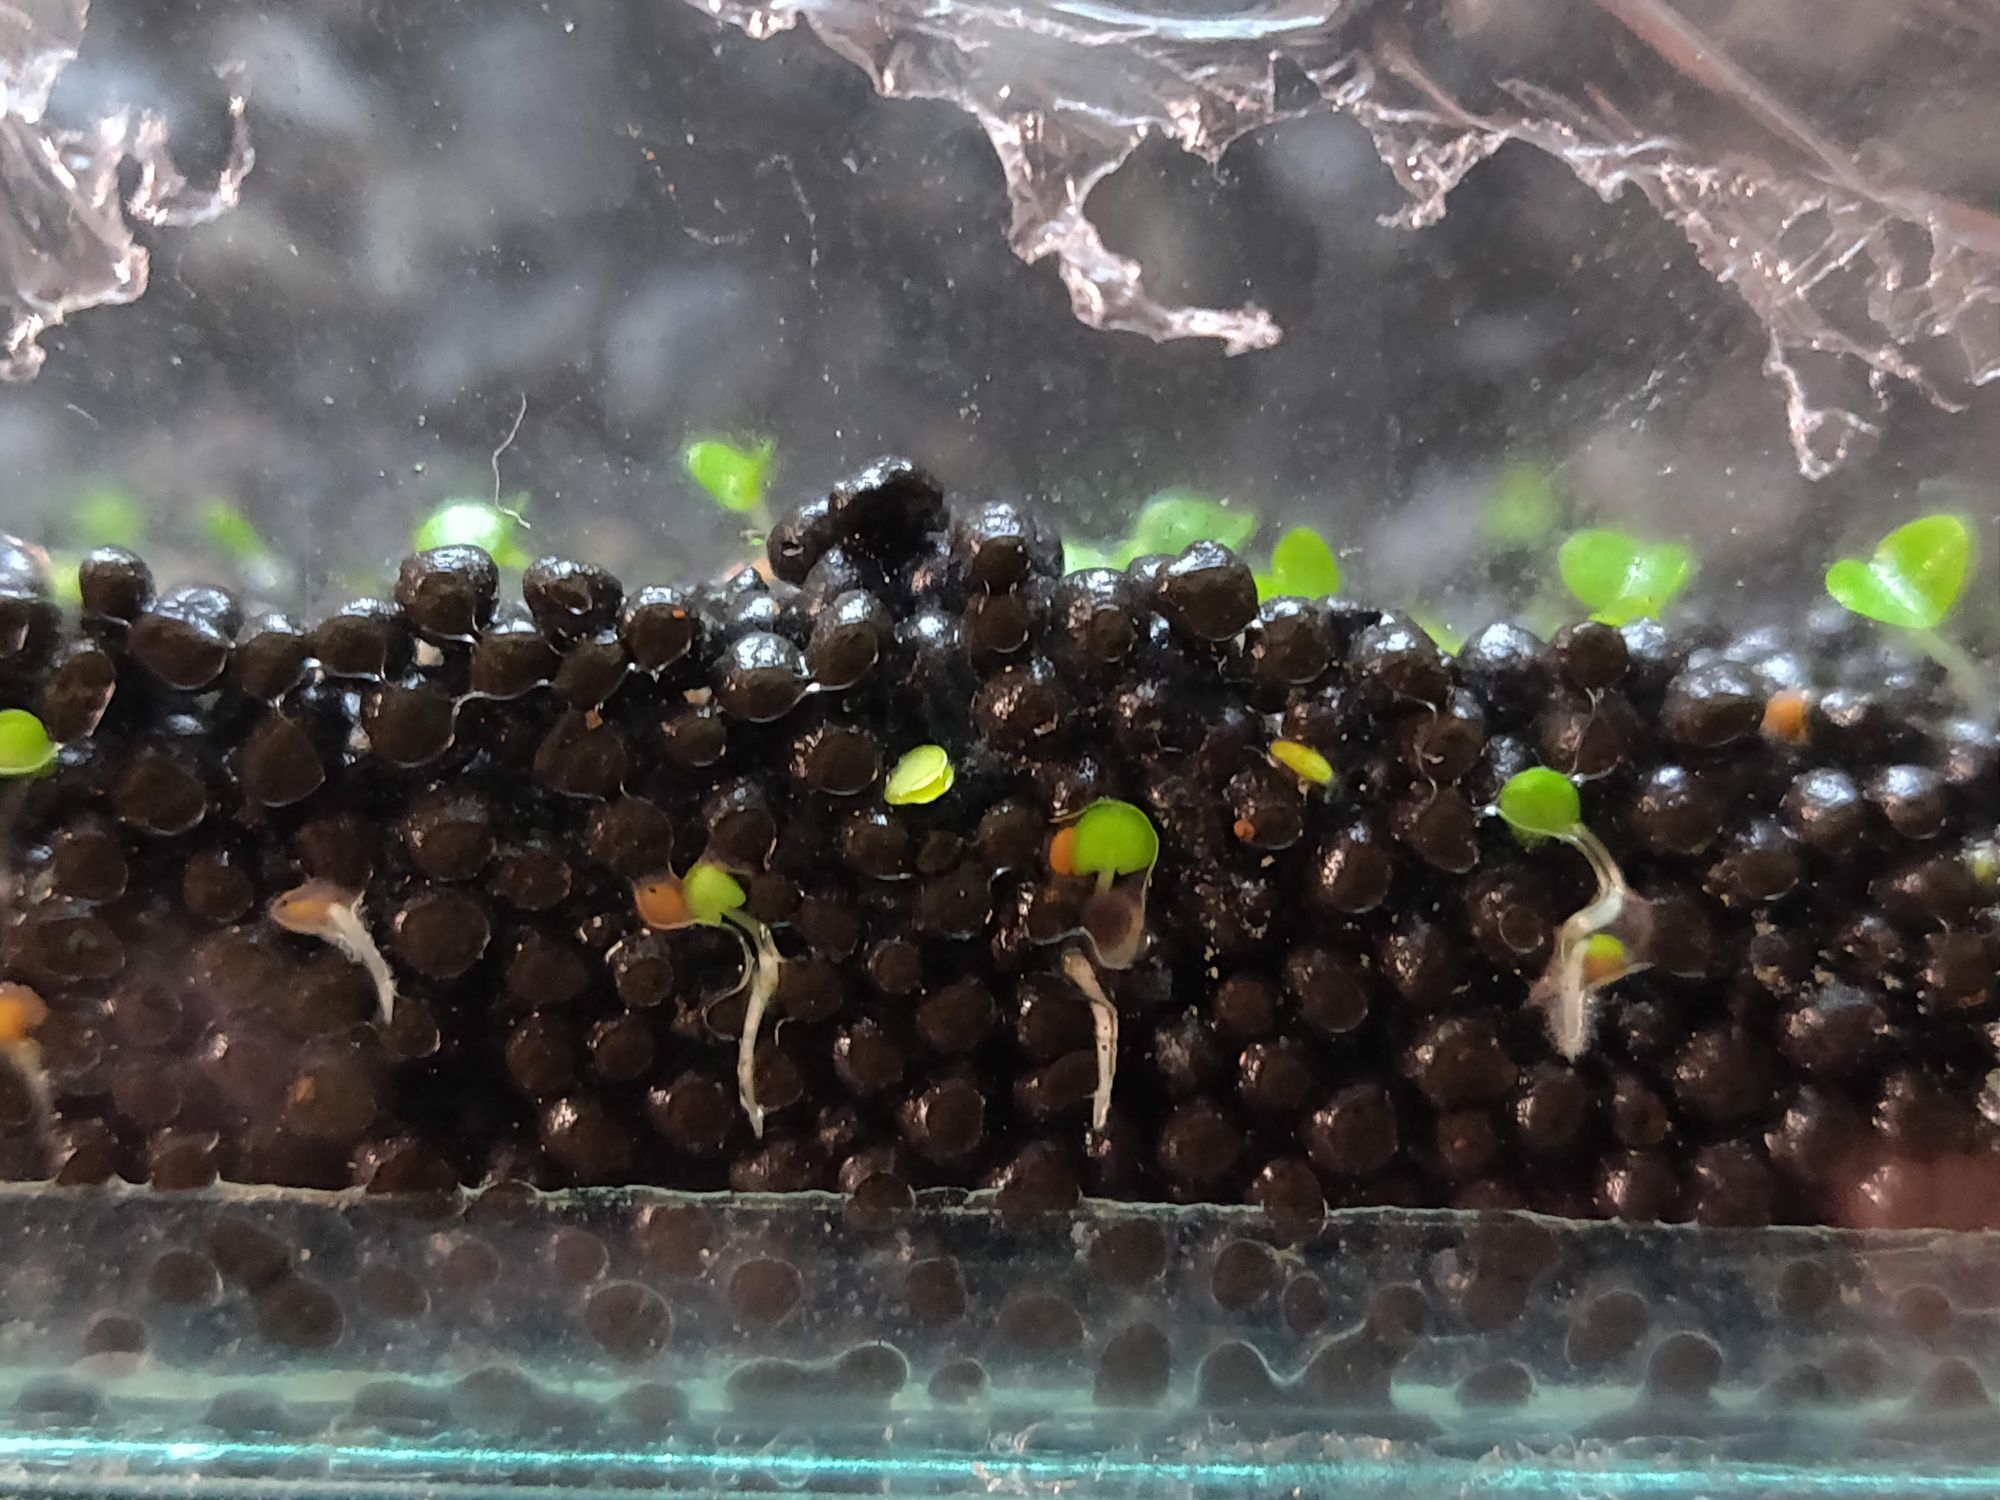
Next a layer of good substrate was added in the tank for the aquatic plants. I brought a pack of carpet plant seeds, it is a double leaf plant. The substrate should just be sprayed with water and kept moist, and should not be filled with water till the seeds sprout. It takes around 4-5 days for the seeds to germinate and 10-14 days to grow to a good length. After this the tank can be filled and run waterfall. Just like that we have a good carpet for our setup. Other aquatic plants will be added as we go along as required (depending on the type of livestock we select).
Livestocking the tank
The plants need couple of weeks to settle in, once the water is filled. I left it running for beneficial bacteria to grow, helping in the nitrogen cycle.
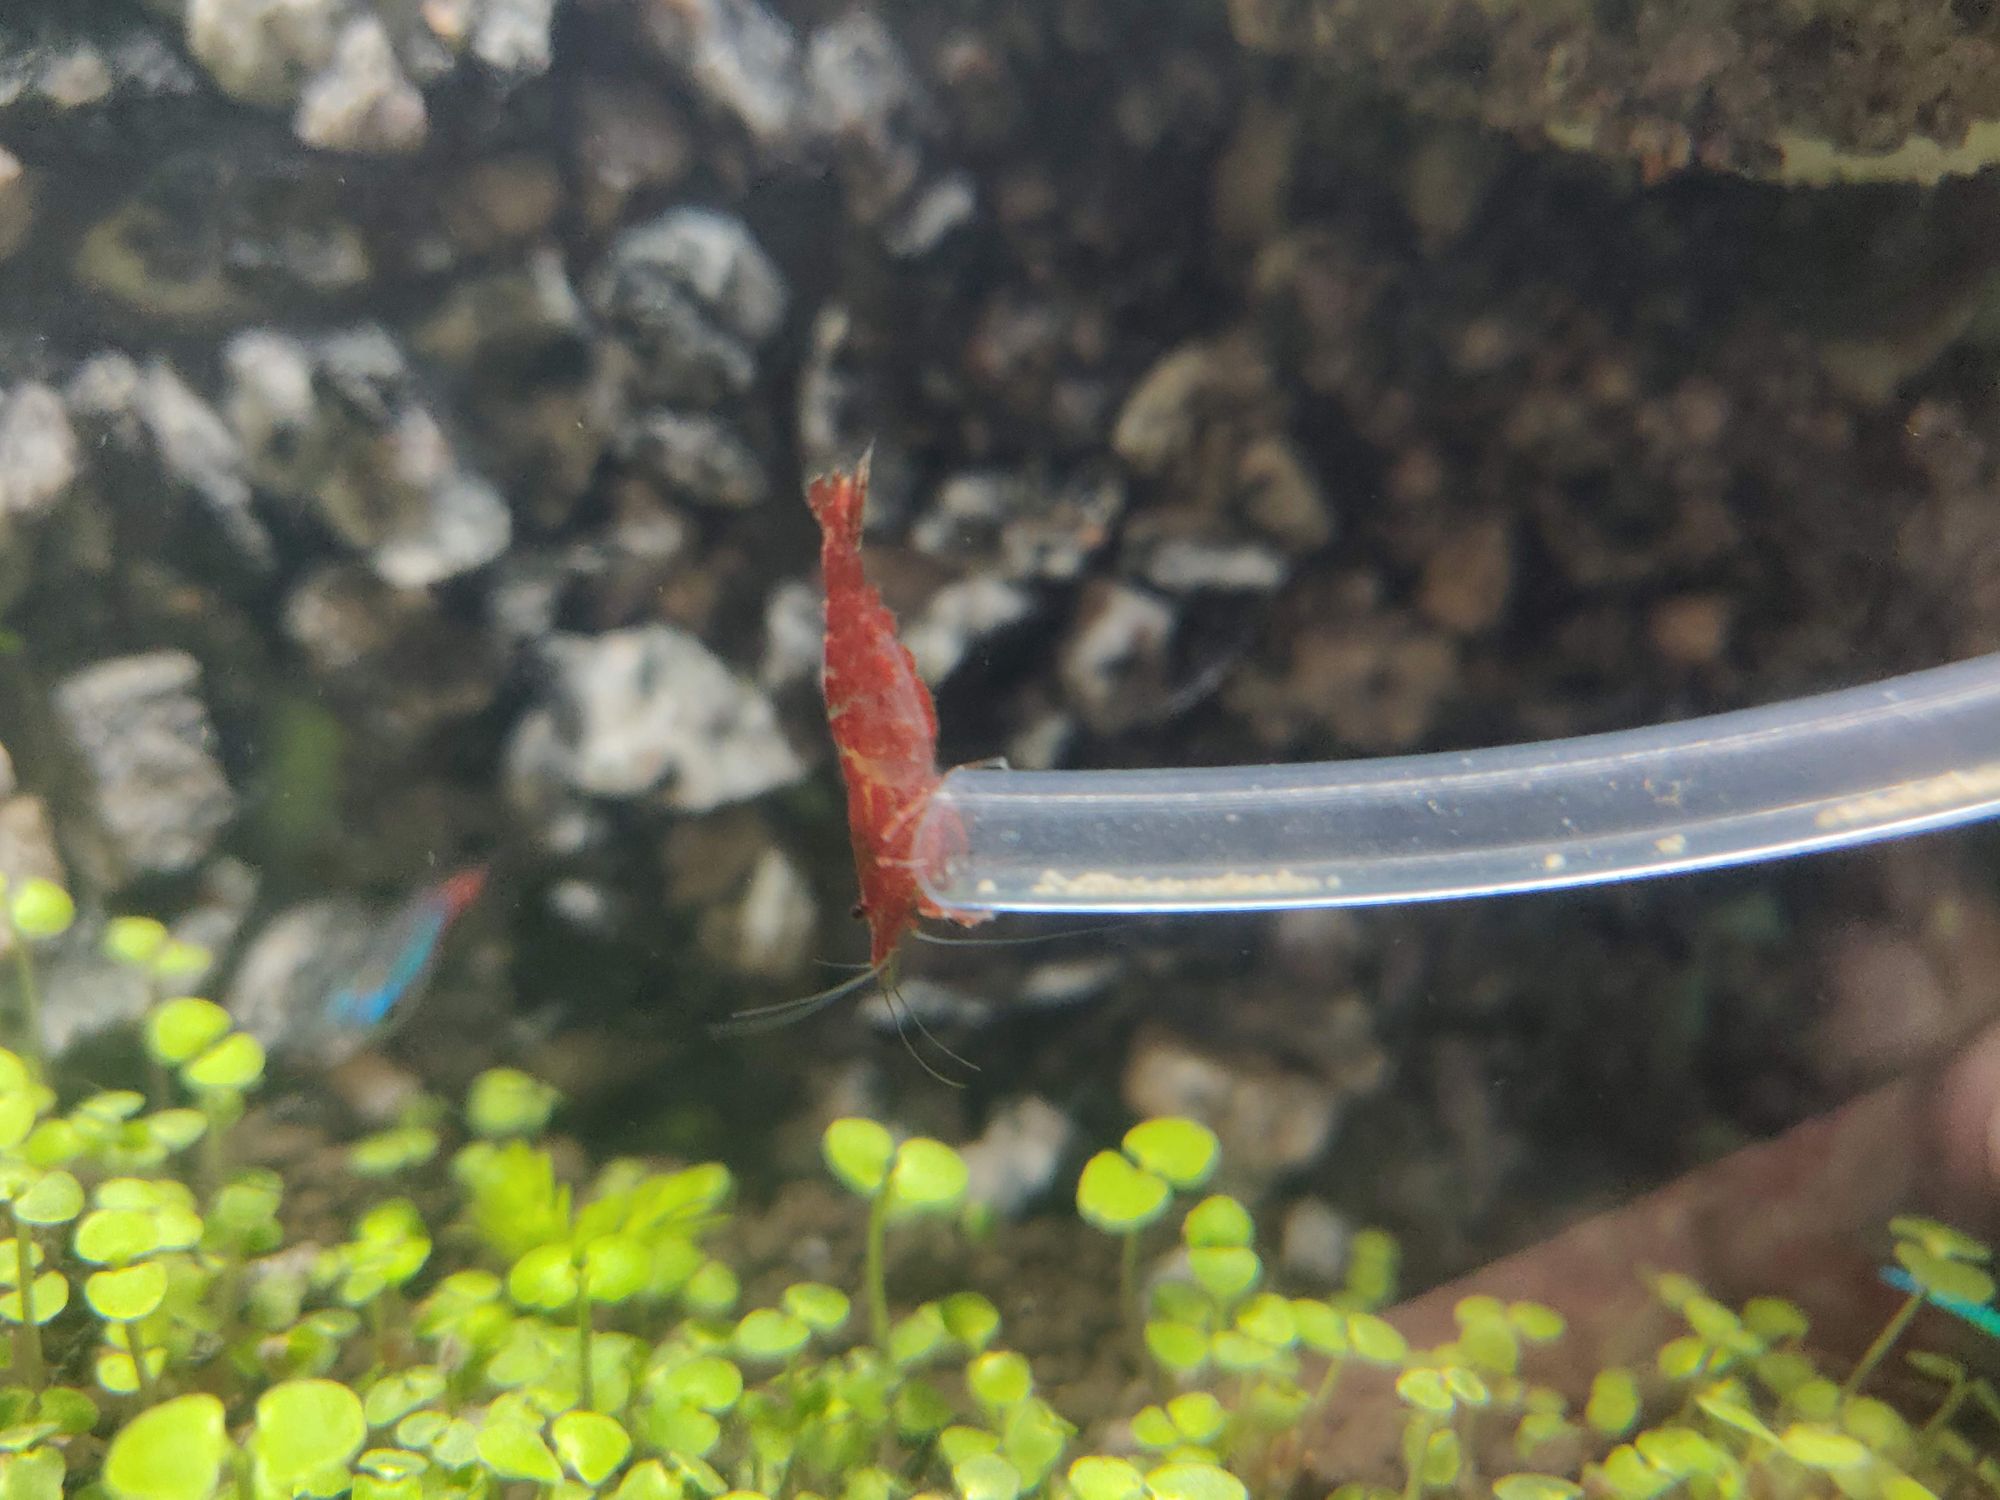
I decided to go with neon tetras as they are tiny and also act as center piece fish. These fish will also swim around in schools, making the tank look bigger than it is. I started stocking the tank in stages. First I added a pair of tetra and a cherry shrimp. These were drip acclimated and slowly introduced to the new water parameter over time and then added to tank. After a few weeks, it looked like the fish were healthy and doing good, but were feeling lonely. So in the second stage I added a few more neon tetras, could not get shrimps in my local hobby shops. Will add them in stage three 🙂
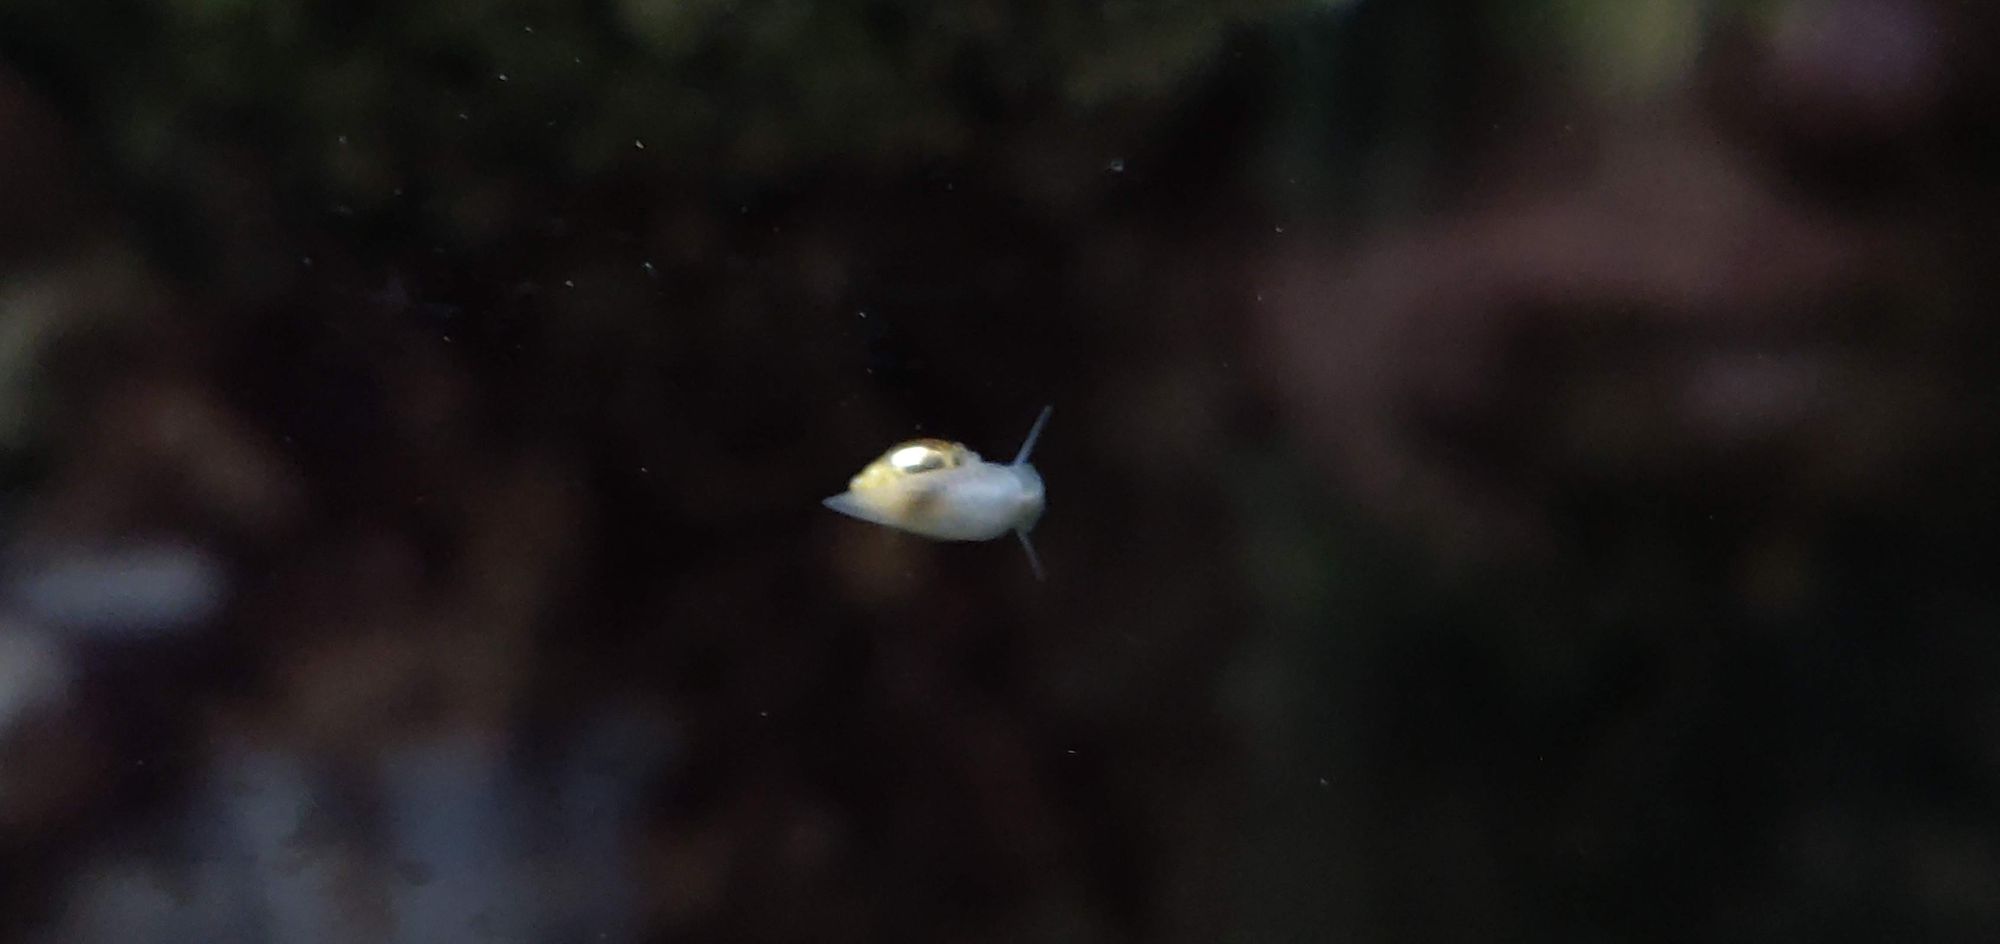
I also added a few snails from my snail jar. Hoping they will keep the tank clean and not eat all the plants. They are beautiful to look at as well, moving slowly on the rocky terrain.
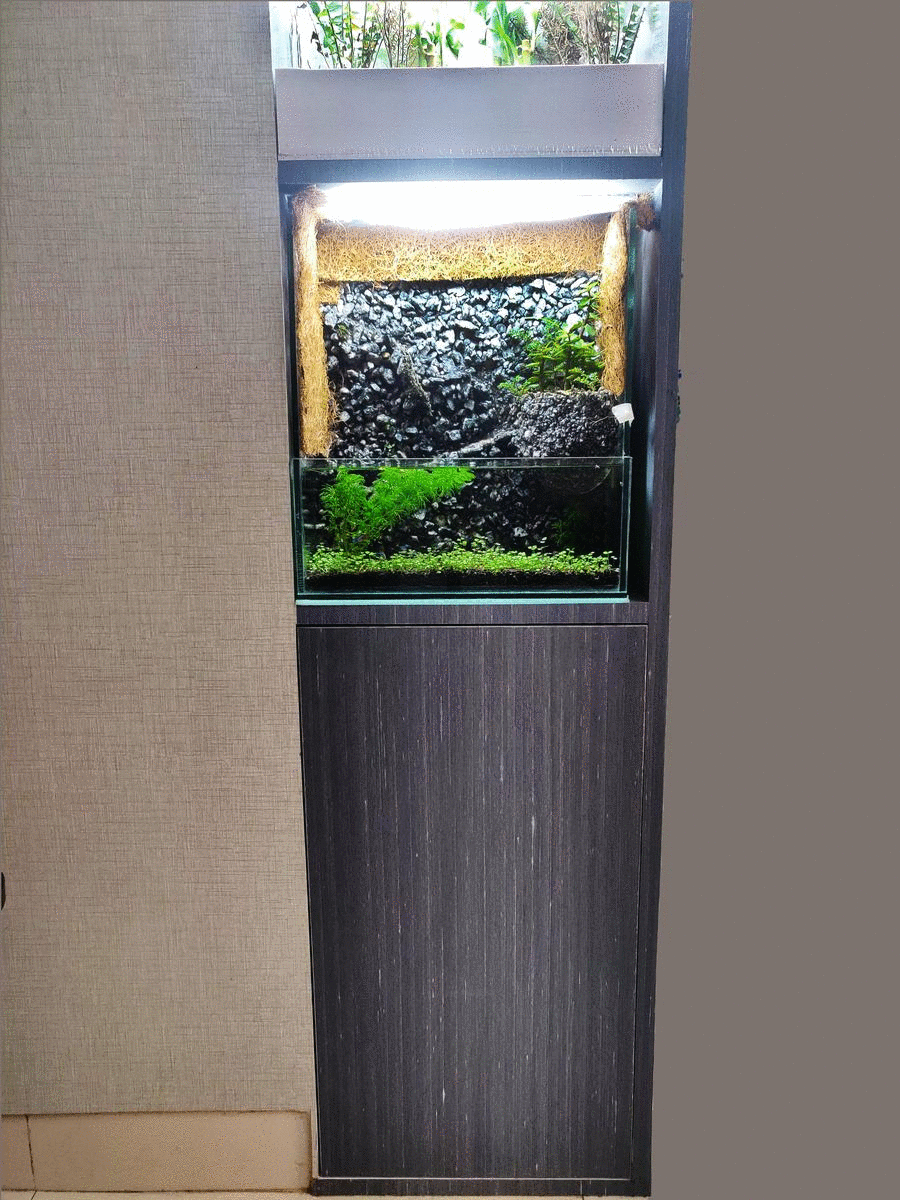
Complete Setup
---- इति लेखः समाप्तम् ----